Defining Your Style:
Wedding Album Inspiration
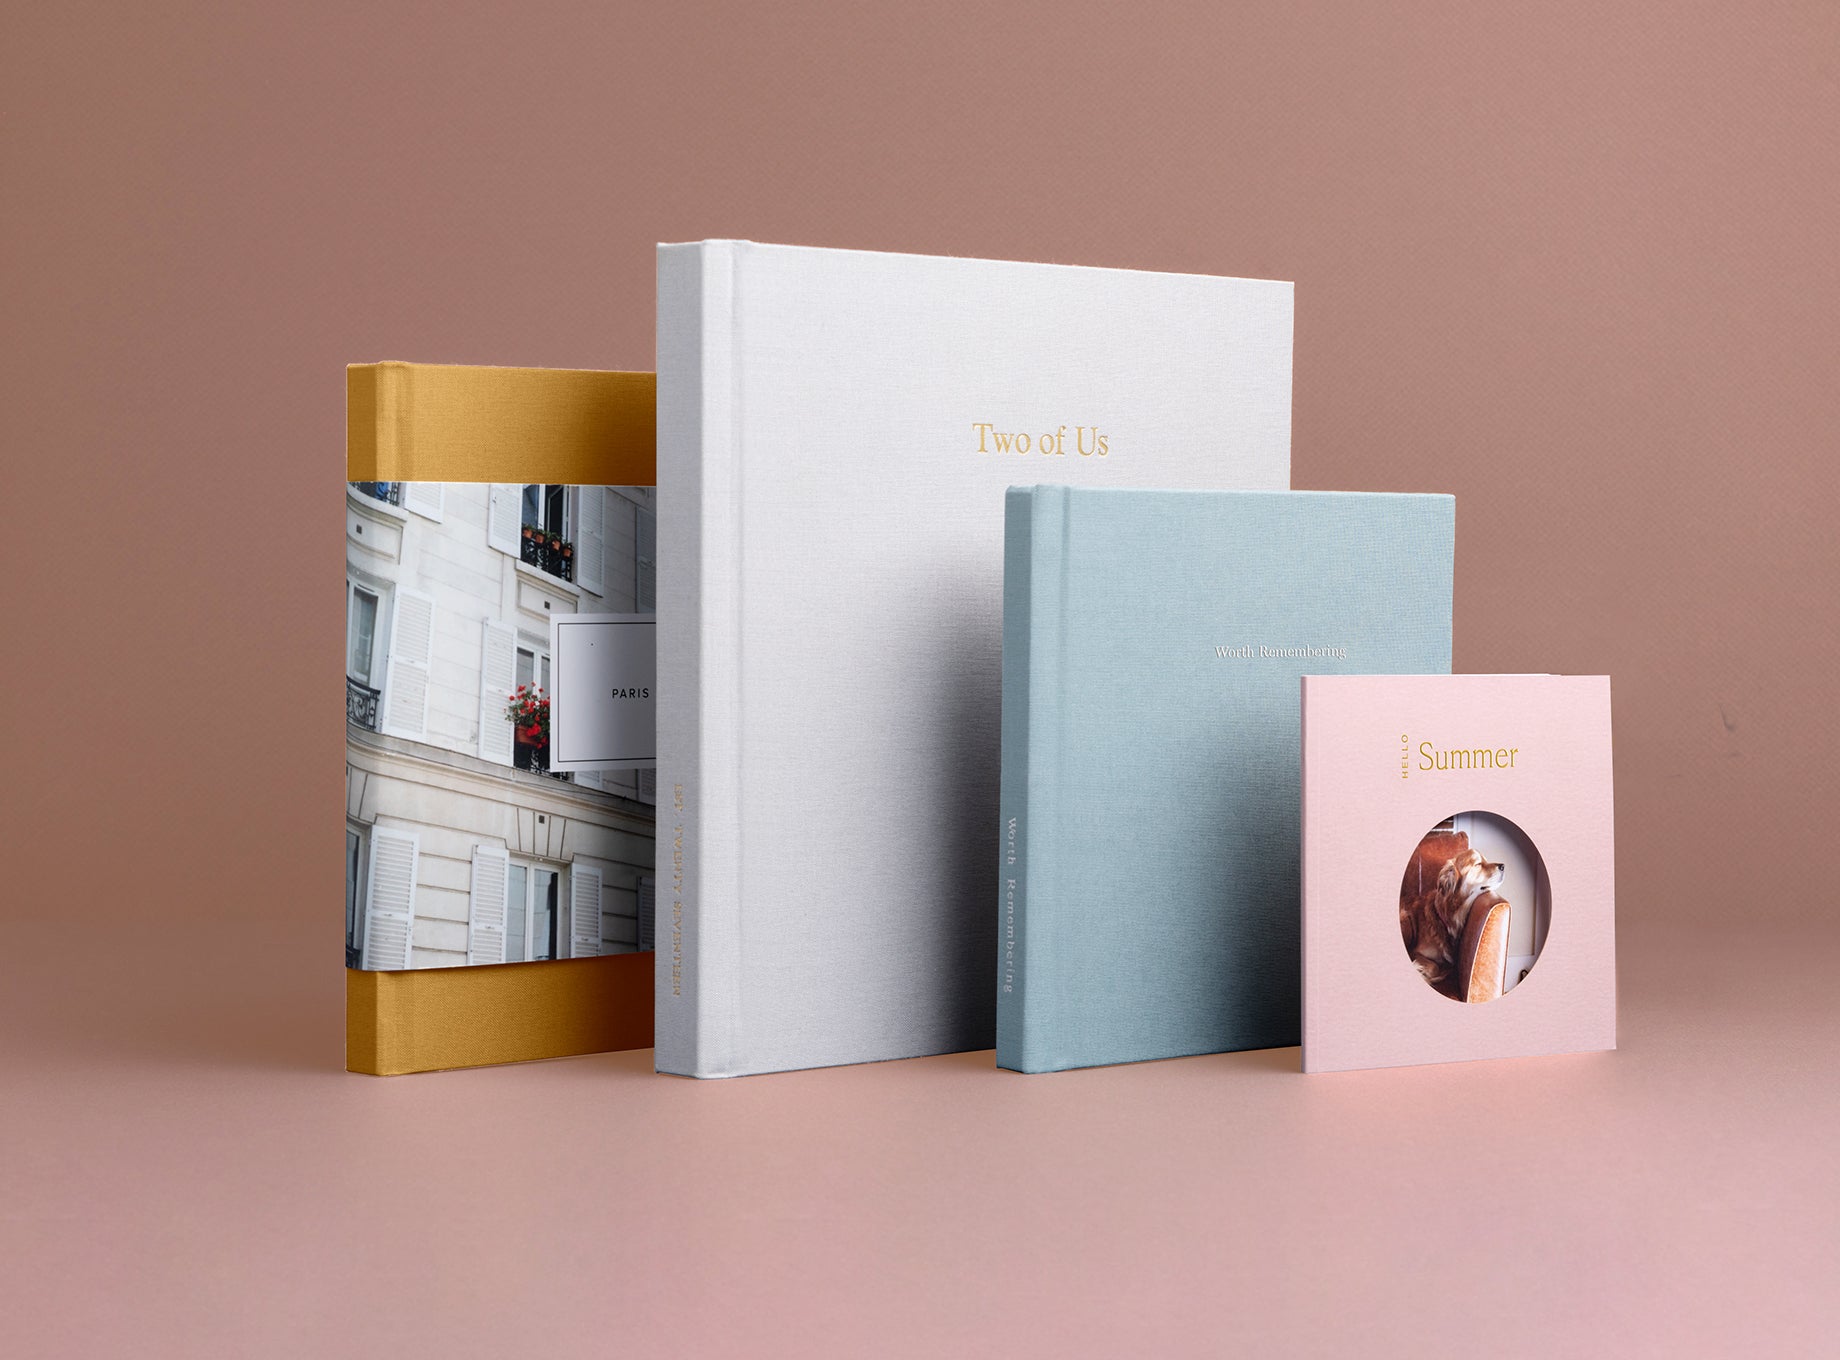
Every wedding has a unique personality, and that should be reflected in print. So
before you start to think about wedding album layout ideas, choose your album with
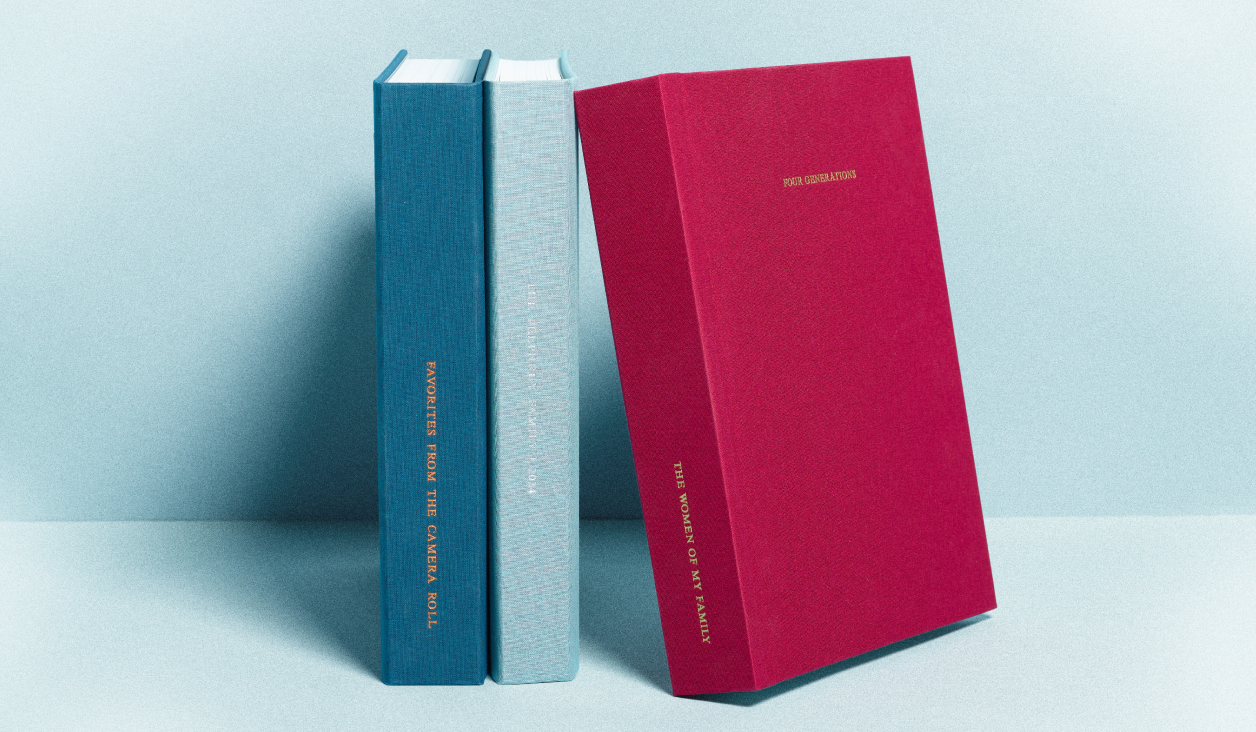
thoughtful intention. A more baroque wedding might feel most at home in a
Signature Layflat Album, while a minimalist wedding will shine in a
Wedding Layflat Album , and a modern wedding could be best suited for a
Hardcover Wedding Photo Book.
Pro Tip: Use our Photo Book Comparison Guide to get a better idea of which album is best for you.
Pro Tip: Use our Photo Book Comparison Guide to get a better idea of which album is best for you.
Crafting the Blueprint:
Planning Your Wedding Album
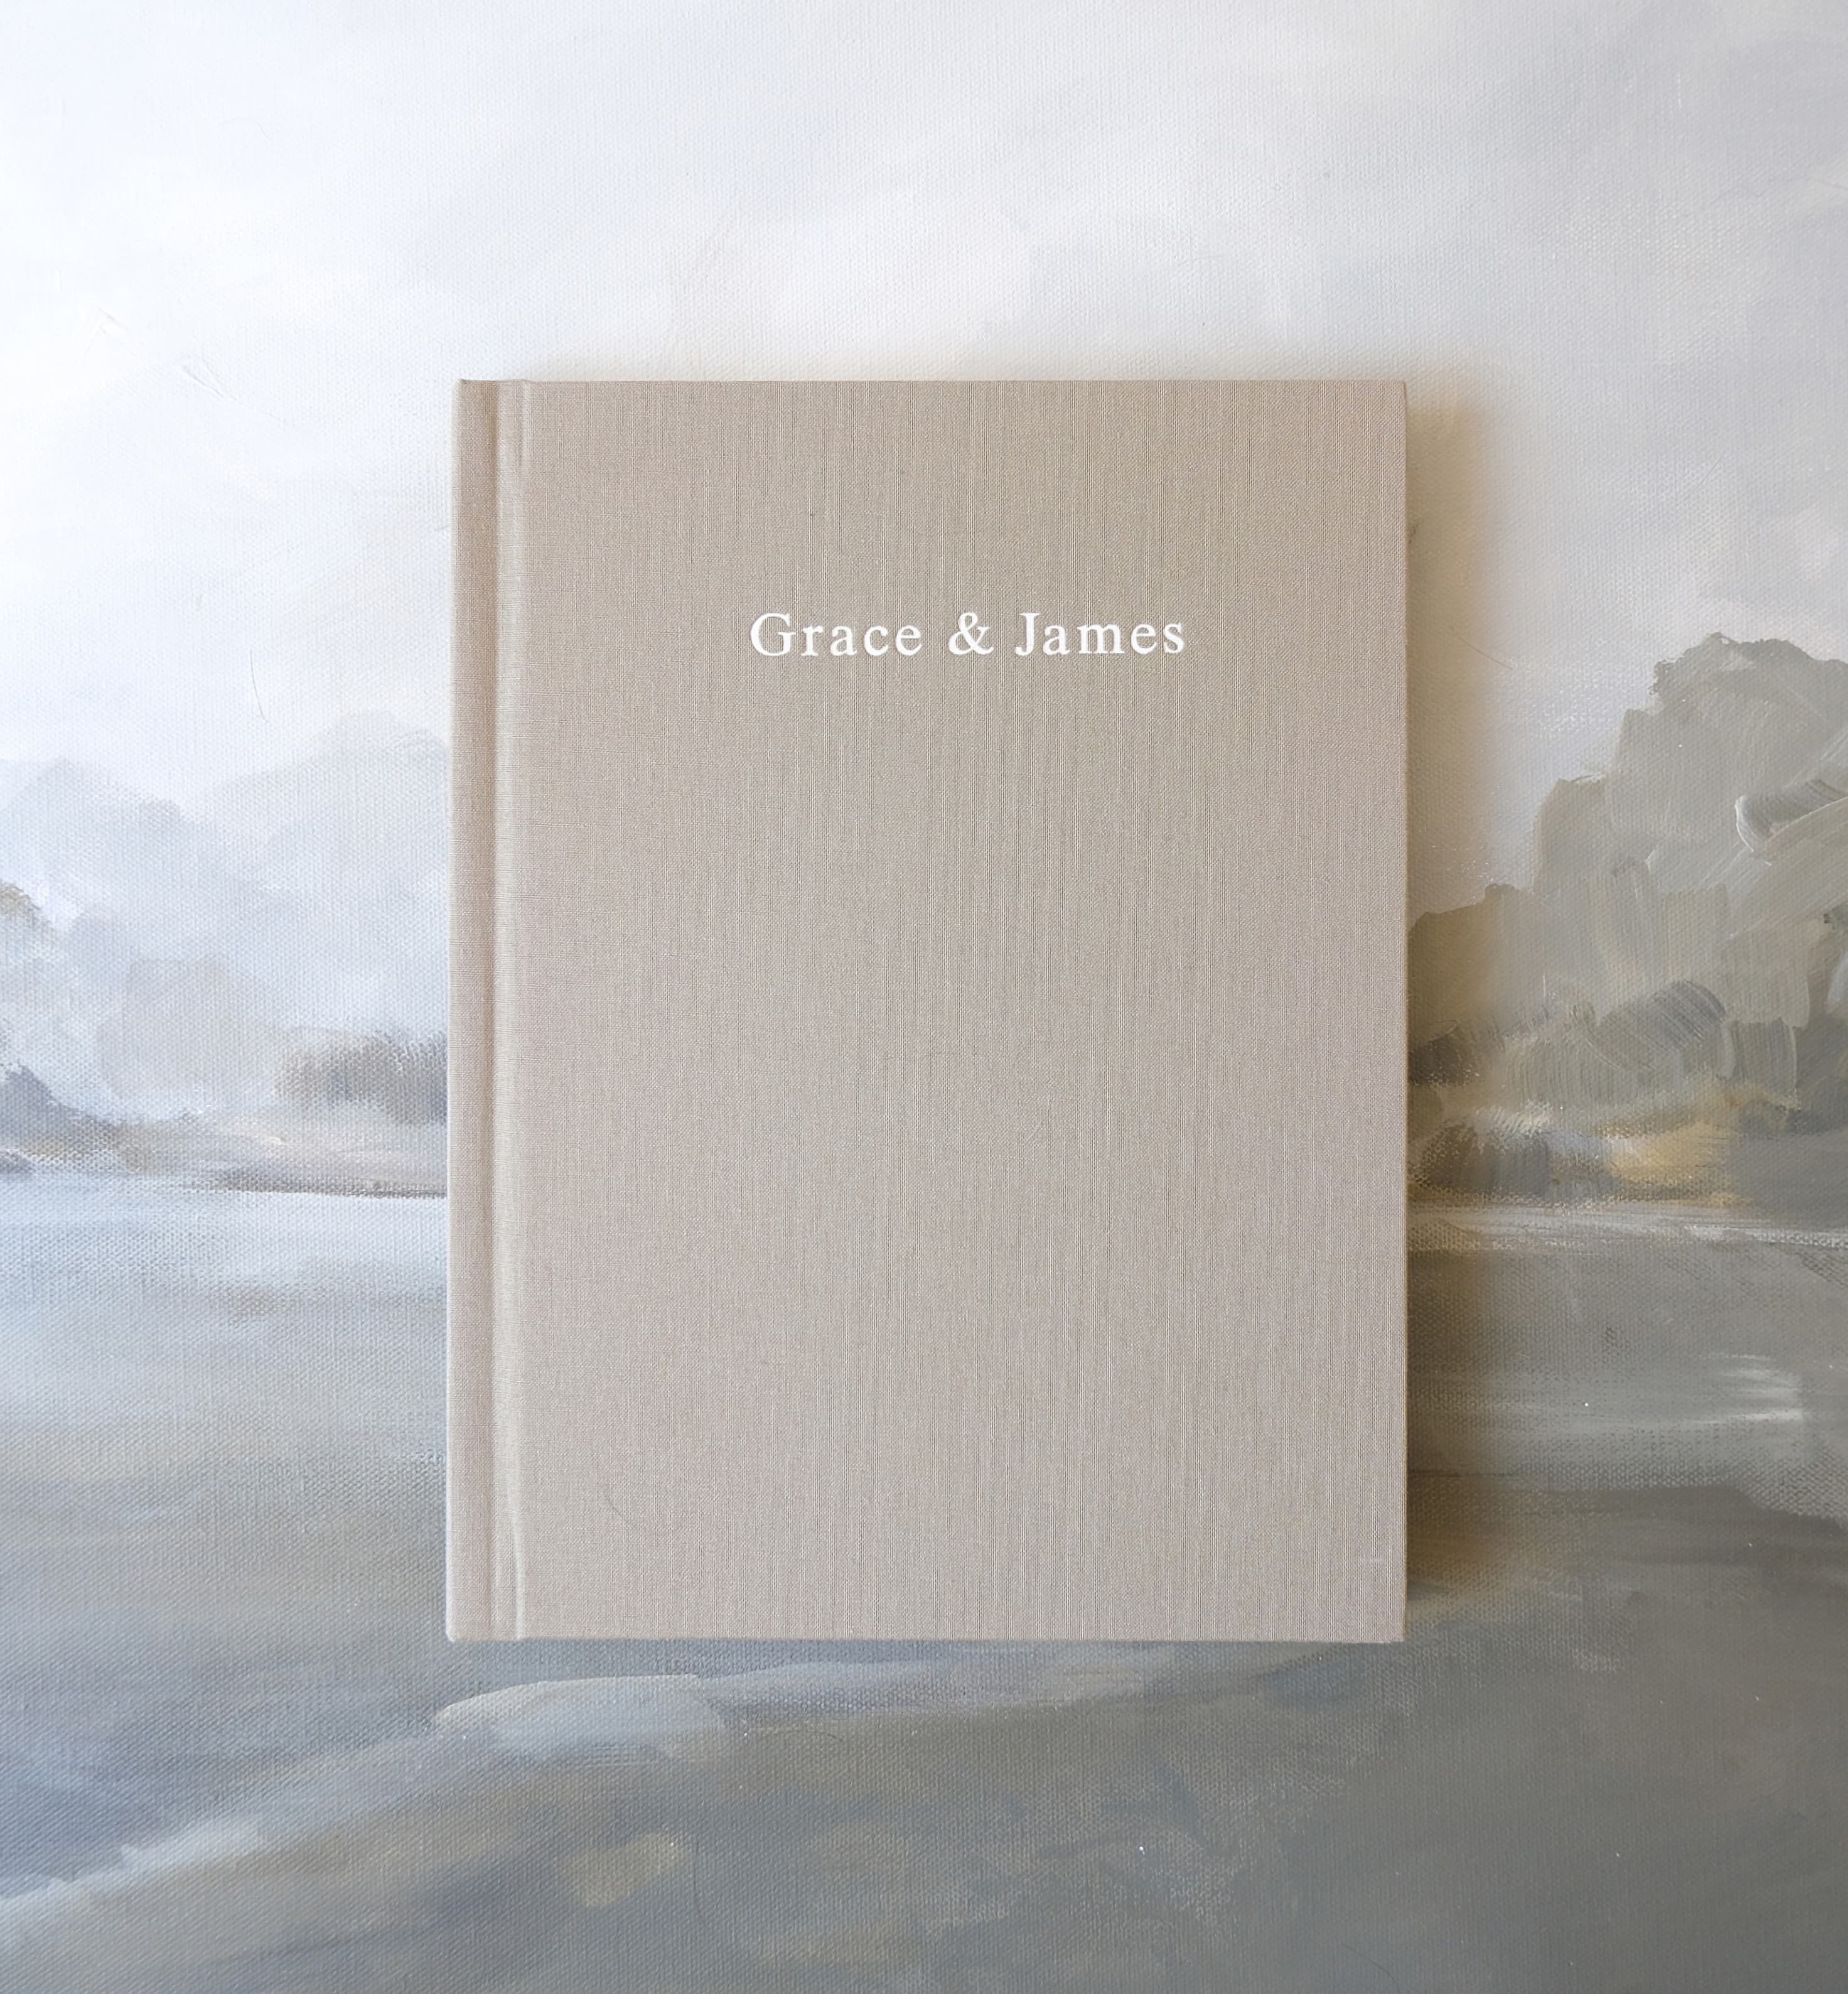
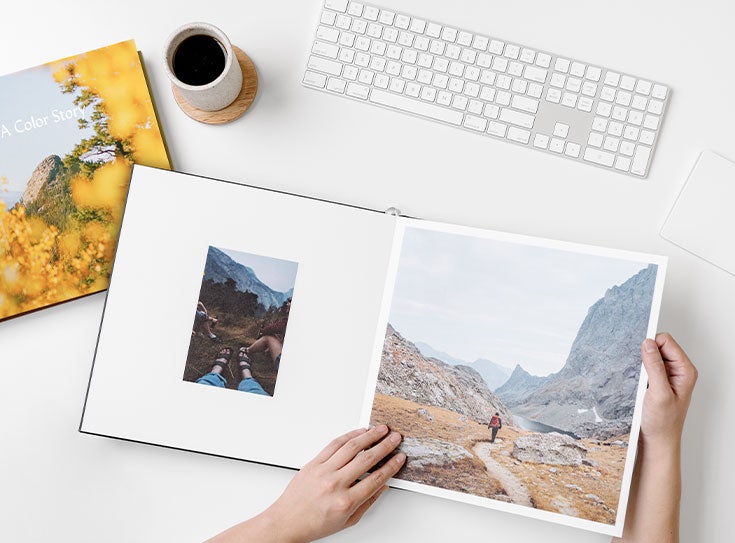
Creating your wedding album is an adventure in storytelling and design. This section
guides you through the foundational steps of crafting your album, from selecting the
perfect materials to meticulously curating your most treasured photos. It's about
laying down the blueprint of your love story, ensuring every page reflects the
beauty and emotion of your special day.
Choosing Your Album's Materials
Your wedding album's materials set the stage for your photos. Opt for the timeless
elegance of leather, the sleek sophistication of a glossy hardcover, or the
understated charm of linen. Select paper that brings your photos to life — be it the
vivid hues of our Lustre paper or the matte, eggshell texture of our Superfine
paper. This choice is your first step in crafting a tangible representation of your
unforgettable day.
Curating Your Memories:
The Photo Selection Process
Dive into the heart of your album: the photos. This selection is more than choosing
images; it's about curating moments that speak volumes. Include a mix of candid
shots, detailed captures, and portraits that together tell a comprehensive story of
your day. Start by gathering all your images and then follow these steps.
Categorize Your Photos
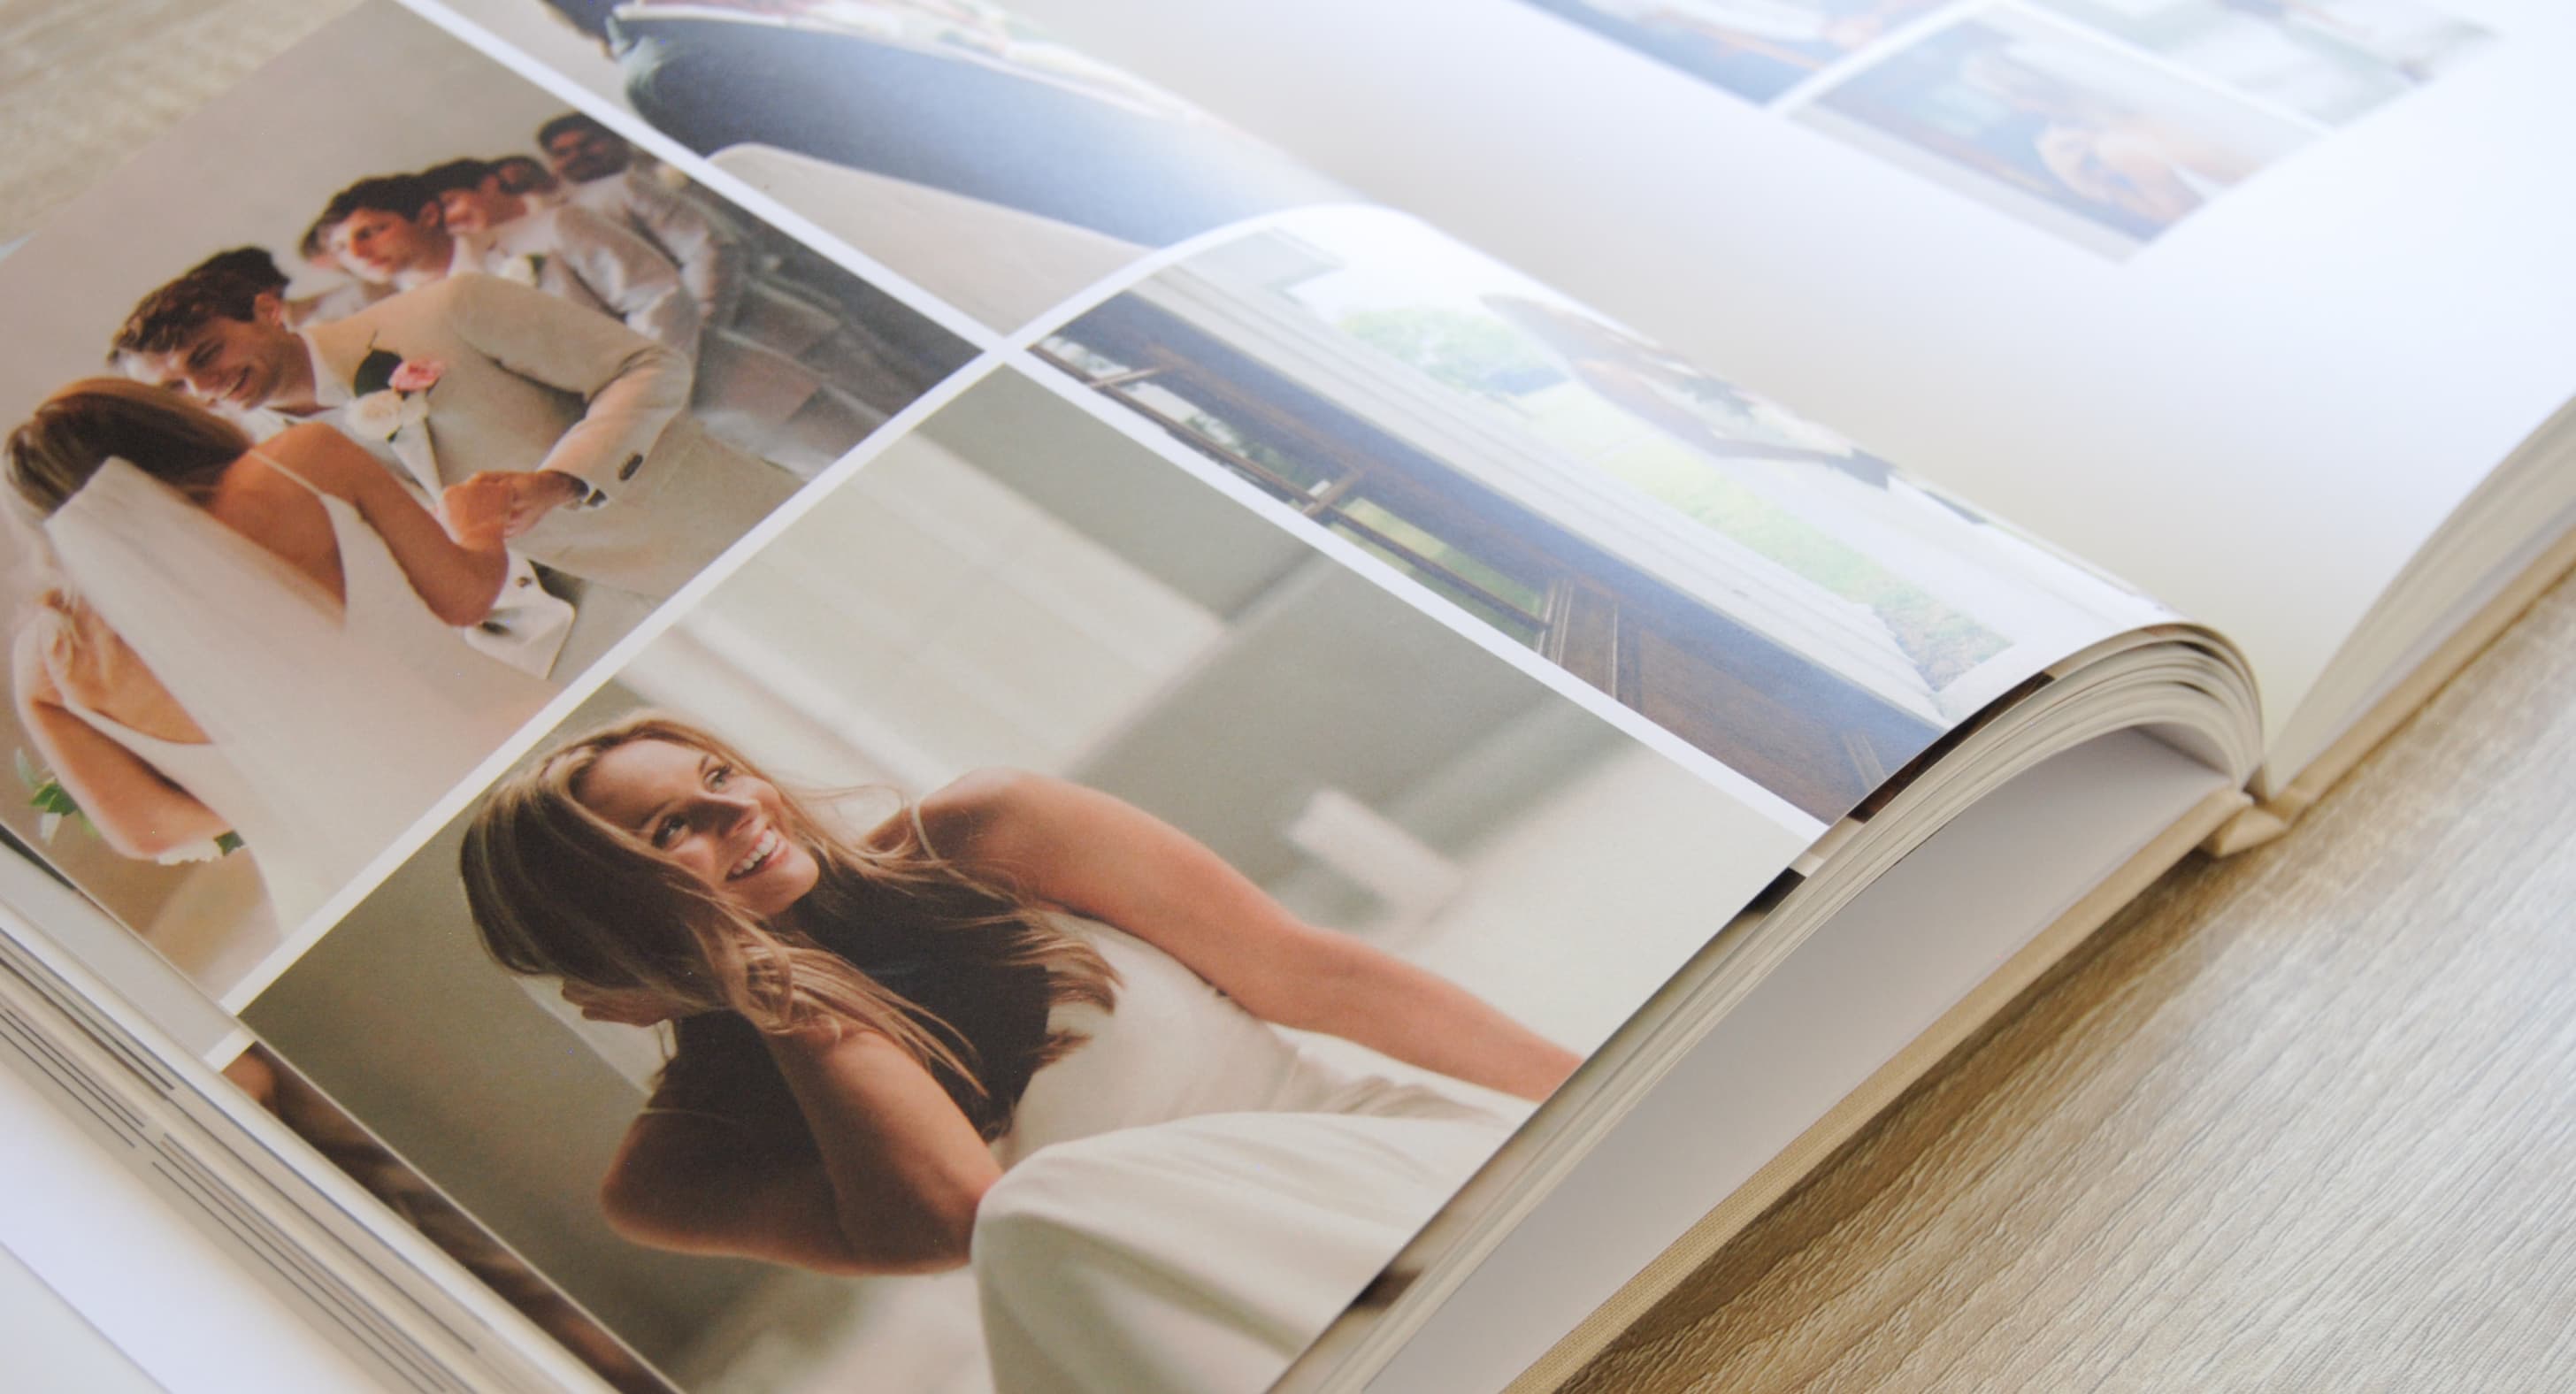
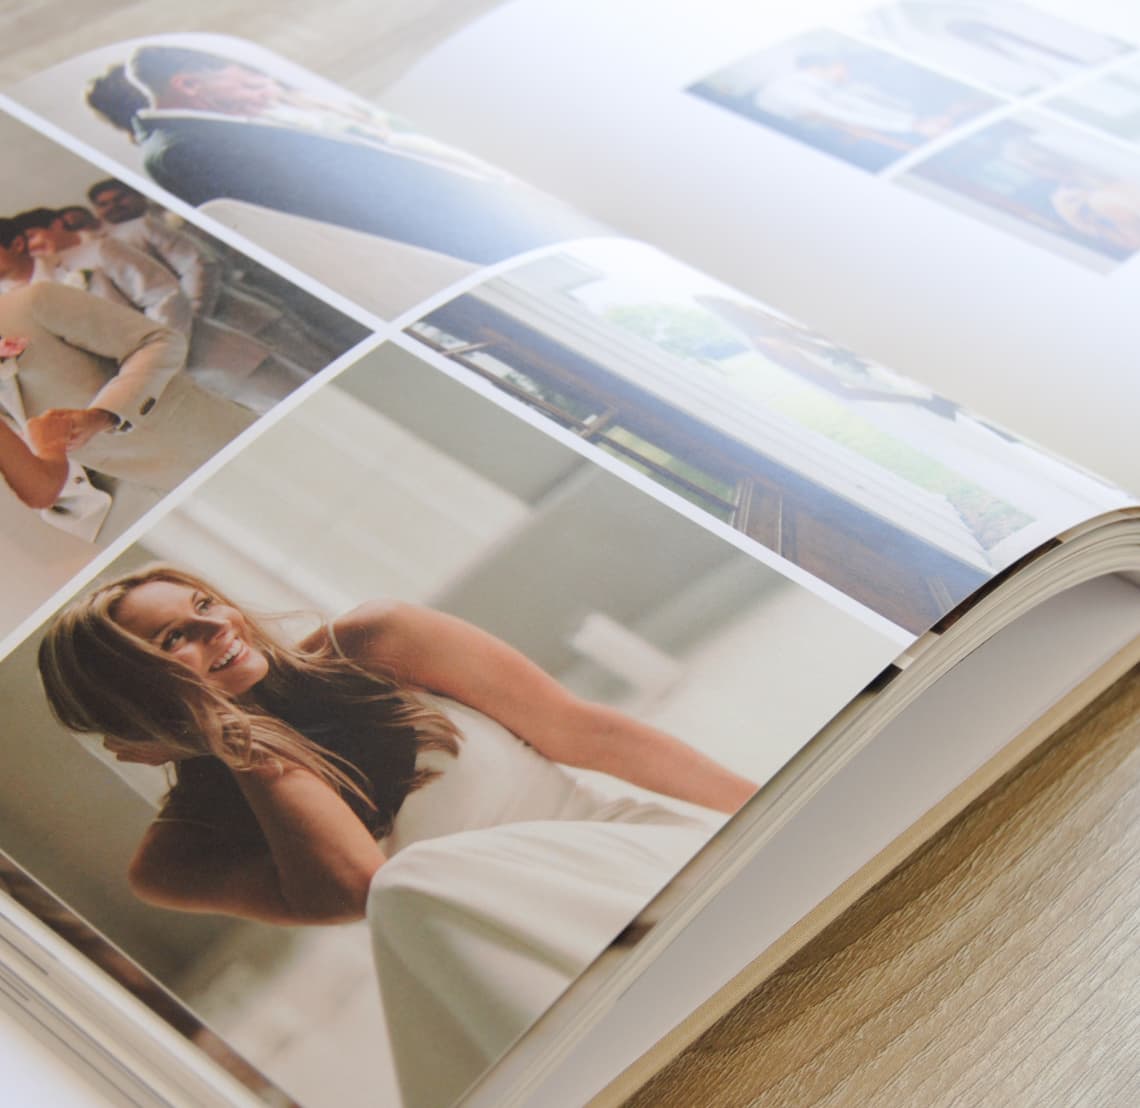
Separate your images into categories such as pre-ceremony, ceremony, portraits, and
reception. This makes it easier to manage and visualize the flow of your album — and
it tells the full story of your big day.
Select Key Moments
Identify and select key moments that are essential to your story. This includes
pivotal events, emotional reactions, and unique details that define your day.
Don't Shy Away From the Details
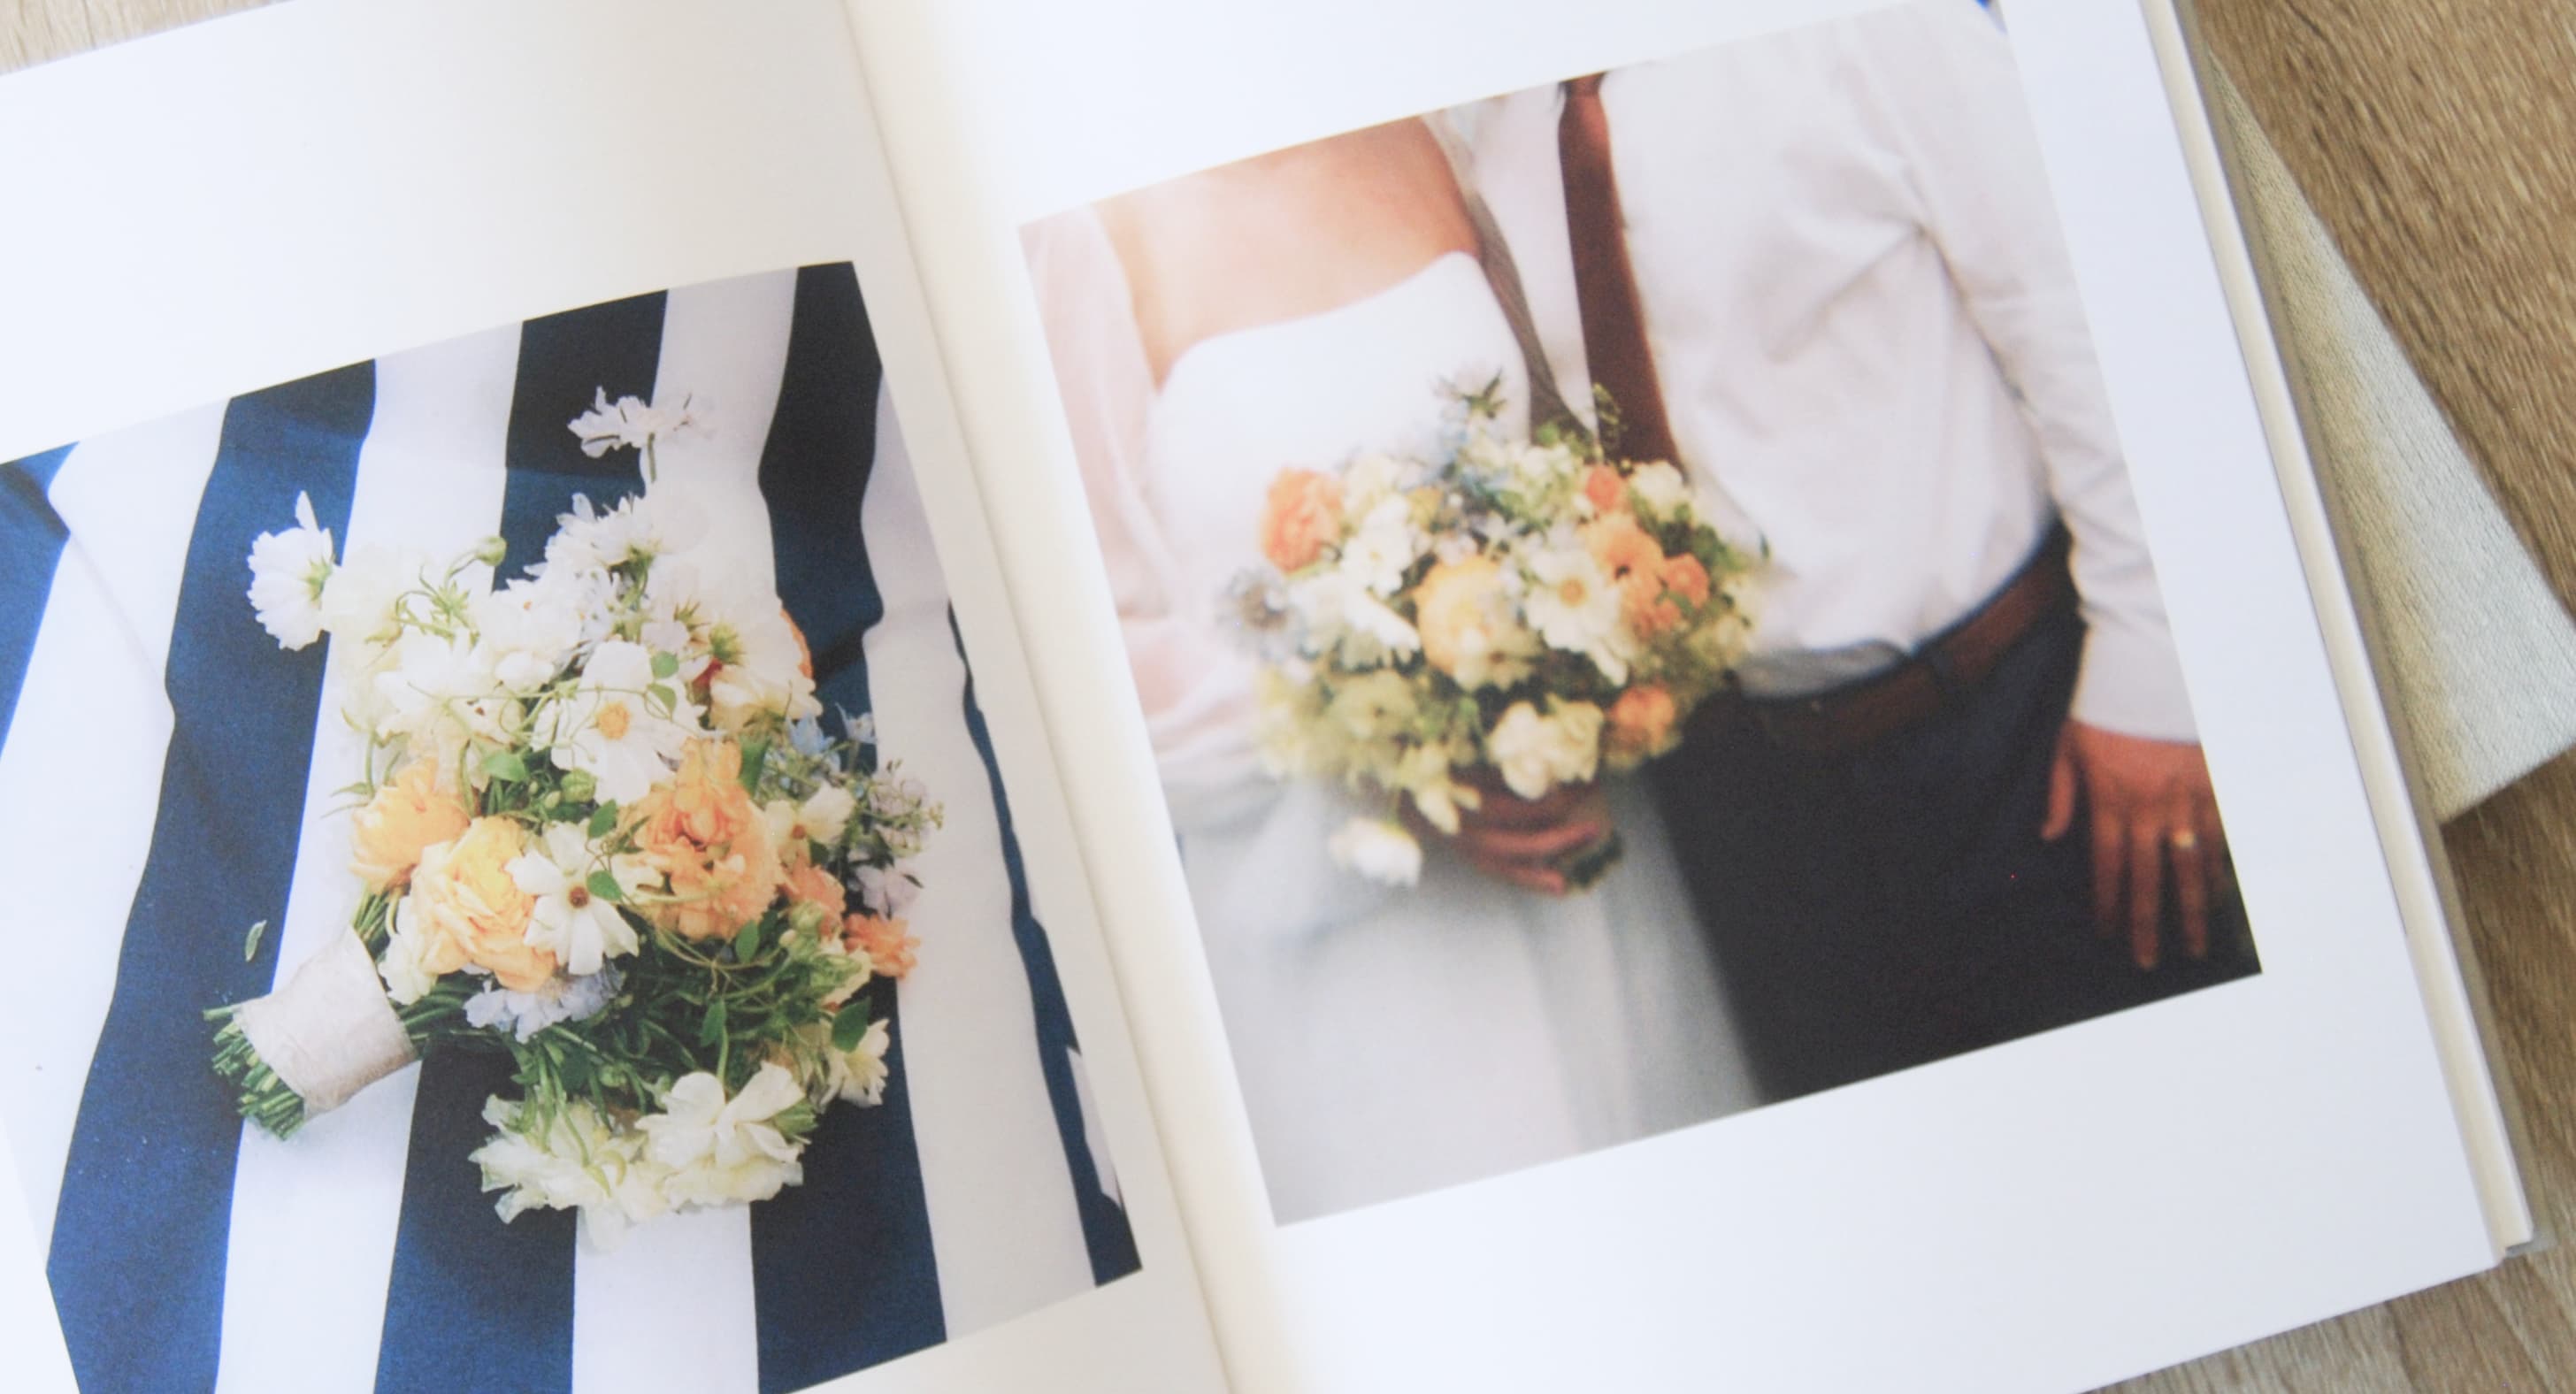
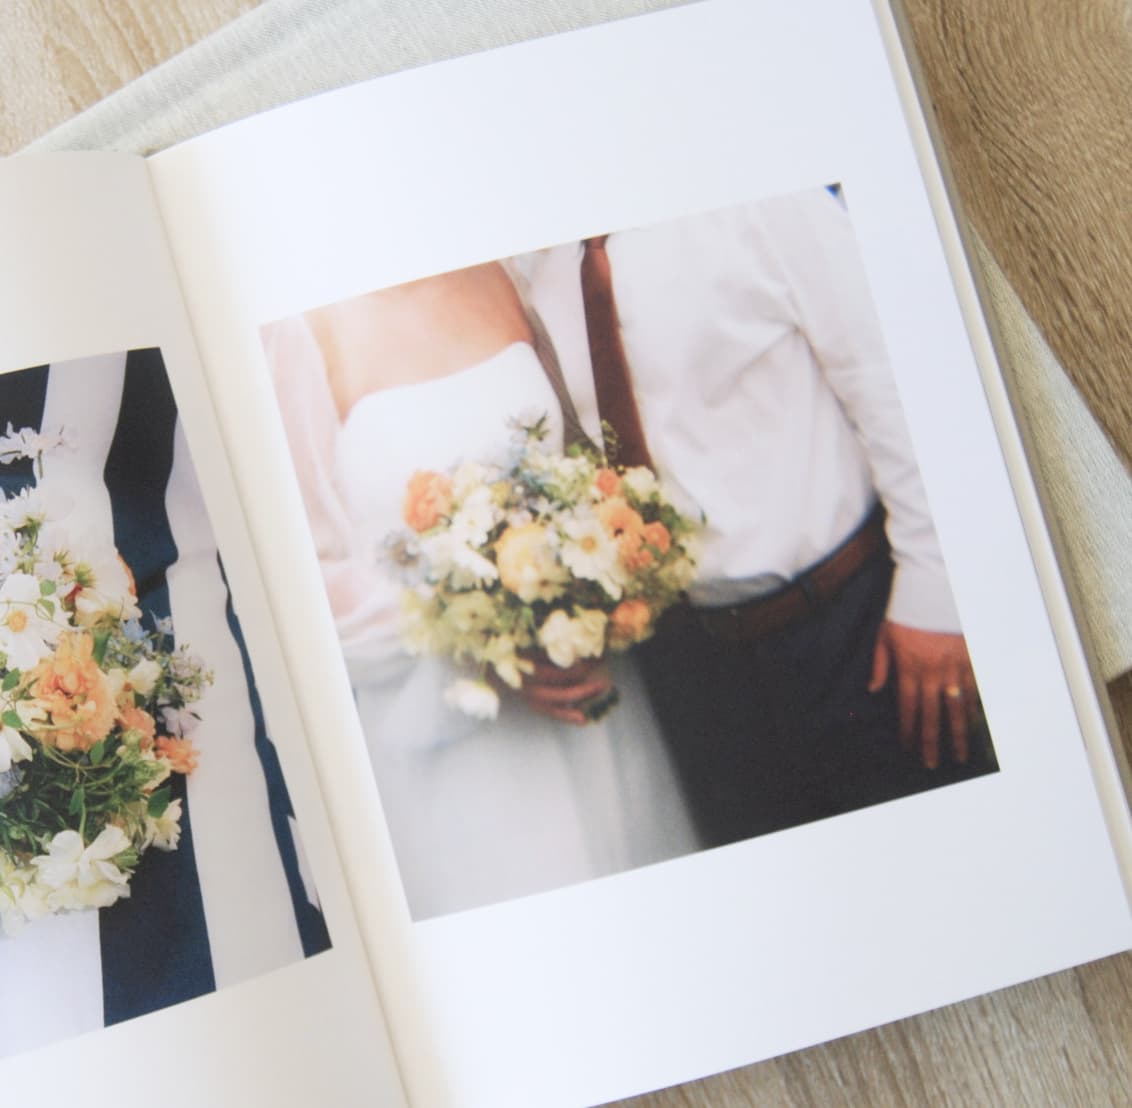
Between all the emotional moments, grand scenes, and familiar faces, there's no harm
in slipping in a visual palette cleanser here and there. Detail shots are a great
way to shift from scene to scene, set the mood for photos that follow, and integrate
an artistic element into your storytelling.
Capture Every Emotion
Let's be honest: weddings are tear-jerkers, and there were surely happy tears abound
through ceremony and speech. But the day is filled with a spectrum of emotions, each
positive and worth honoring in its own way. Maybe it's the cocktail-fueled
jubilation (show us the lie!) of the late-night dance floor or the pensive
butterflies as bride and groom got ready. Find the photos that speak to these
emotions. Give them space in your album. Return to each often.
Make Room for Micro-Moments
Sometimes, it's not just the climax of the scene, it's also the meaningful
micro-moments that manifest along the way. These sorts of little moments bring out
the best in multi-photo layouts, showing the progression of a single scene through
its component parts.
Consider the Narrative Flow
Arrange the selected photos in chronological order or a thematic sequence that best
narrates your wedding day. Aim for a mix of wide shots, close-ups, and candid
moments to keep the narrative engaging.
Start Off Swoon-Worthy
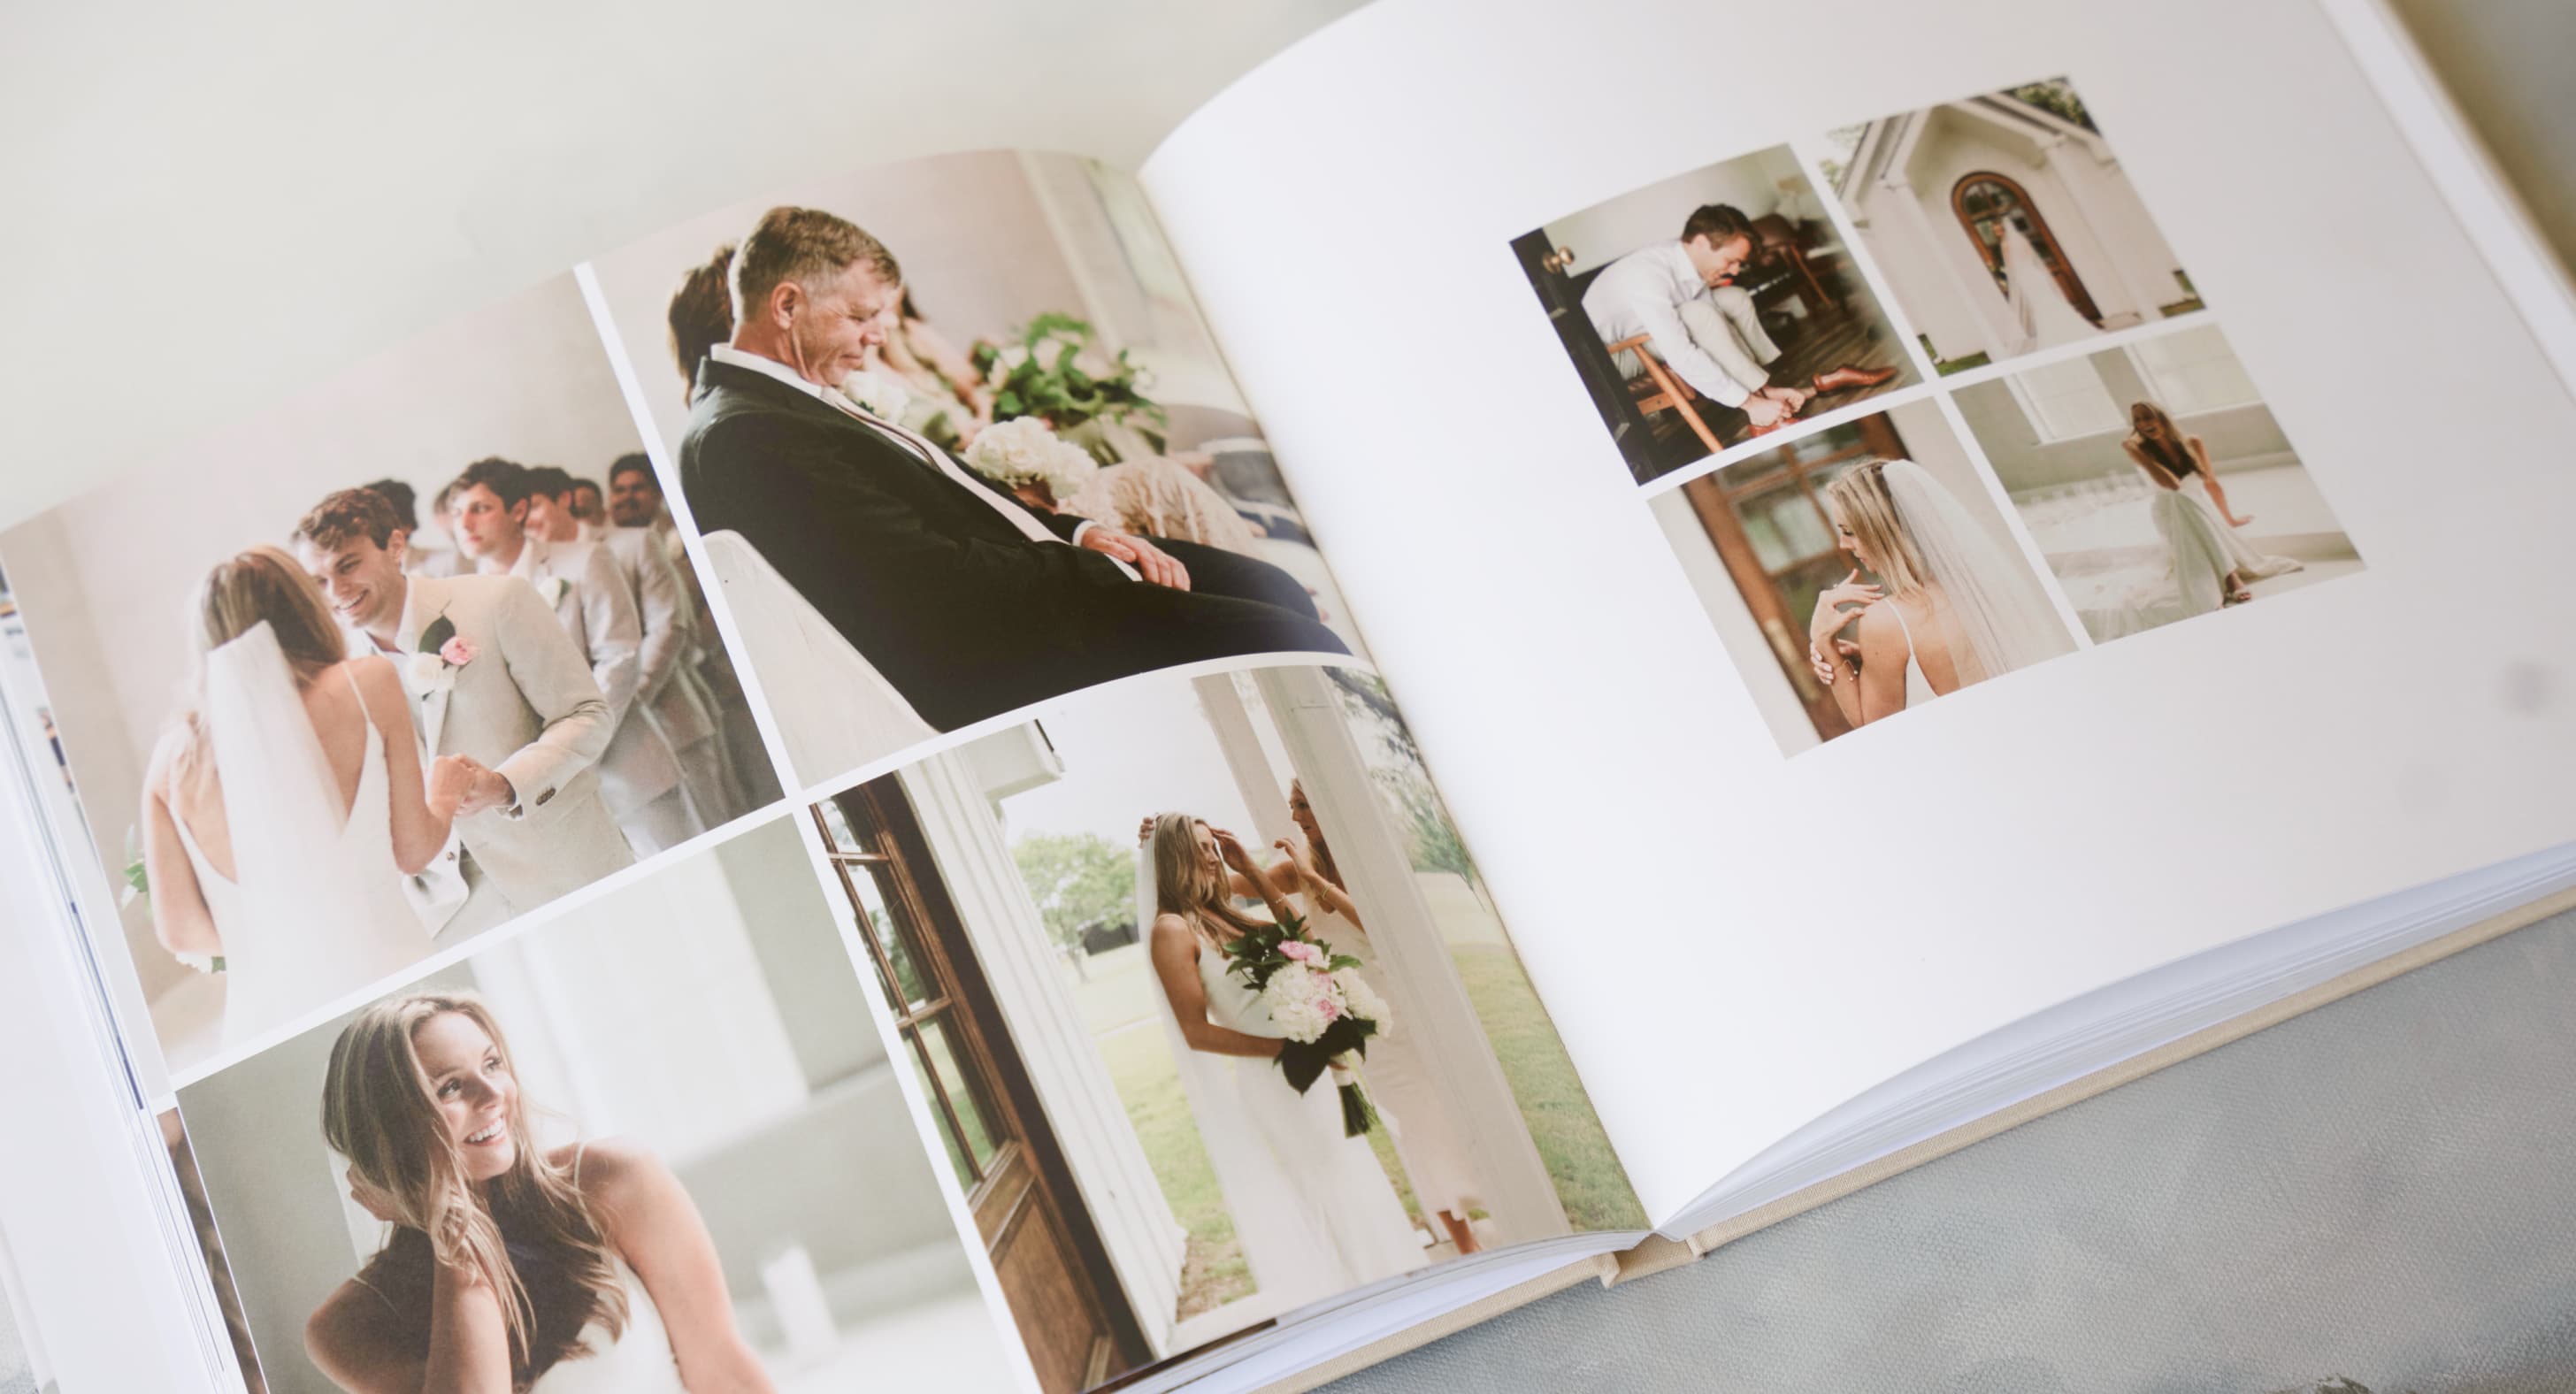
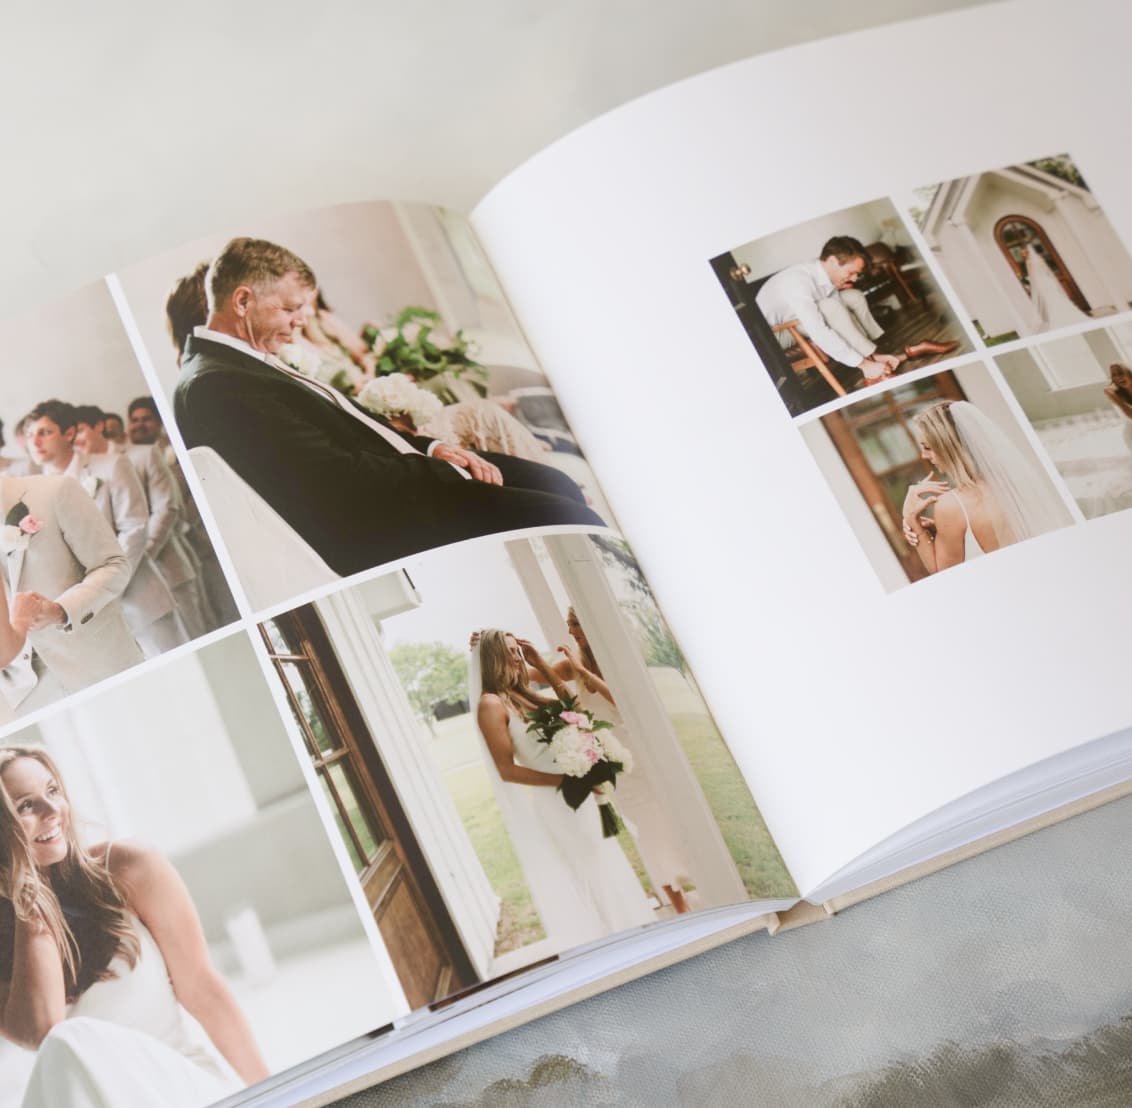
The opening and closing spreads of your album are arguably the most impactful.
Starting with the image that says it all is a powerful way to set the tone — it's
also one of our most loved and approachable wedding photo book ideas. Even if you're
ordering things chronologically (which is usually the easiest!), take some liberties
here by following your heart and putting a favorite front and center.
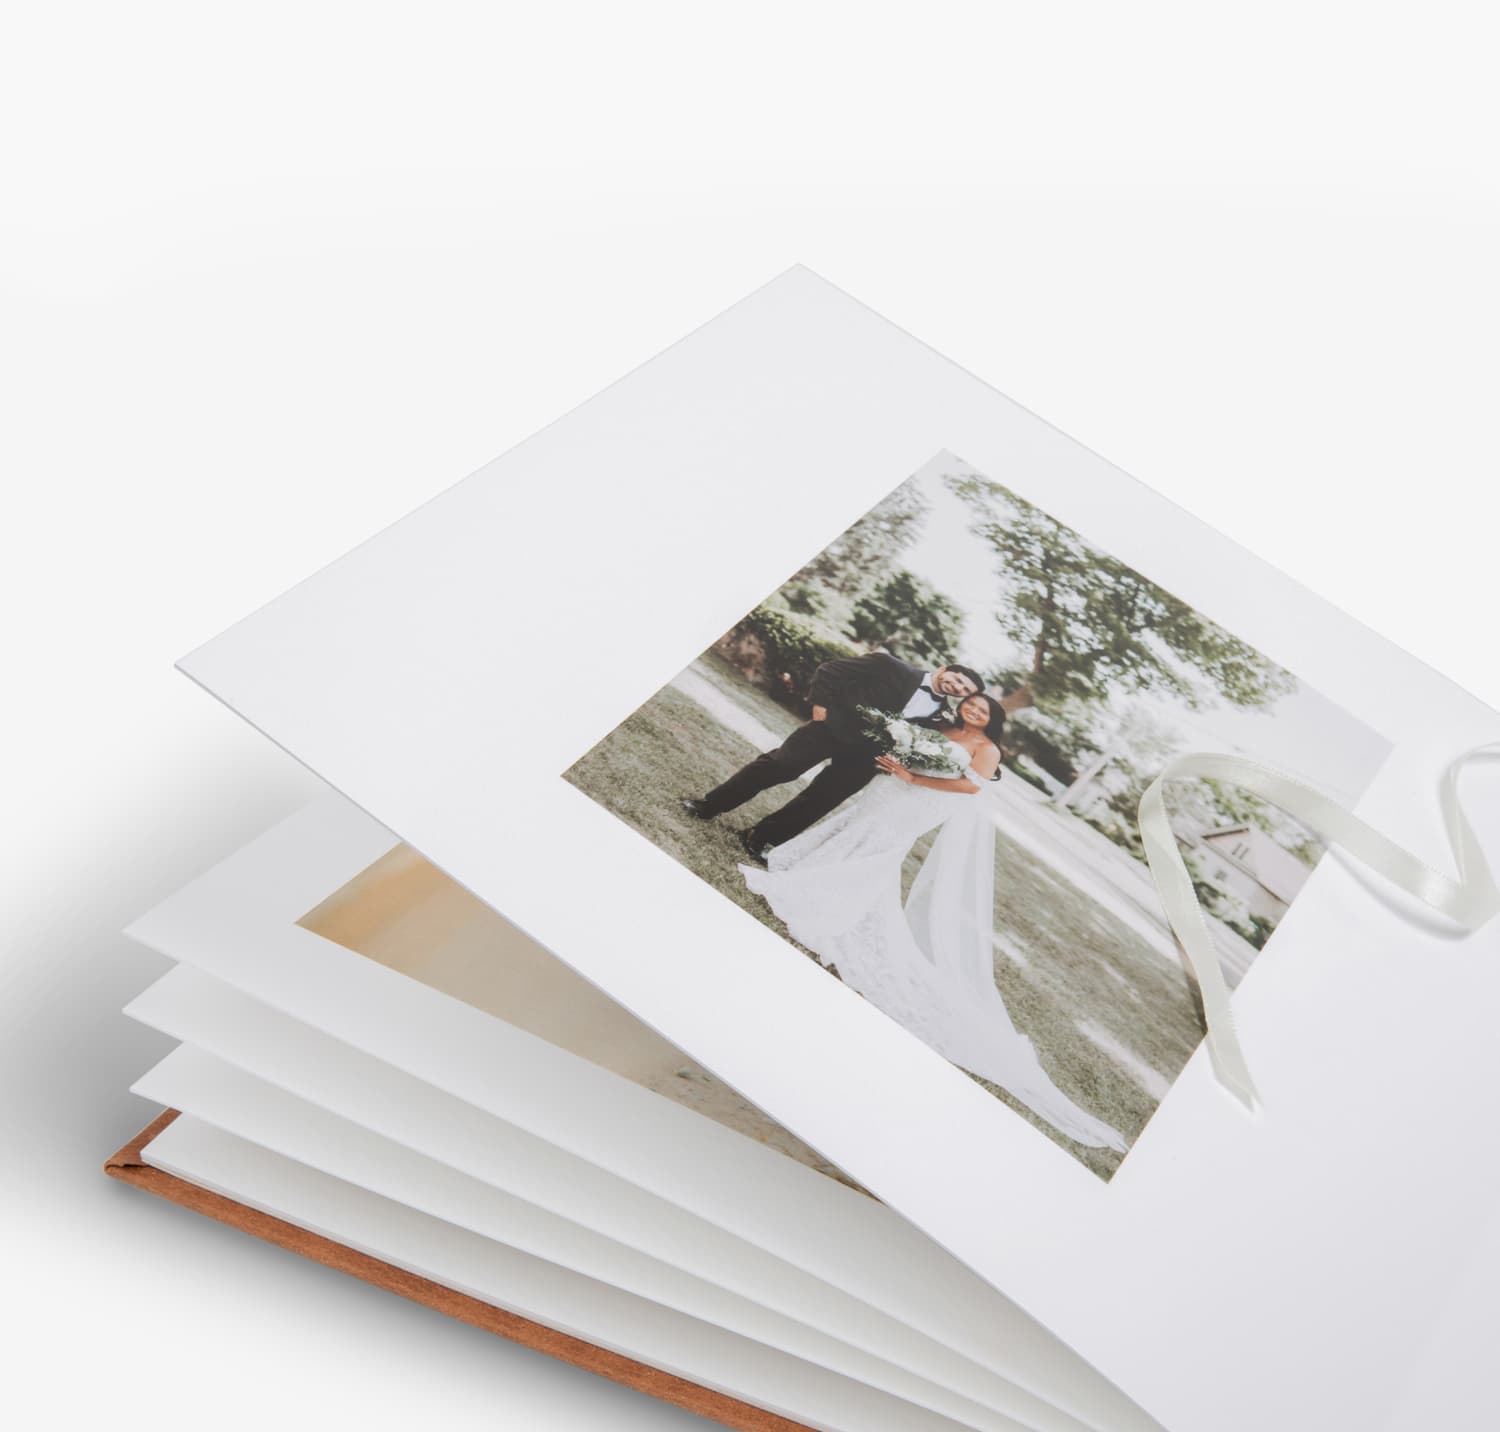
Use of White Space
Don't underestimate the power of white space. It frames your photos, giving each
moment room to breathe. This minimalist approach can emphasize the photos' emotional
impact.
Balance and Variety
With more than 100 different layouts at your disposal, there's no shortage of ways
to shape the narrative. Infusing layout variety from page to page can go a long way
in adding intrigue and aesthetic appeal to your album.
That doesn't have to mean packing it with photos! If you want to stick to a single photo per page, variety can still be achieved by switching up shape, size, and positioning from page to page.
That doesn't have to mean packing it with photos! If you want to stick to a single photo per page, variety can still be achieved by switching up shape, size, and positioning from page to page.
Final Review and Adjust
Once you've laid out your photos, review the album as a whole. Adjust as necessary
to ensure the album flows smoothly and every page contributes to the storytelling.
By carefully selecting and organizing your photos, you'll create an album that beautifully encapsulates the essence of your special day.
By carefully selecting and organizing your photos, you'll create an album that beautifully encapsulates the essence of your special day.
Designing With Purpose:
Layout Ideas That Speak
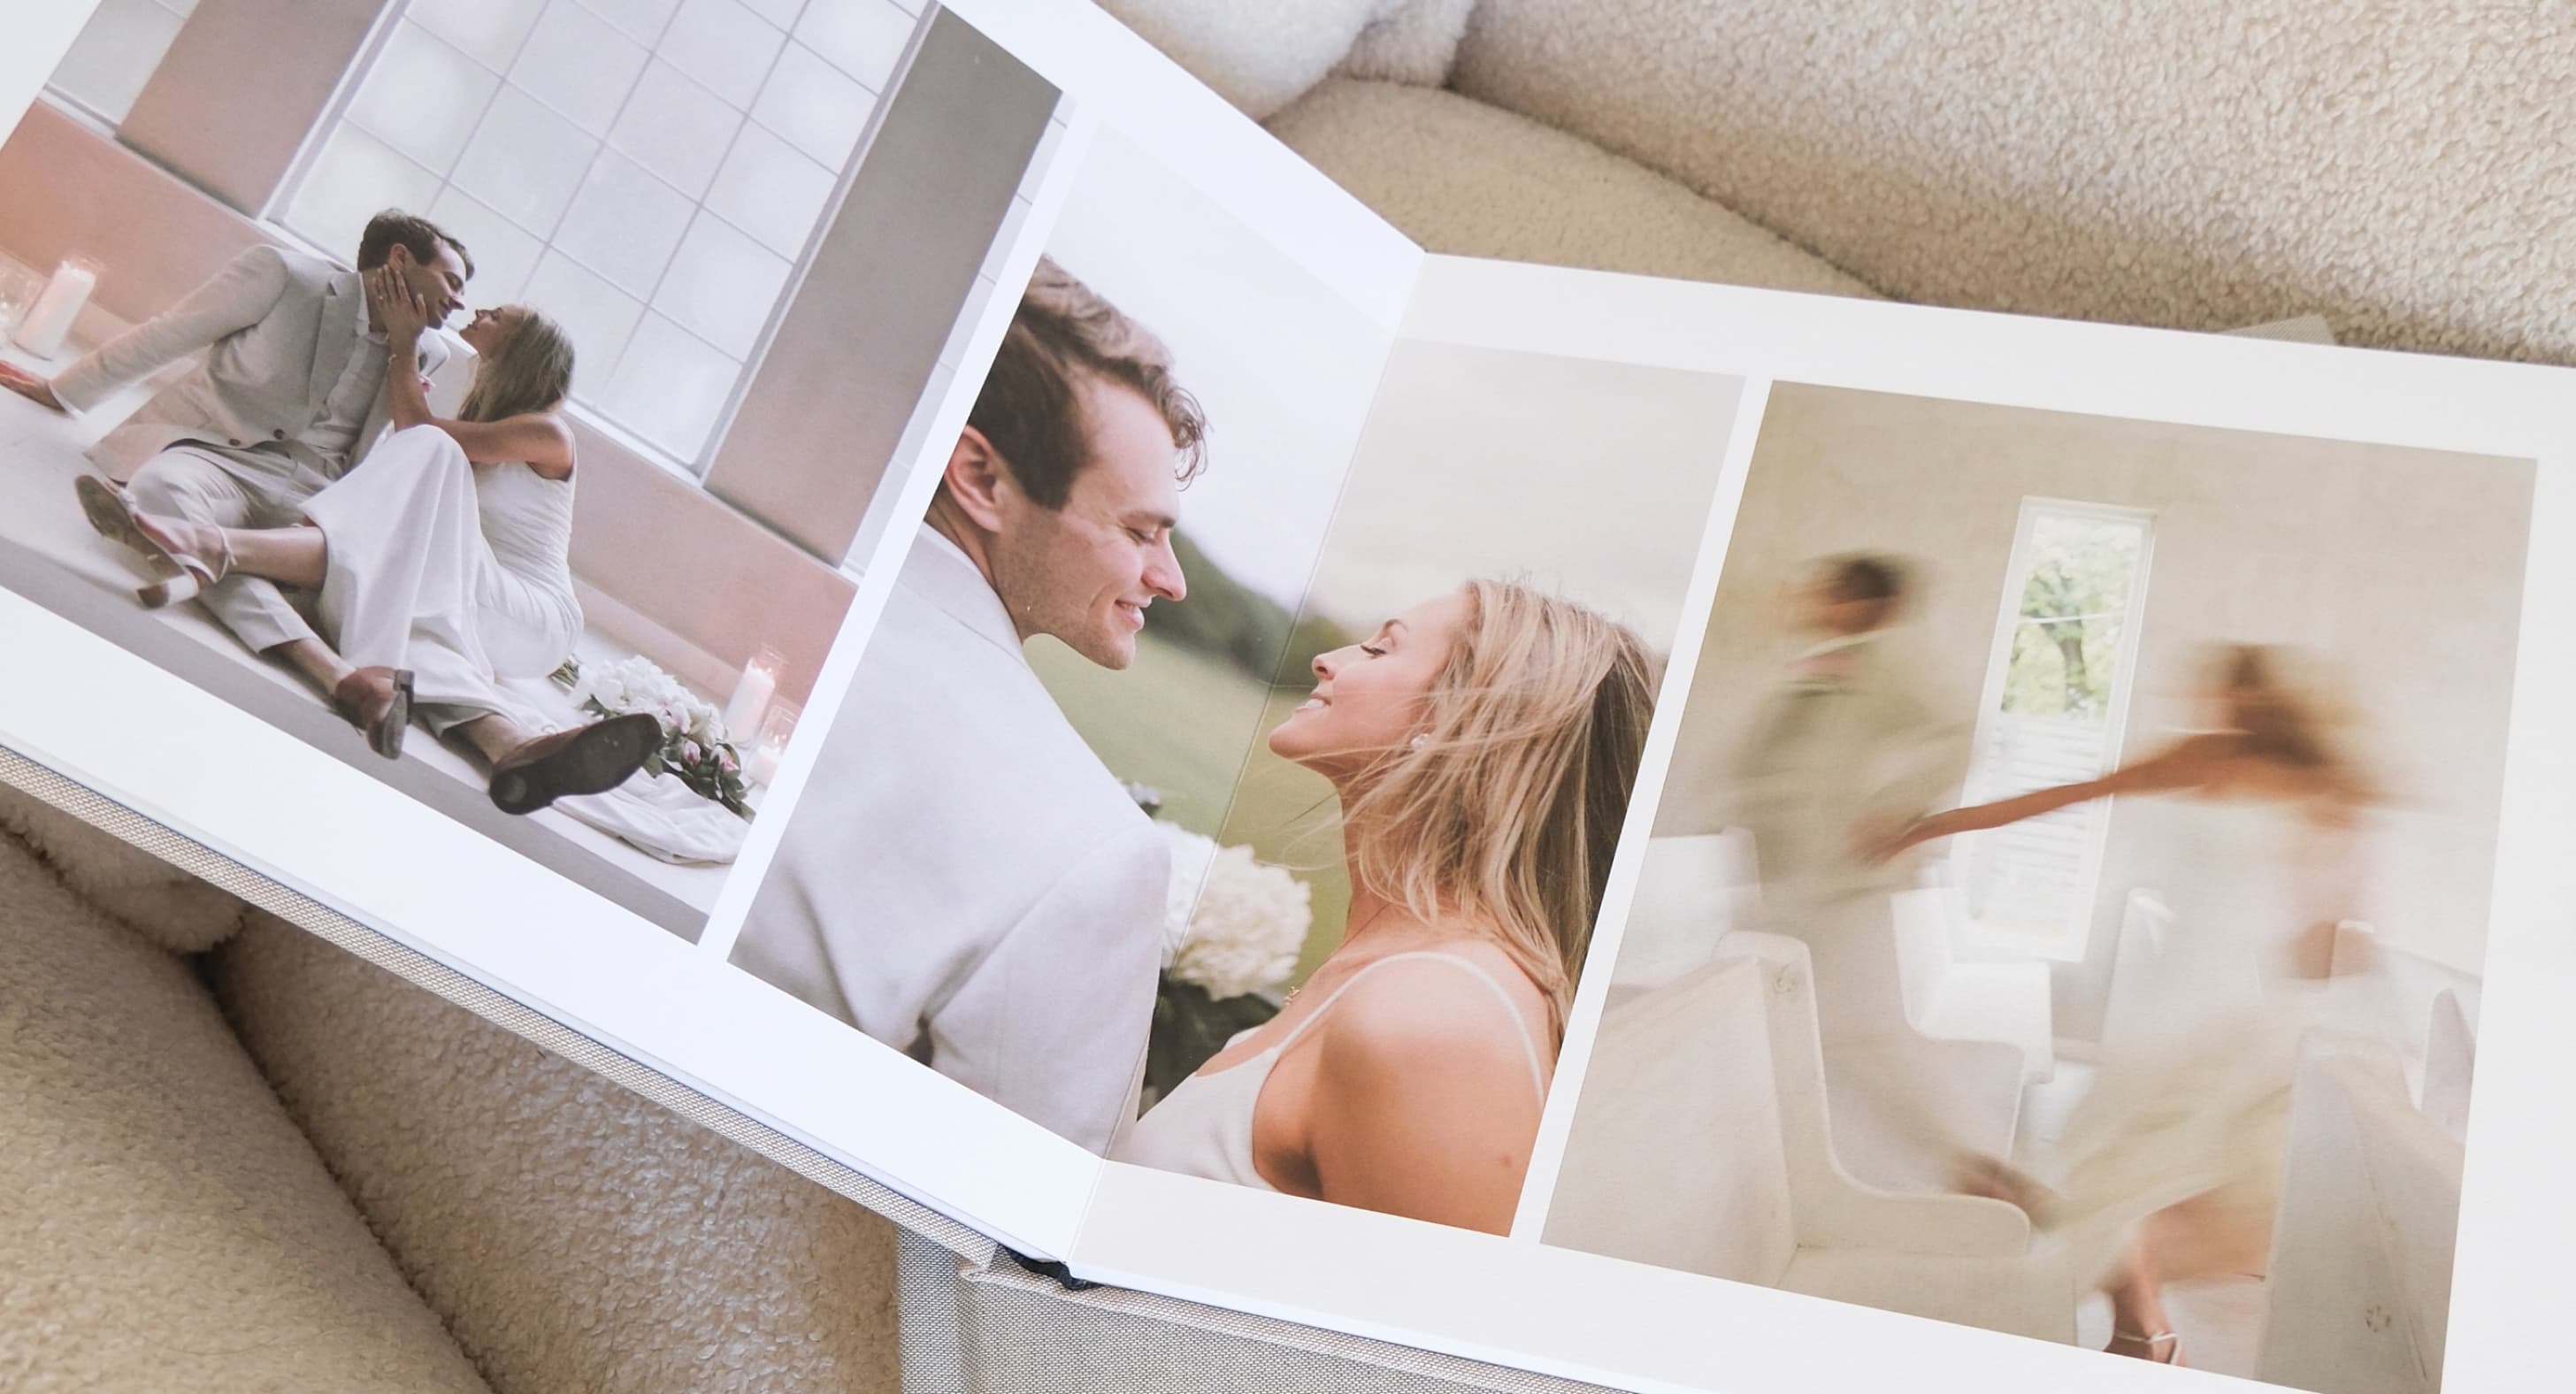
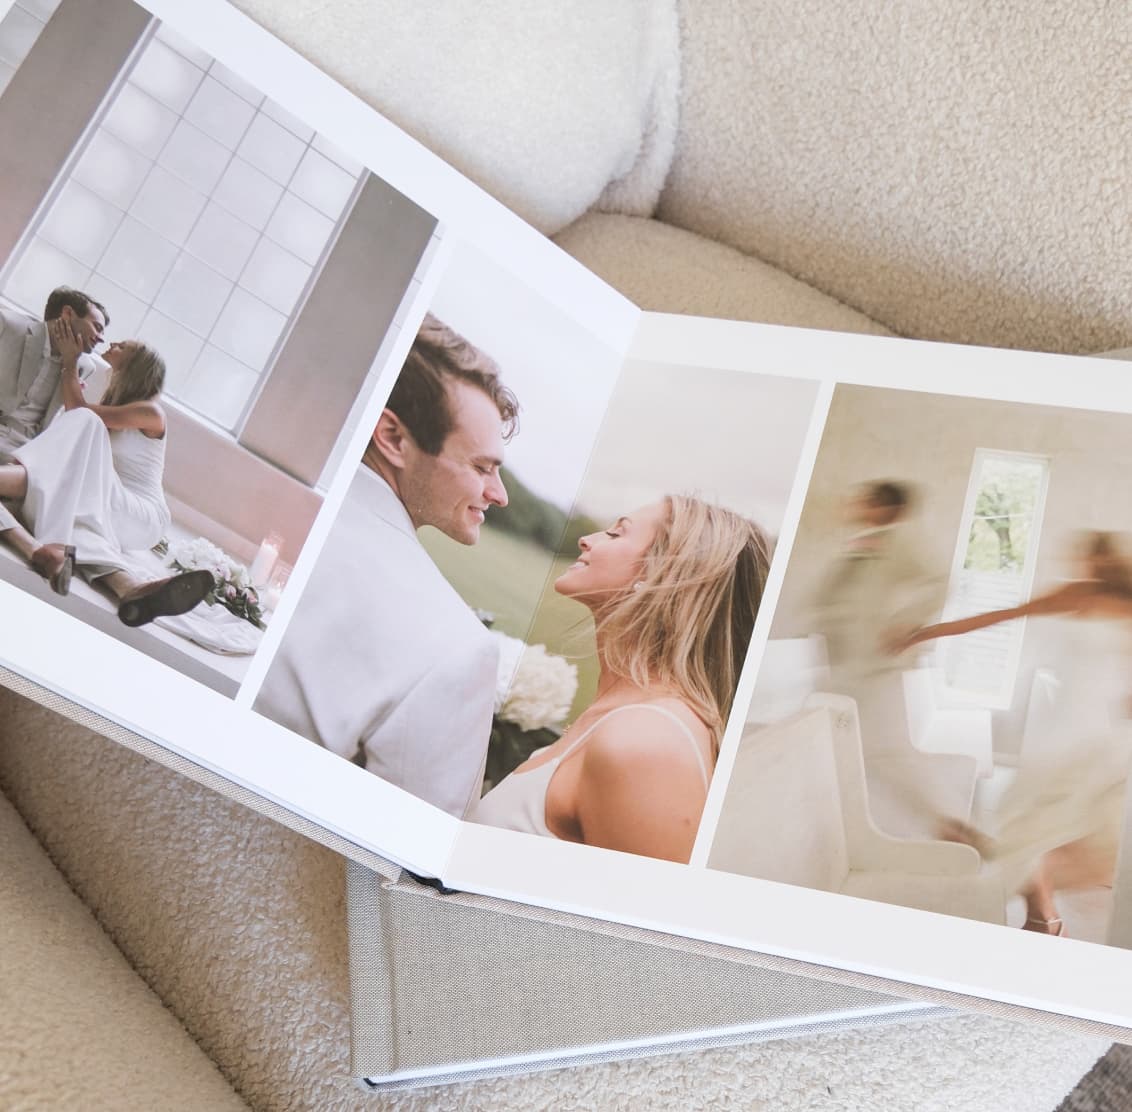
Wedding album layout ideas come a dime a dozen, but after thousands of albums, we've
found a framework that works well for getting beyond the blank page. Start with this
simple template as ground zero, deviating from the formula as your own vision
emerges along the way.
Note: The photos below use layouts available in our Wedding Layflat Album. Not all of these layouts will be available outside of our Layflat series!
Note: The photos below use layouts available in our Wedding Layflat Album. Not all of these layouts will be available outside of our Layflat series!
Wedding Album Template
Front Cover: Choose an impactful image that sets the tone for your album.
Opening Scene: 1 Spread featuring the venue or a significant setting detail.
Pre-Wedding Preparations: 2-3 Spreads of getting ready moments with close ones.
First Look & Portraits: 3-4 Spreads capturing the first look and couple portraits.
Detail Highlights: 1 Spread dedicated to the wedding's intricate details like cake and decor.
Family & Friends: 2-3 Spreads each for family moments and fun with the wedding party.
The Ceremony: 3-5 Spreads showcasing key ceremony moments, including panoramic views.
Candid Discoveries: 1 Spread for unexpected, candid shots.
Celebratory Cocktails: 1-2 Spreads of the cocktail hour’s ambiance and guest interactions.
Toast & Dance: 1-3 Spreads each for toasts and dances, capturing emotions and movements such as your reaction to the best man's speech, the first dance with your spouse, and moments with your parents.
Reception Revelries: 1-2 Spreads focusing on reception highlights and favorite memories.
Farewell Moment: 1-2 Spreads with a parting shot - your grand adieu, the final kiss of the night, or that shot that strikes just the right sentiment.
Back Cover: Conclude with an image or design that resonates with your journey.
Personalizing Your Wedding Album
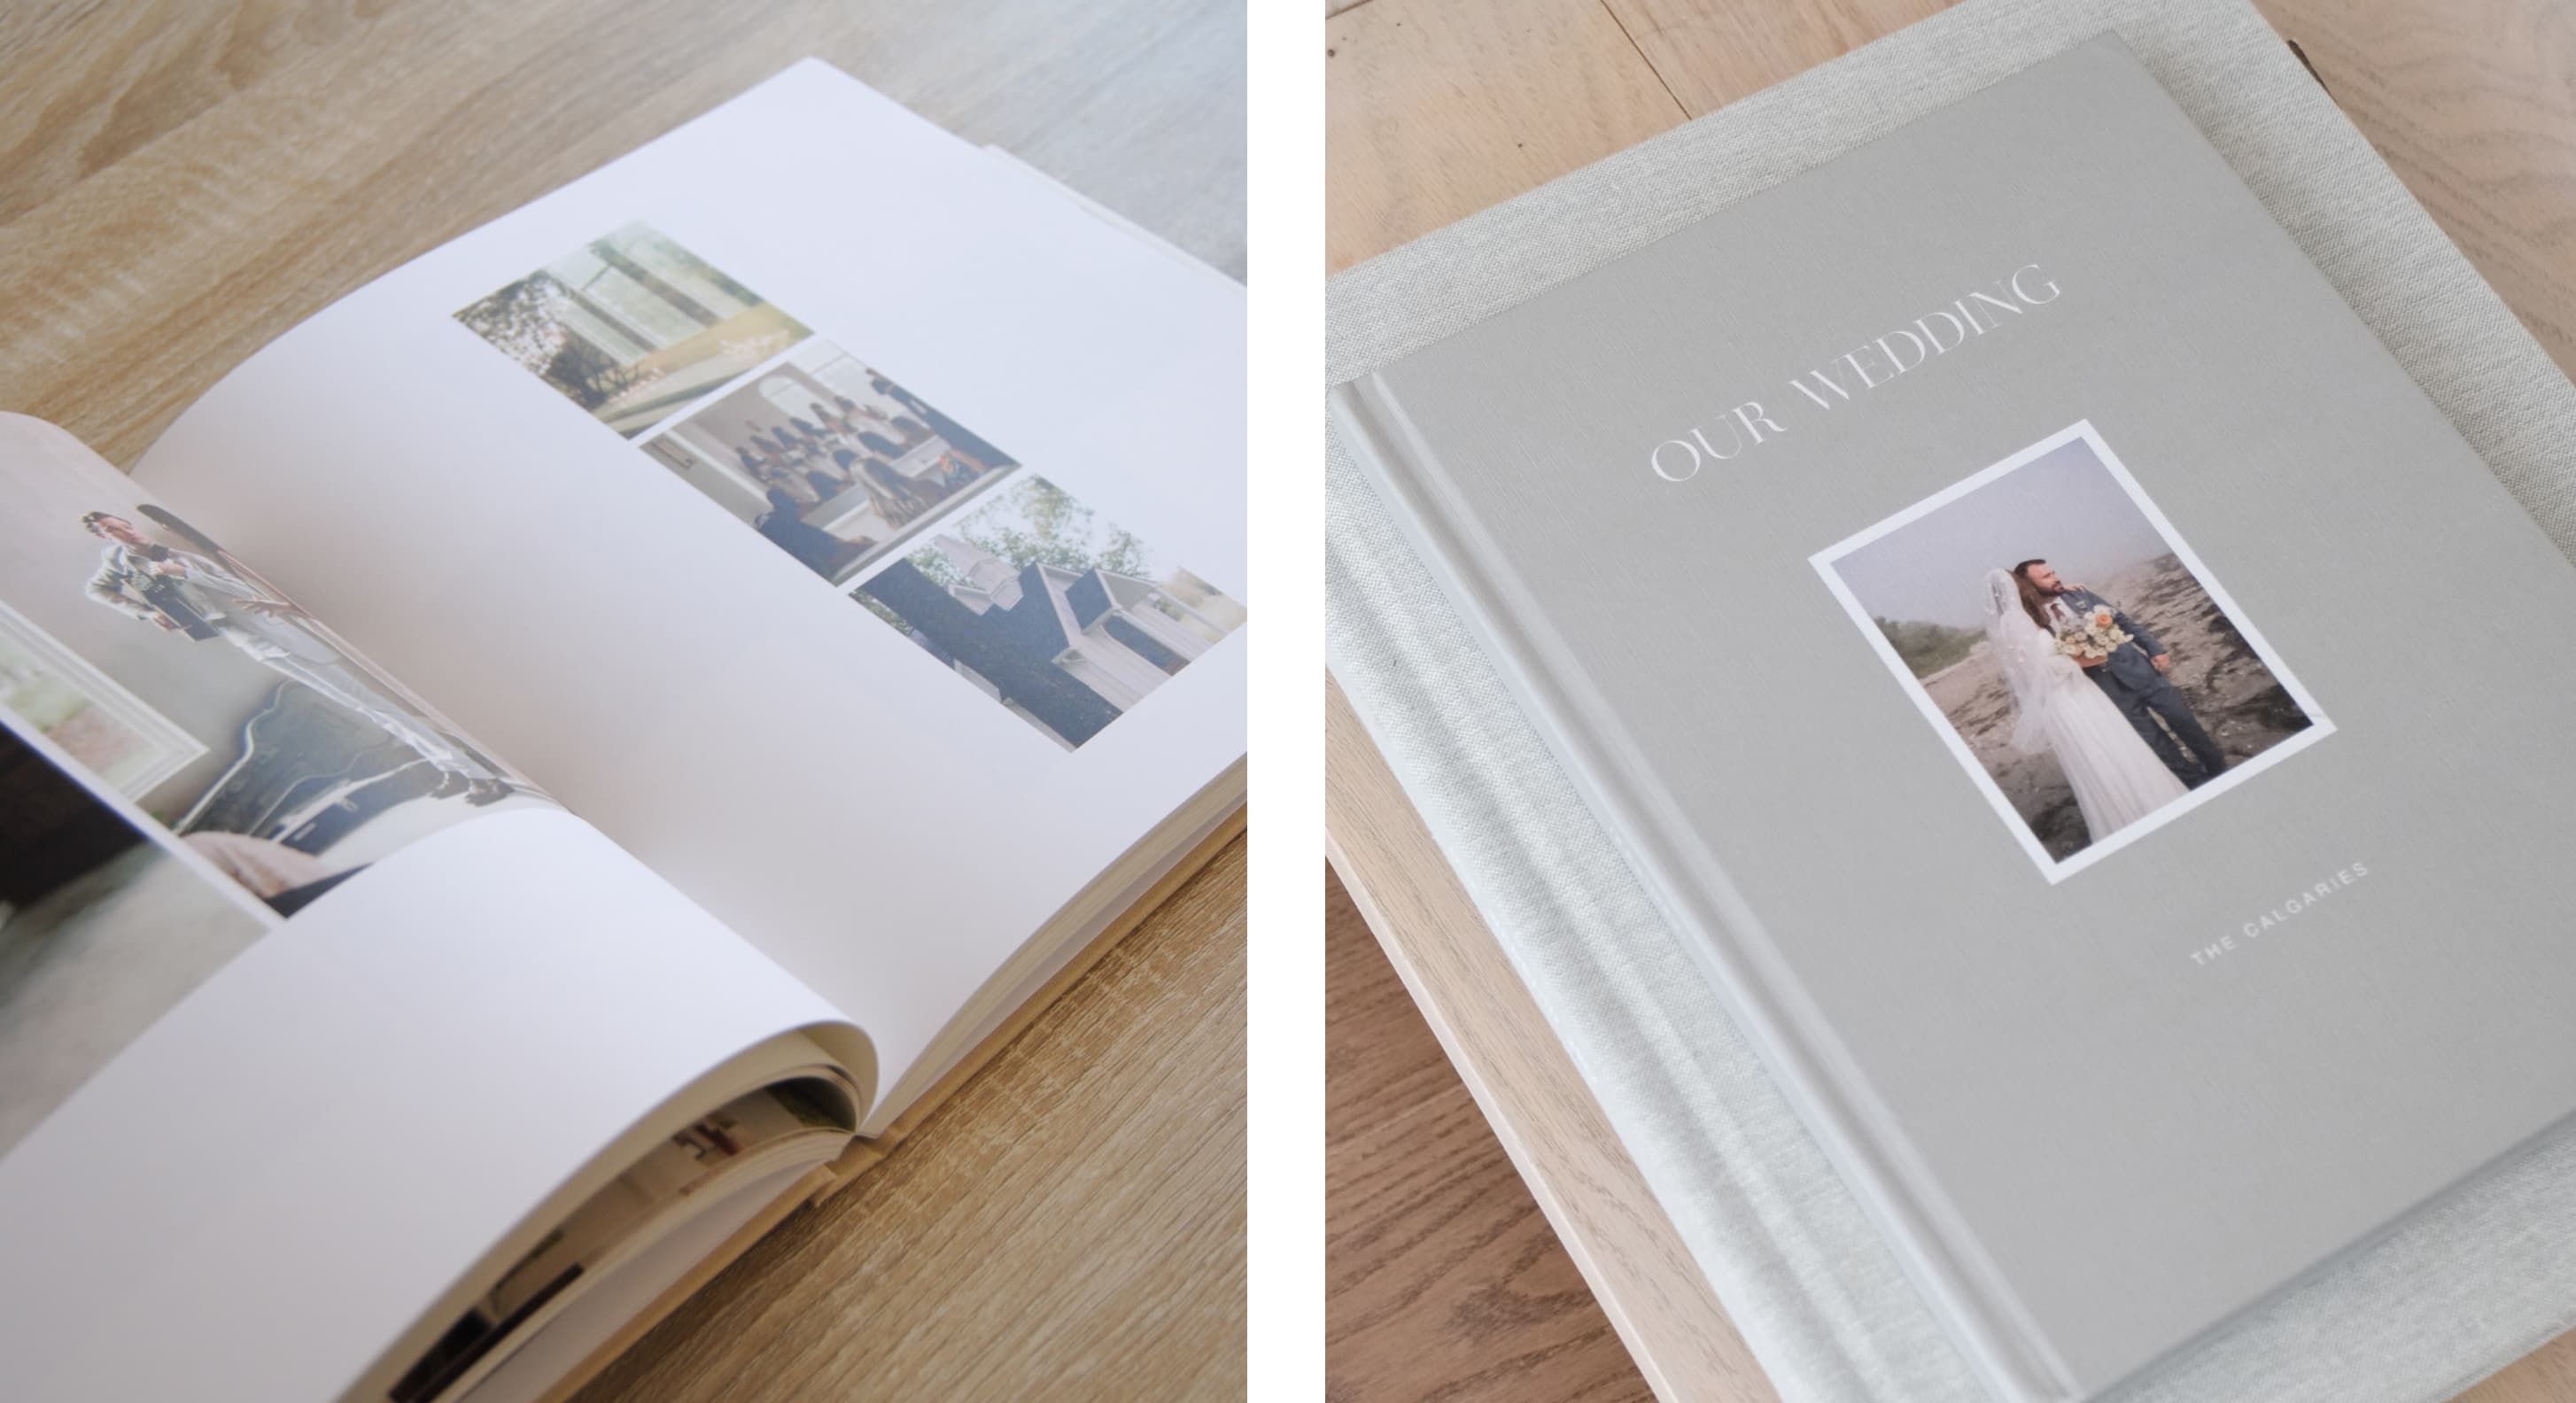
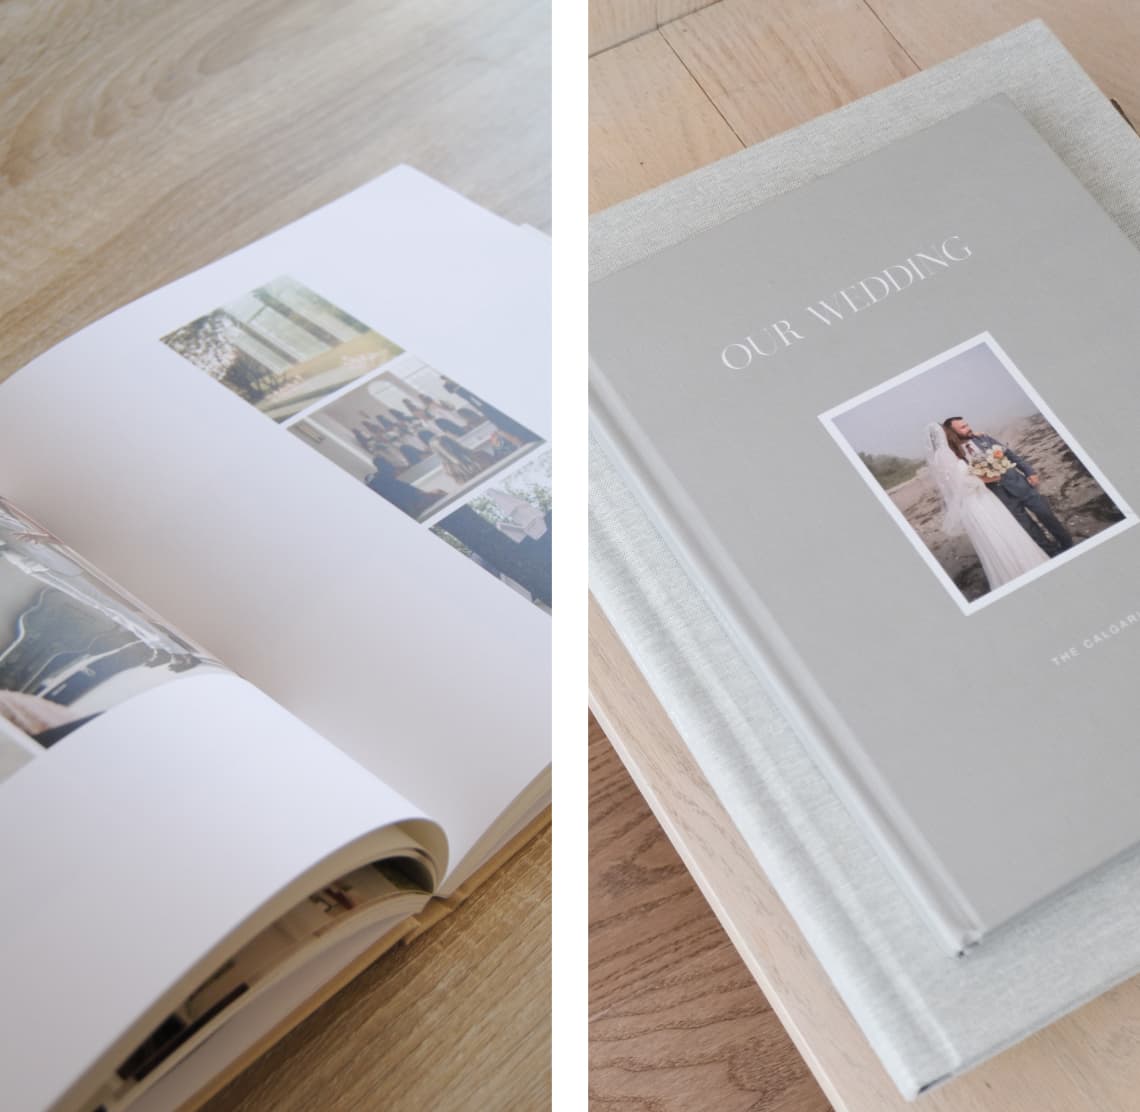
Creating a wedding album that feels uniquely yours involves more than just selecting
photos — it's about infusing each page with your personality. These additional tips
guide you through personalizing your album, ensuring it's a reflection of your love
and the day you celebrated it.
Coordinate Color, Tone, & Texture
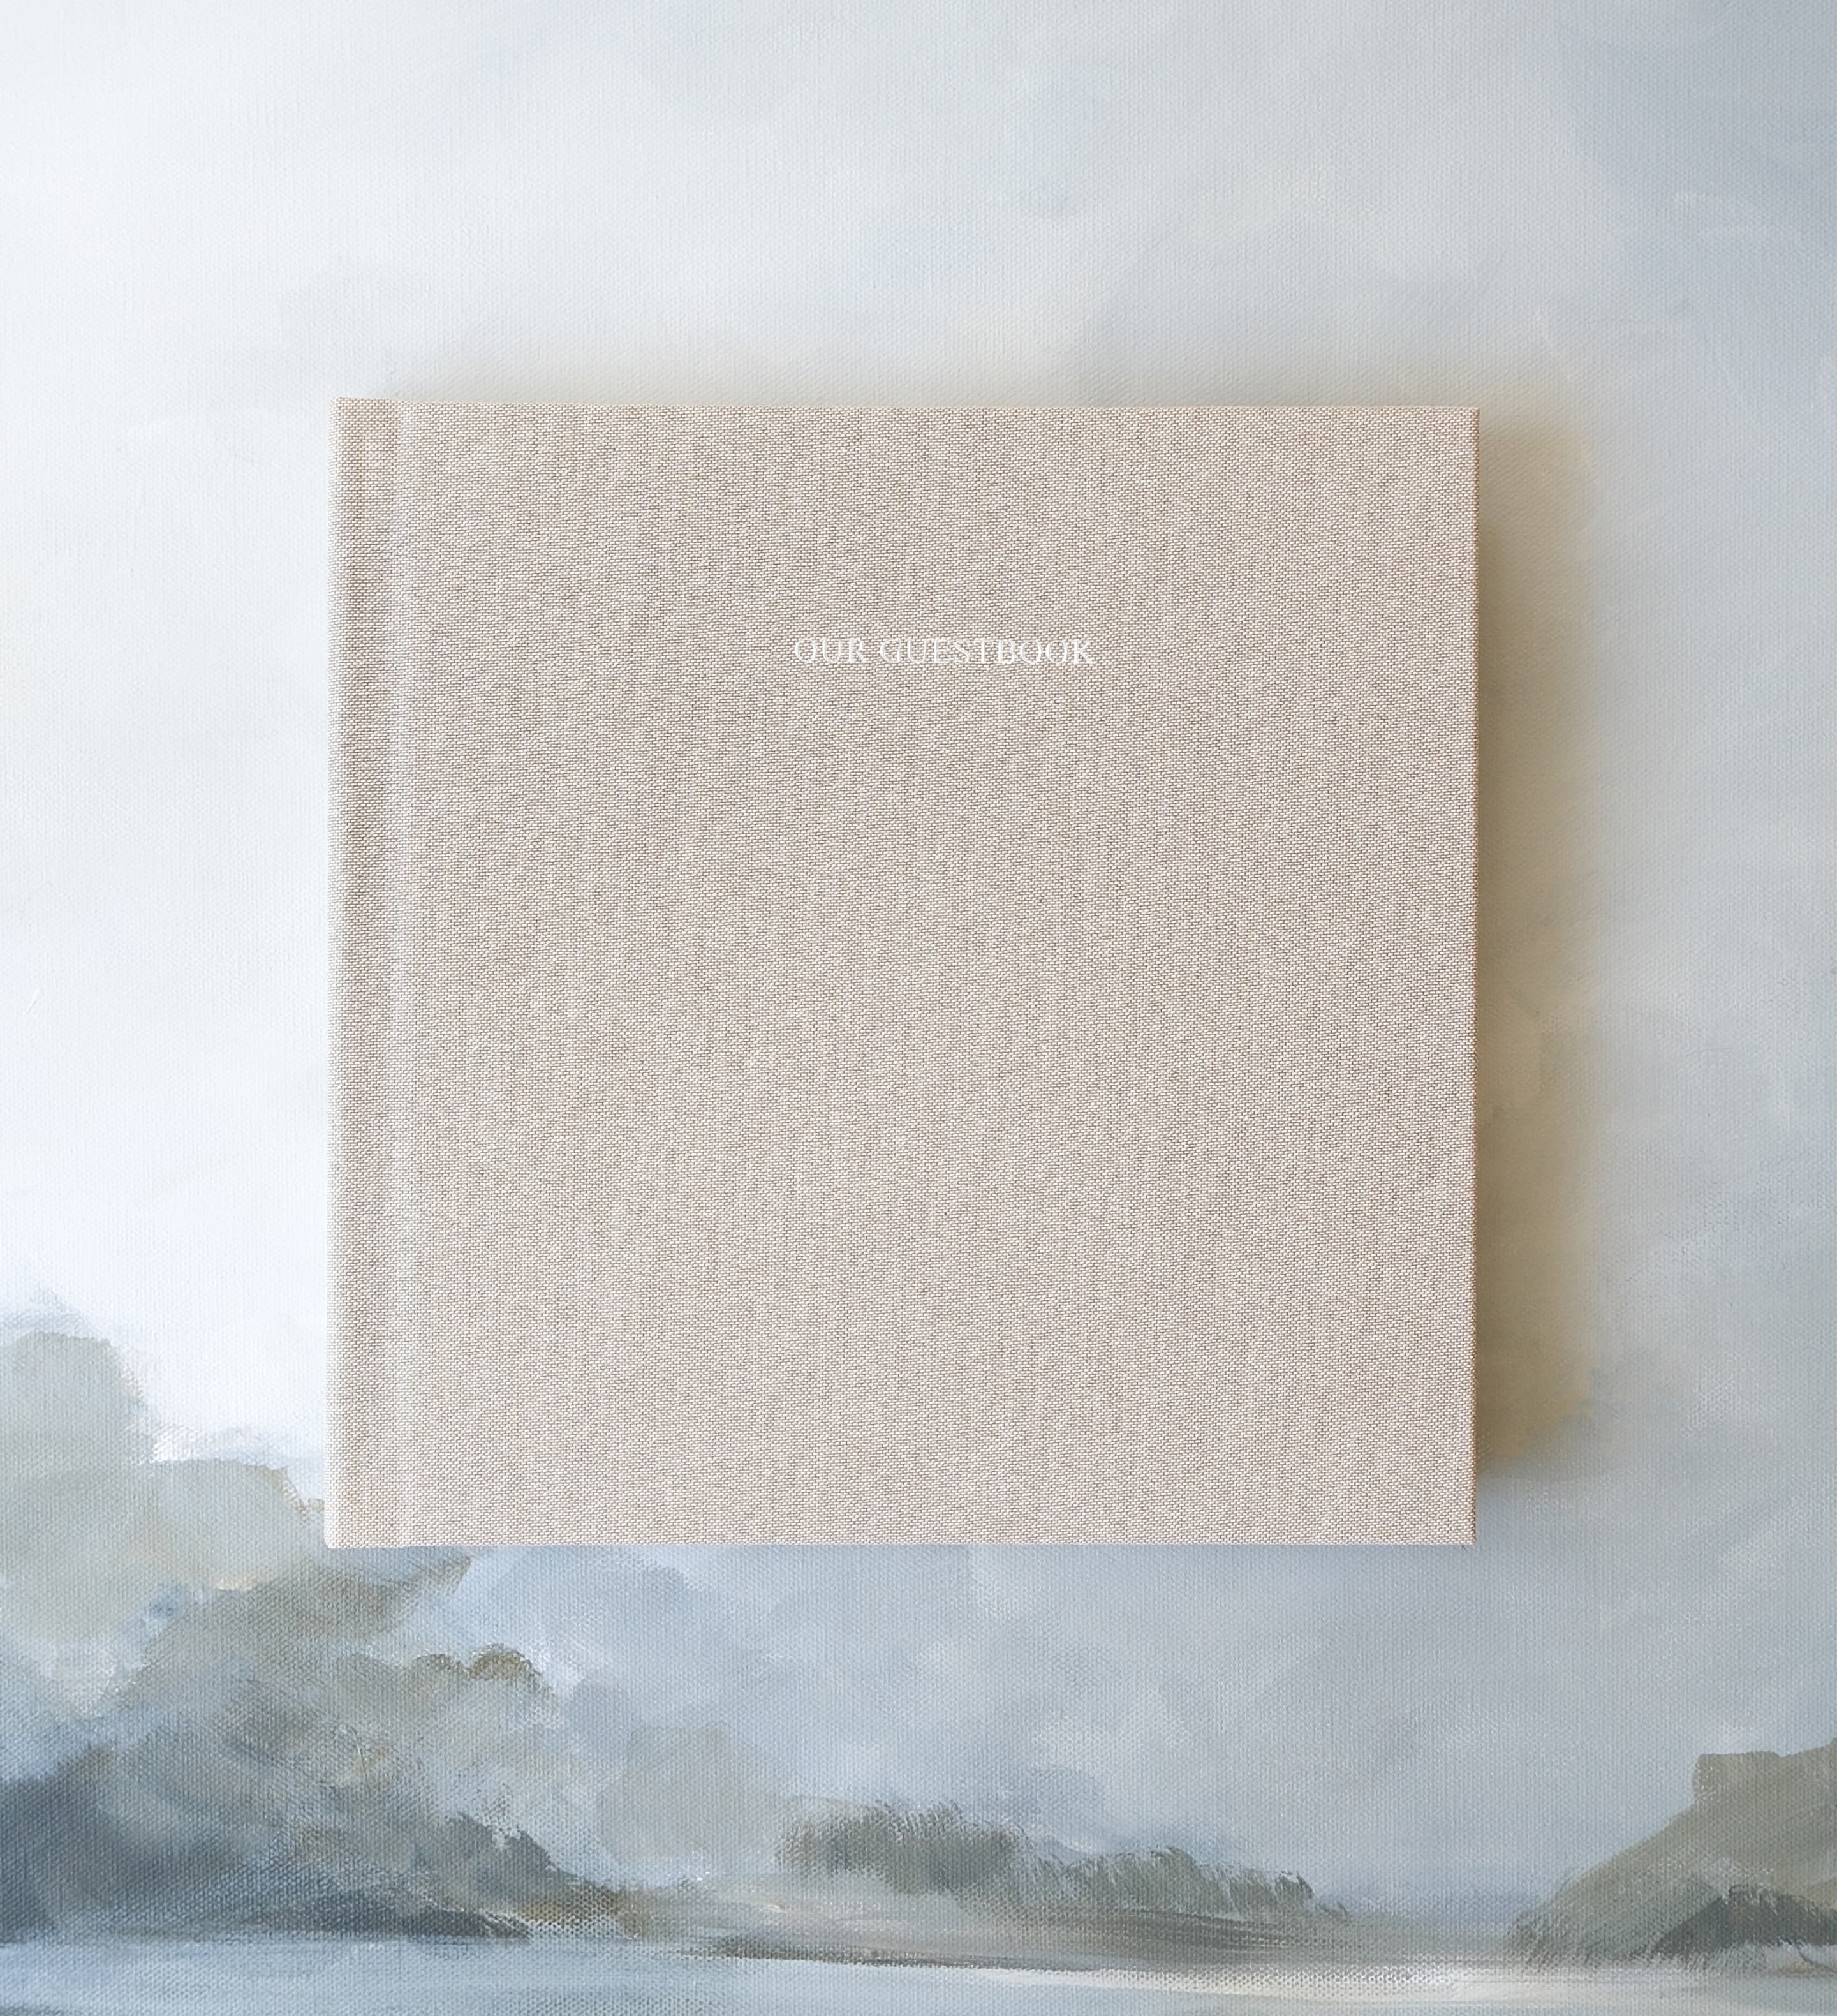
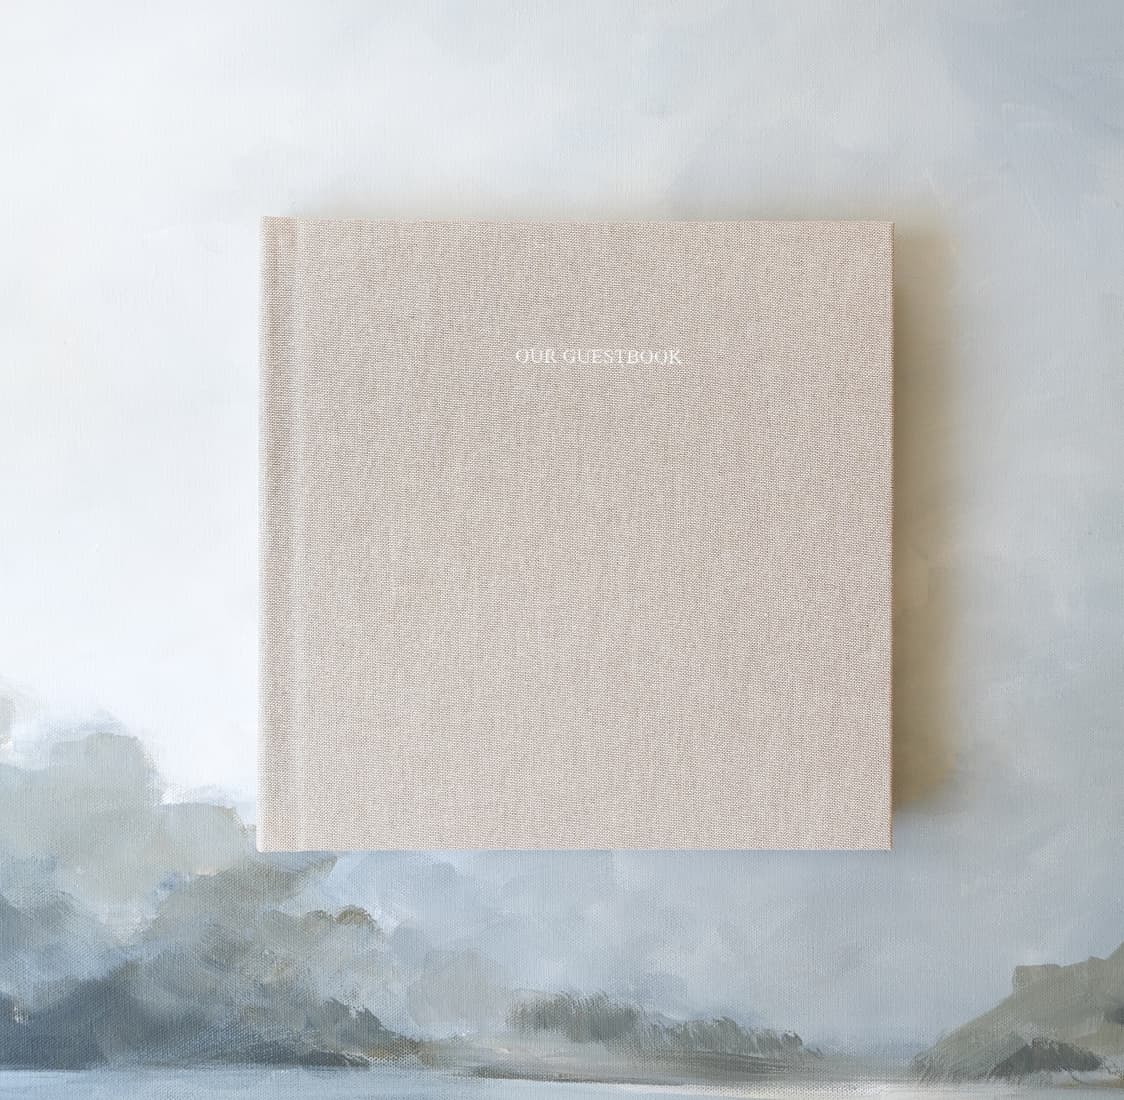
Layered beneath the story of how the day unfolded is a series of visual substories
that give shape to your album: color, tone, and texture. Coordinating these elements
is a quick strategy for making a wedding album that's as beautiful as it is
meaningful. Luckily, you've already done much of this coordination in your wedding
details, bridesmaid dresses, and beyond. All that's left is to pull it together on
the page!
Captions, Titles, and Mementos
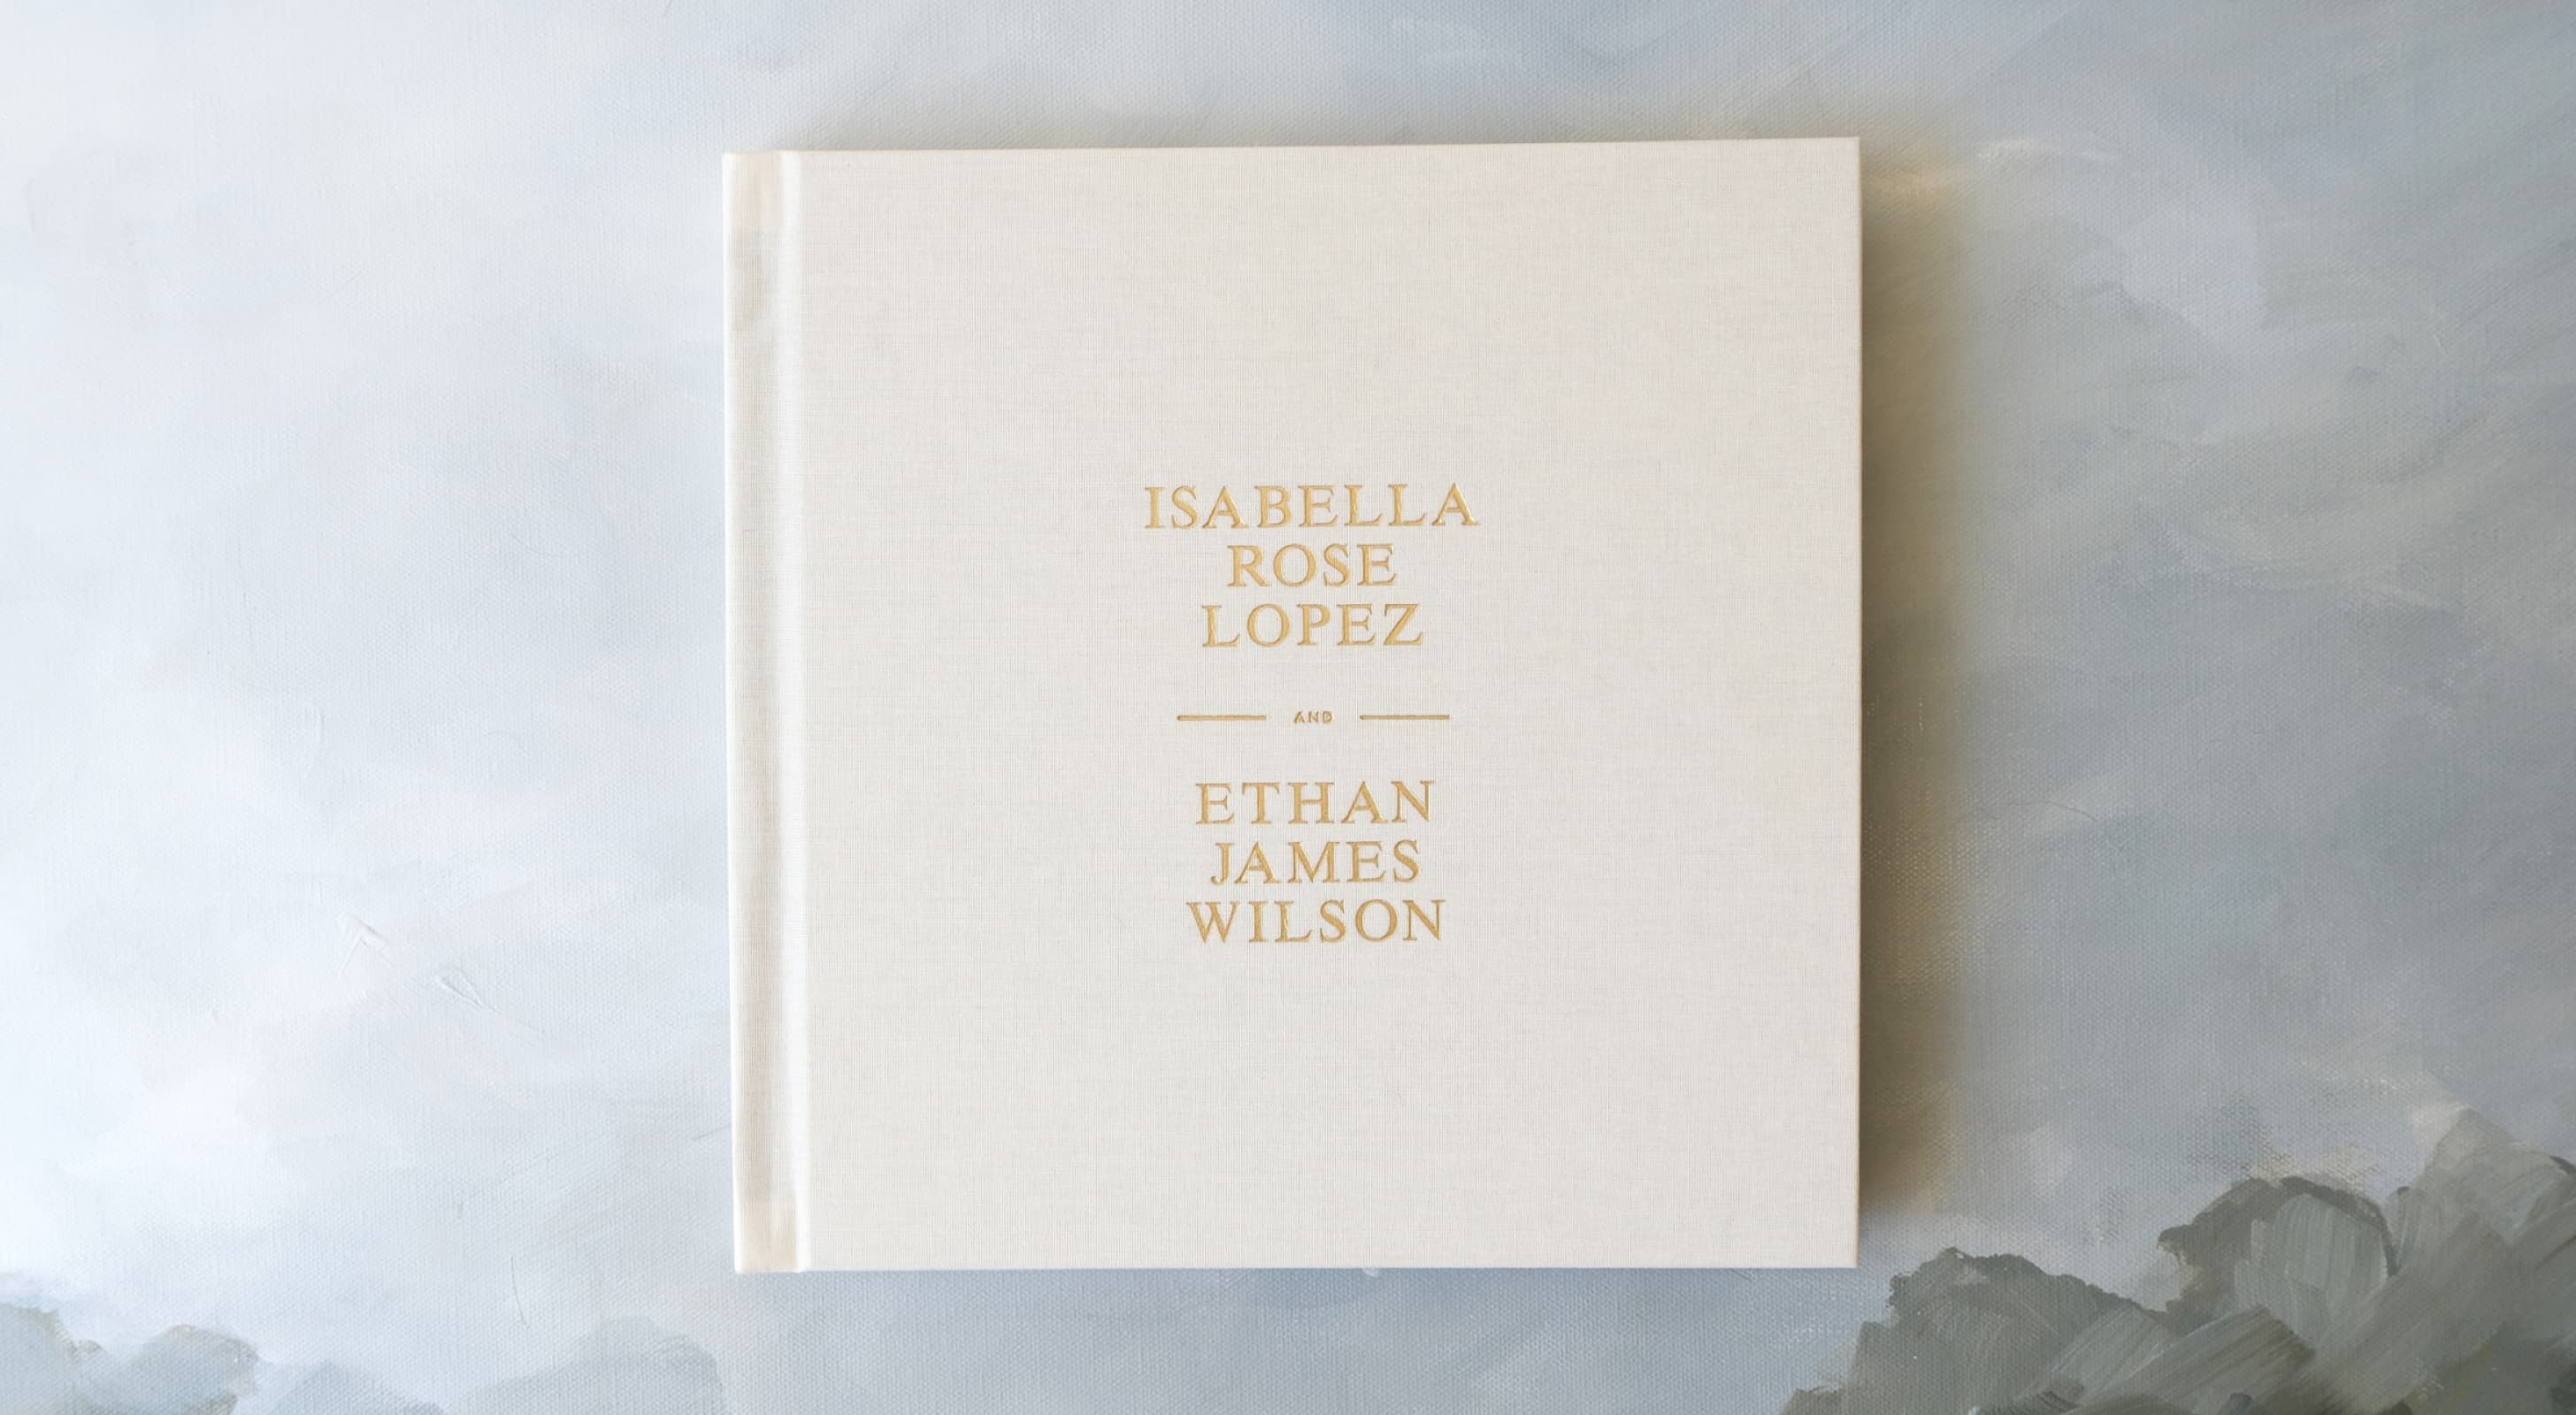
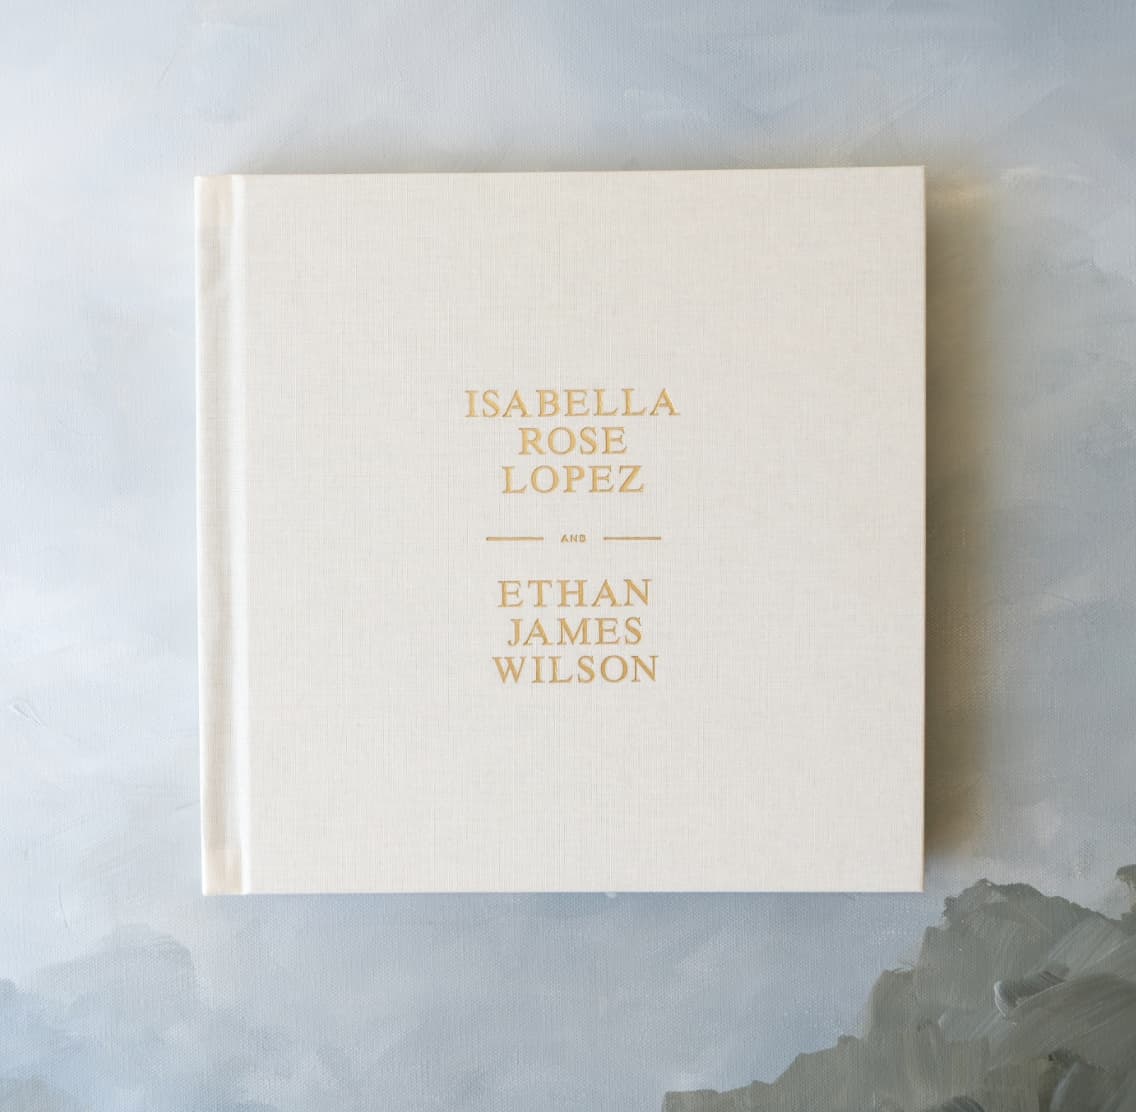
Your album is a narrative waiting to be read. Use titles and captions to guide your
readers, sharing anecdotes and reflections that give context to your images.
Consider titles that encapsulate the essence of your relationship or the day itself,
like "Forever Begins Today" or "Our Love Story." For more inspiration on crafting
the perfect title for your album,
explore our guide, filled with endless suggestions that resonate with different themes and emotions.
Incorporating scanned mementos such as your vows, invitations, or a sentimental handwritten note adds layers of meaning, making your album a truly intimate journey through your most memorable day.
Incorporating scanned mementos such as your vows, invitations, or a sentimental handwritten note adds layers of meaning, making your album a truly intimate journey through your most memorable day.
Finishing Your Wedding Album
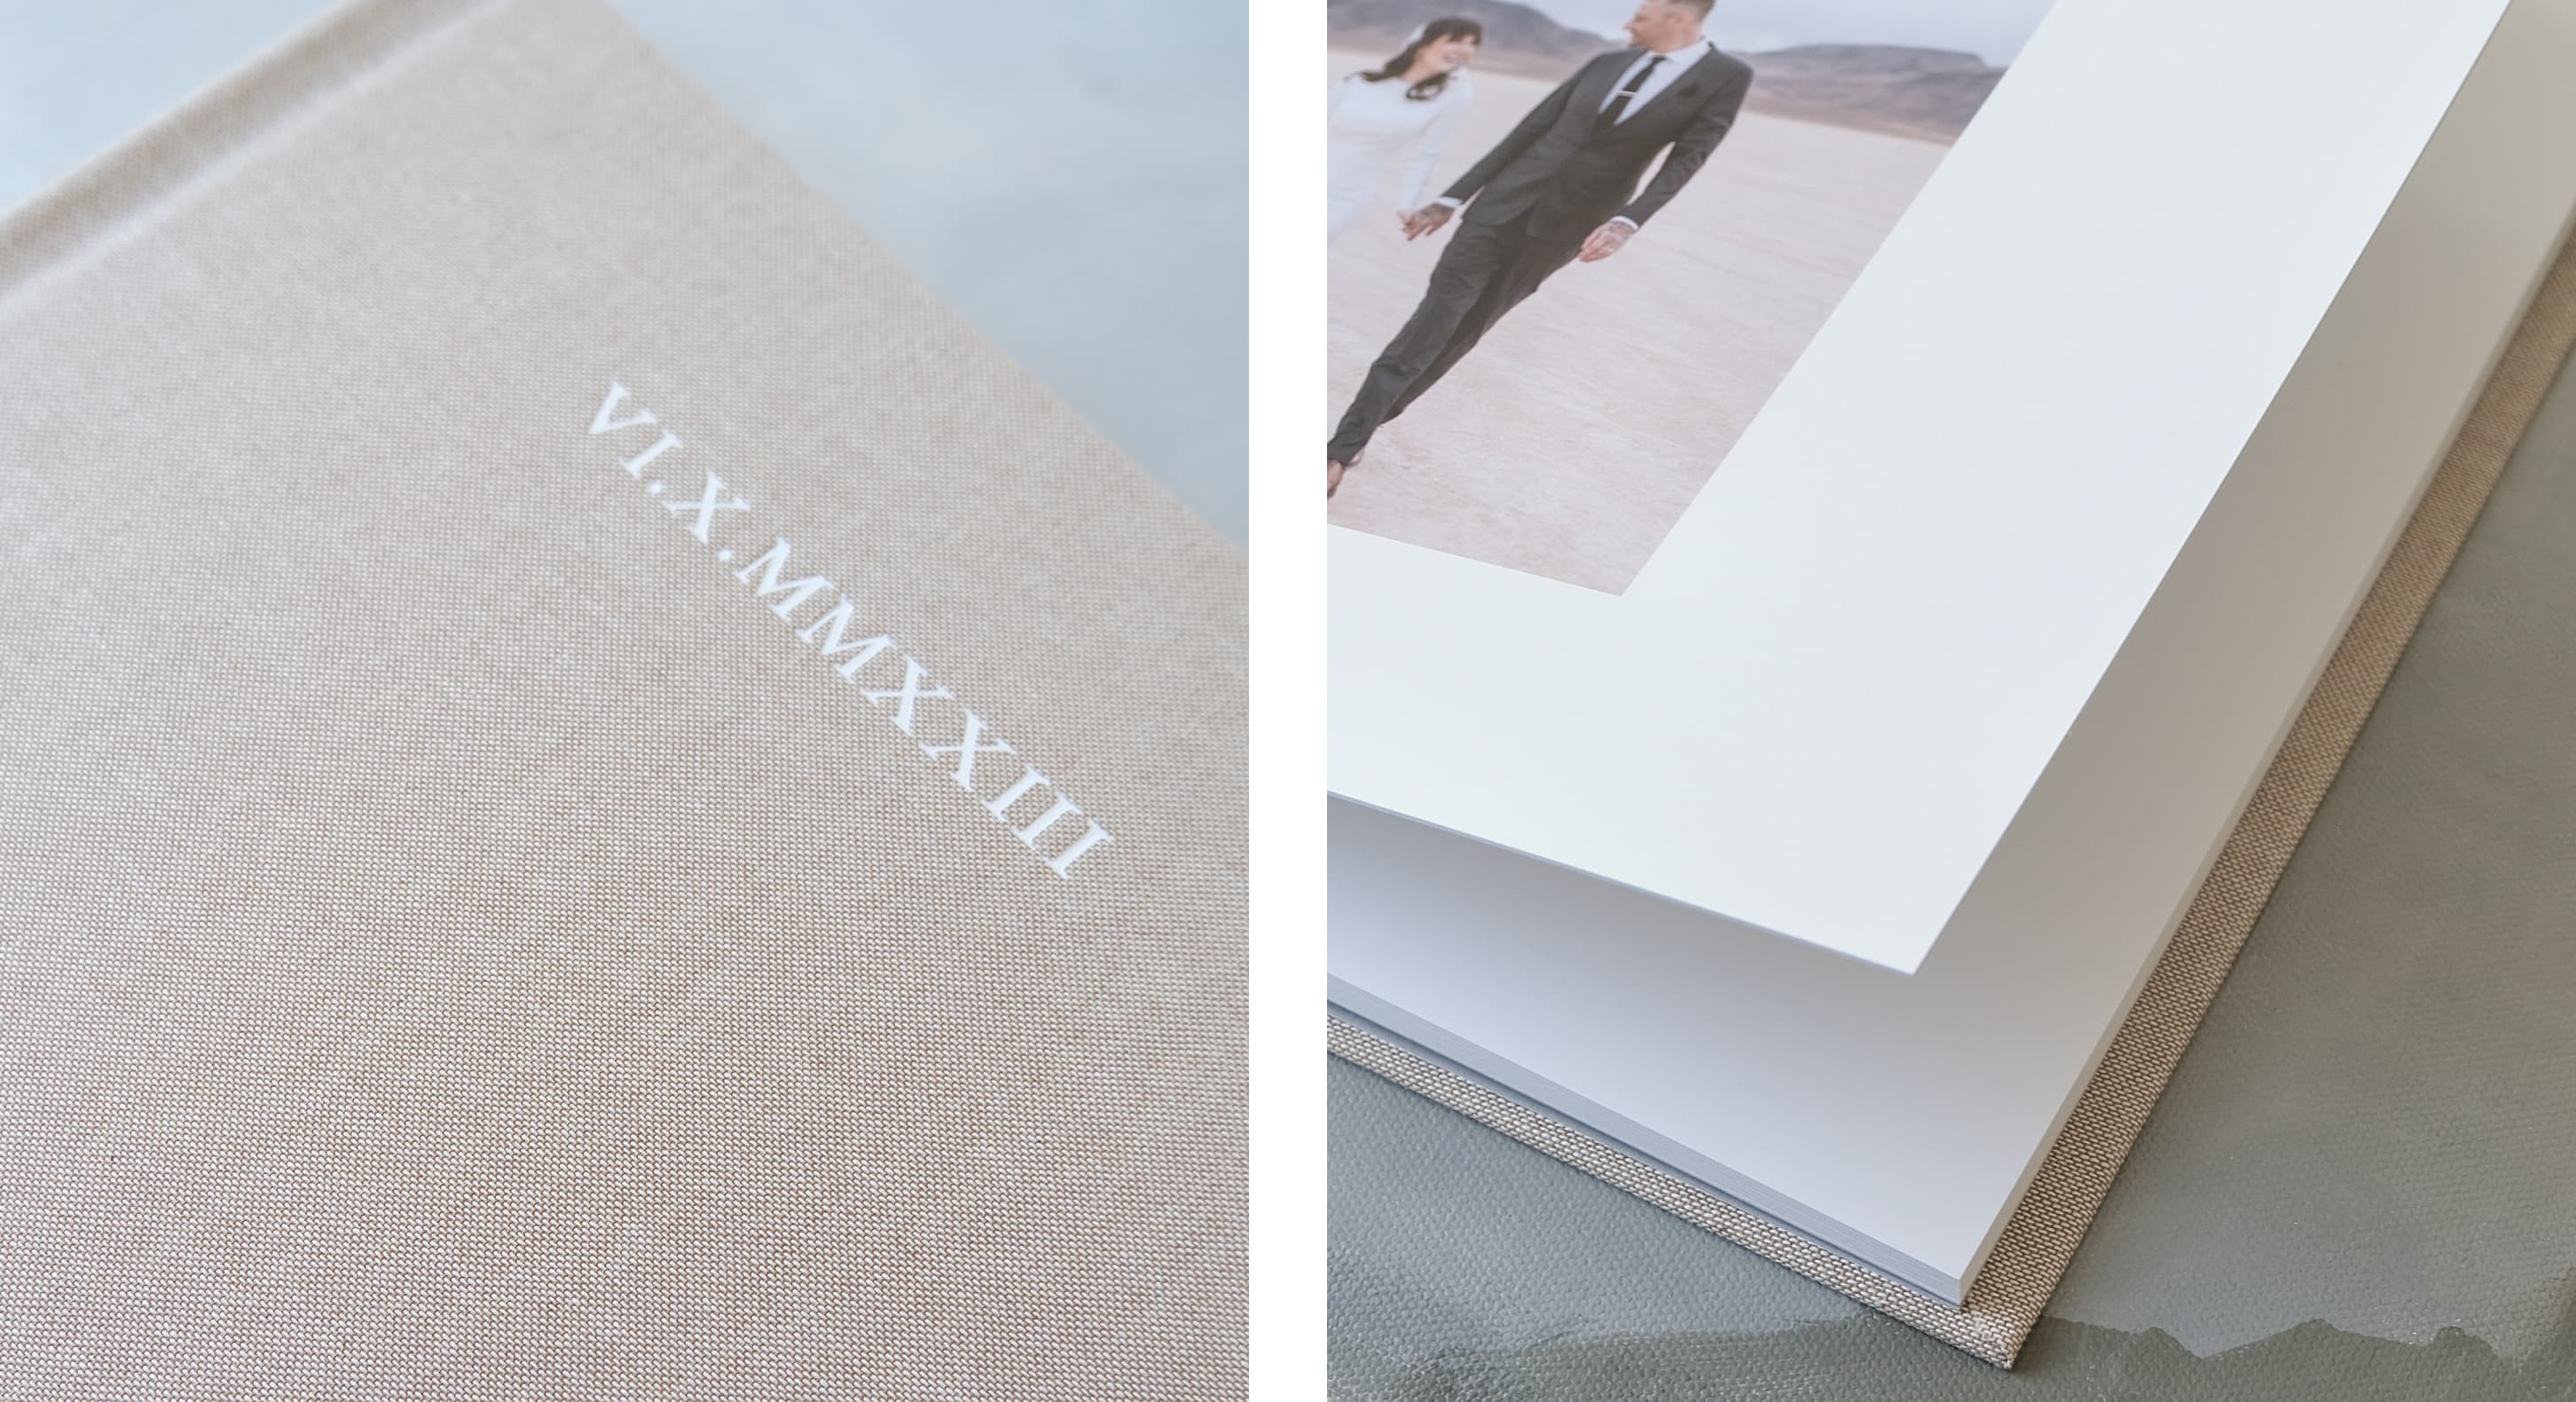
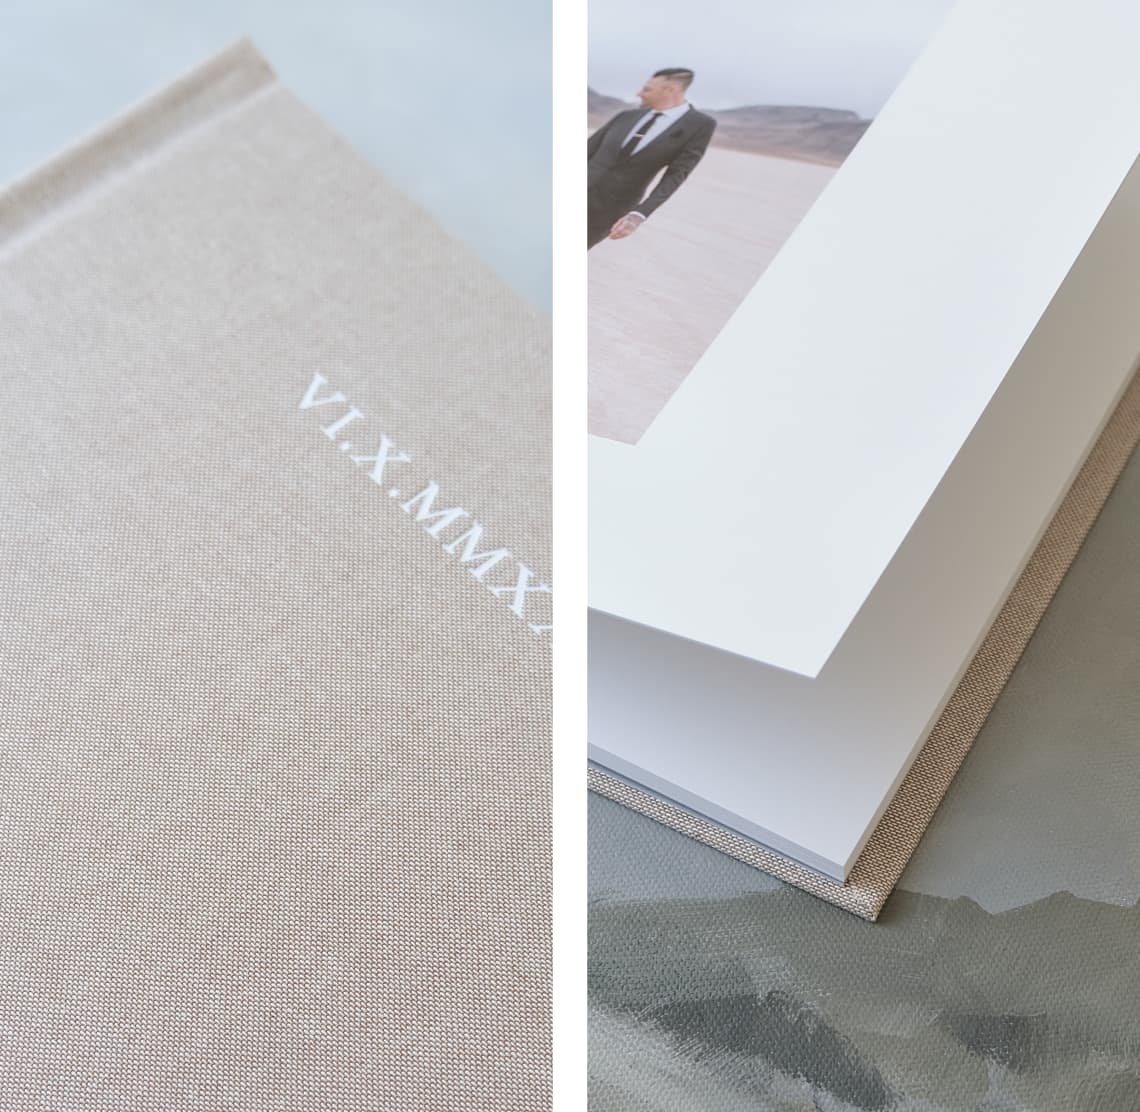
Before you seal your memories within the pages, invite a trusted eye to review your
album. We offer
expert album design
on reviewing, editing, and choosing between digital or print, ensuring your wedding
album is nothing short of perfection. This final check ensures that your story is
told flawlessly, ready to be revisited for generations.
Protect Your Story
Your wedding album is a treasure, and it deserves to be protected and passed down as
such. An engraved, wooden album box is a timeless way to protect your book from
thrills, spills, dust, and the elements at large… so the story of your forever can
live on just as long.
Pro Tip: The Signature Layflat Album offers an exclusive, engraved walnut box as an add-on to the album. Meanwhile, the Wooden Quote Box is available to house any other 10 x 10" or 8 x 11" album. Both are handcrafted from reclaimed materials that allow beautiful, once-forgotten wood to live on for a second life.
Pro Tip: The Signature Layflat Album offers an exclusive, engraved walnut box as an add-on to the album. Meanwhile, the Wooden Quote Box is available to house any other 10 x 10" or 8 x 11" album. Both are handcrafted from reclaimed materials that allow beautiful, once-forgotten wood to live on for a second life.
Now That You Know How to
Make a Wedding Album…
At Artifact Uprising, we are honored to guide you through each step, ensuring that
the result is not just an album, but a legacy of your love. Begin your story with us
today, and relive your most cherished moments, one page at a time.
Whether you choose to make your own wedding album or opt for an album design service, infusing the ideas above can lead to a book you love looking back on. Remember: the hardest part is simply getting started.
Whether you choose to make your own wedding album or opt for an album design service, infusing the ideas above can lead to a book you love looking back on. Remember: the hardest part is simply getting started.
