Step 01
Create a Gallery
With any of our
photo books, you'll need to add your photos to a gallery first — either in
your "My Account" dashboard or within the project editor itself. To
make things a little easier, try creating the gallery in your
account before starting your project.
Curating the photos you upload can be one of the more time-consuming
pieces along the way, but it doesn't have to be. We even put
together a little guide that shows you
how to organize photos
on a regular basis. It takes just a handful of minutes each week,
but can save you hours when it's time to create your book!
Step 02
Choose Your Book


Every story is different and deserving of its own approach. The way
you tell it, and the book you tell it in, is all up to you. Doing a
little research can help you find the album that's most suited to
bring your unique vision to life. Just take a look through our photo
book comparison guide, while asking yourself some of the following
questions:
How many photos do I have?
If it's many, you may want to opt for either our Hardcover Photo
Book or Softcover Photo Book, both of which can hold up to hundreds
of pages of photos.
Is this a book I want to hand down?
Heirloom photo books like the Layflat Album and Signature Layflat
Album are handcrafted to hand down, using time-honored binding
techniques and elevated materials that make sure your story lives
on.
Is this for a specific occasion?
Many of our photo books are also memory books, specially designed to
celebrate the micro-moments that make milestone occasions so
memorable. These include the Wedding Layflat Album, Hardcover Travel
Photo Book, and more.
What kind of cover or binding do I want?
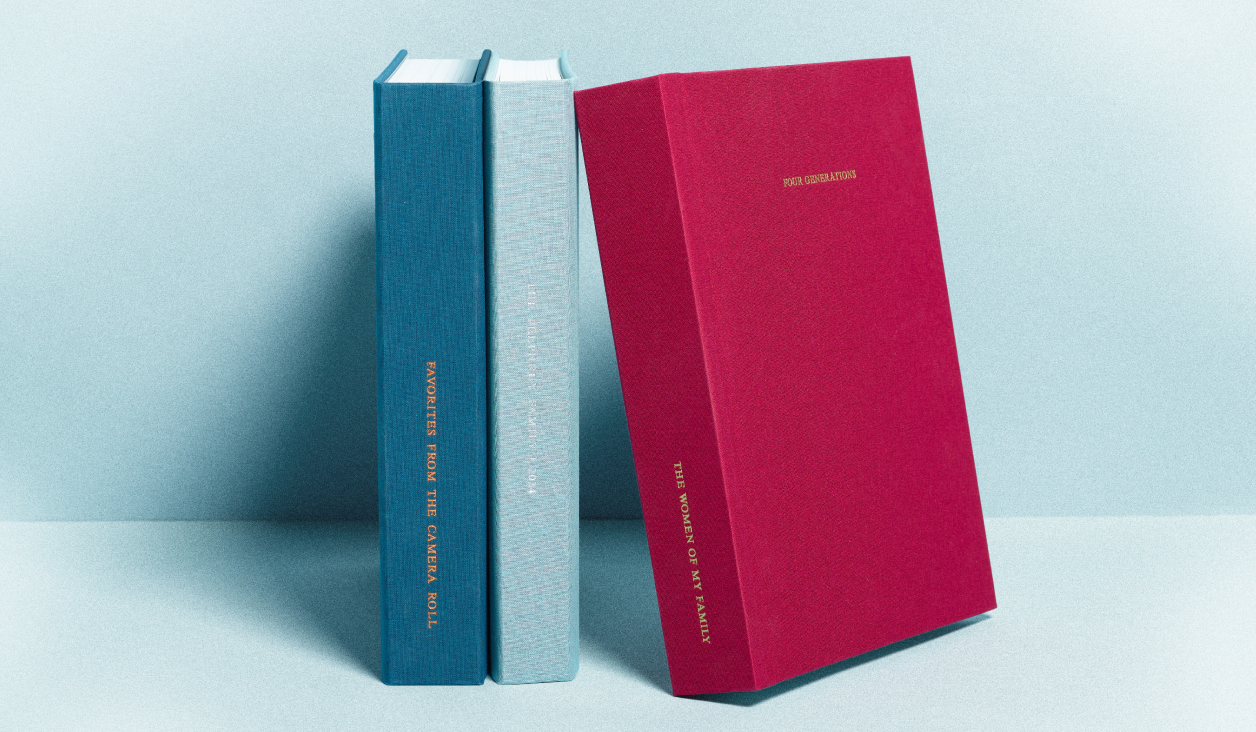
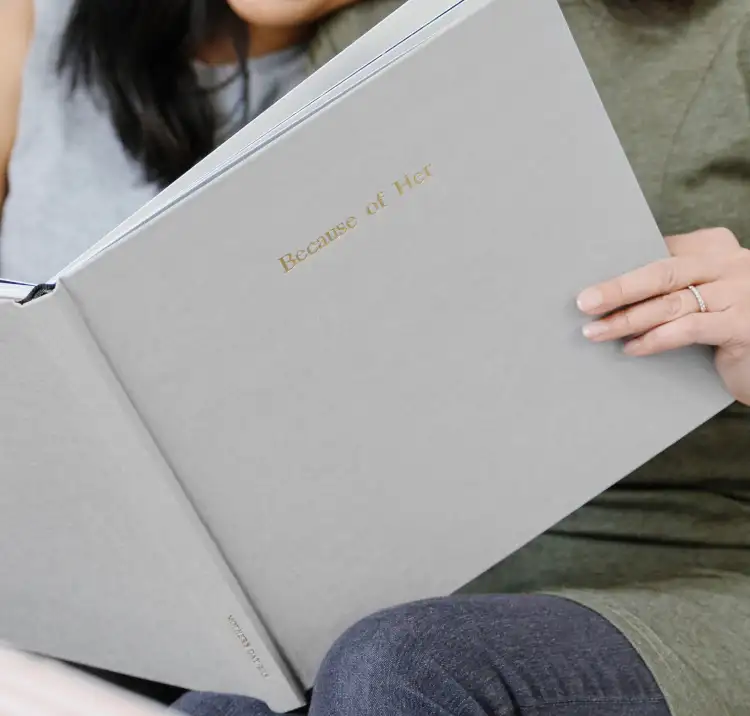
From premium linen-bound books, to full-cover photo dust jackets,
and even unique die-cuts, each album exterior makes a statement in
its own way. Asking yourself which you'd most love to see on your
coffee table can narrow down the search quite a bit.
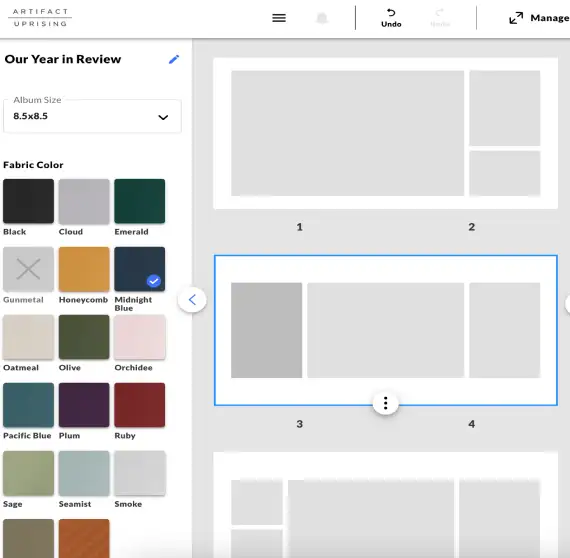
Customizing Your Book
Once you've chosen your book, it's time to customize it by selecting
color, size, and more. We love coordinating the exterior with some
of the tones that run through the photos inside — or, for coffee
table books, coordinating with tones in the room. (Pro tip: If
you're going to display it on a shelf, do a quick measurement to
make sure it's going to fit.)
And don't worry — if you change your mind while you're building your
book, you can switch these up while you're in the editor. The only
thing you won't be able to change is the type of book — which is why
the previous step is so important!
Step 03
Get to Know the Editor
Once you've given your book a name in the editor, it's time to
explore some of the tools at your storytelling disposal. (Pro tip:
Don't forget to hit preview every once in a while to get a sneak
peek your work!)
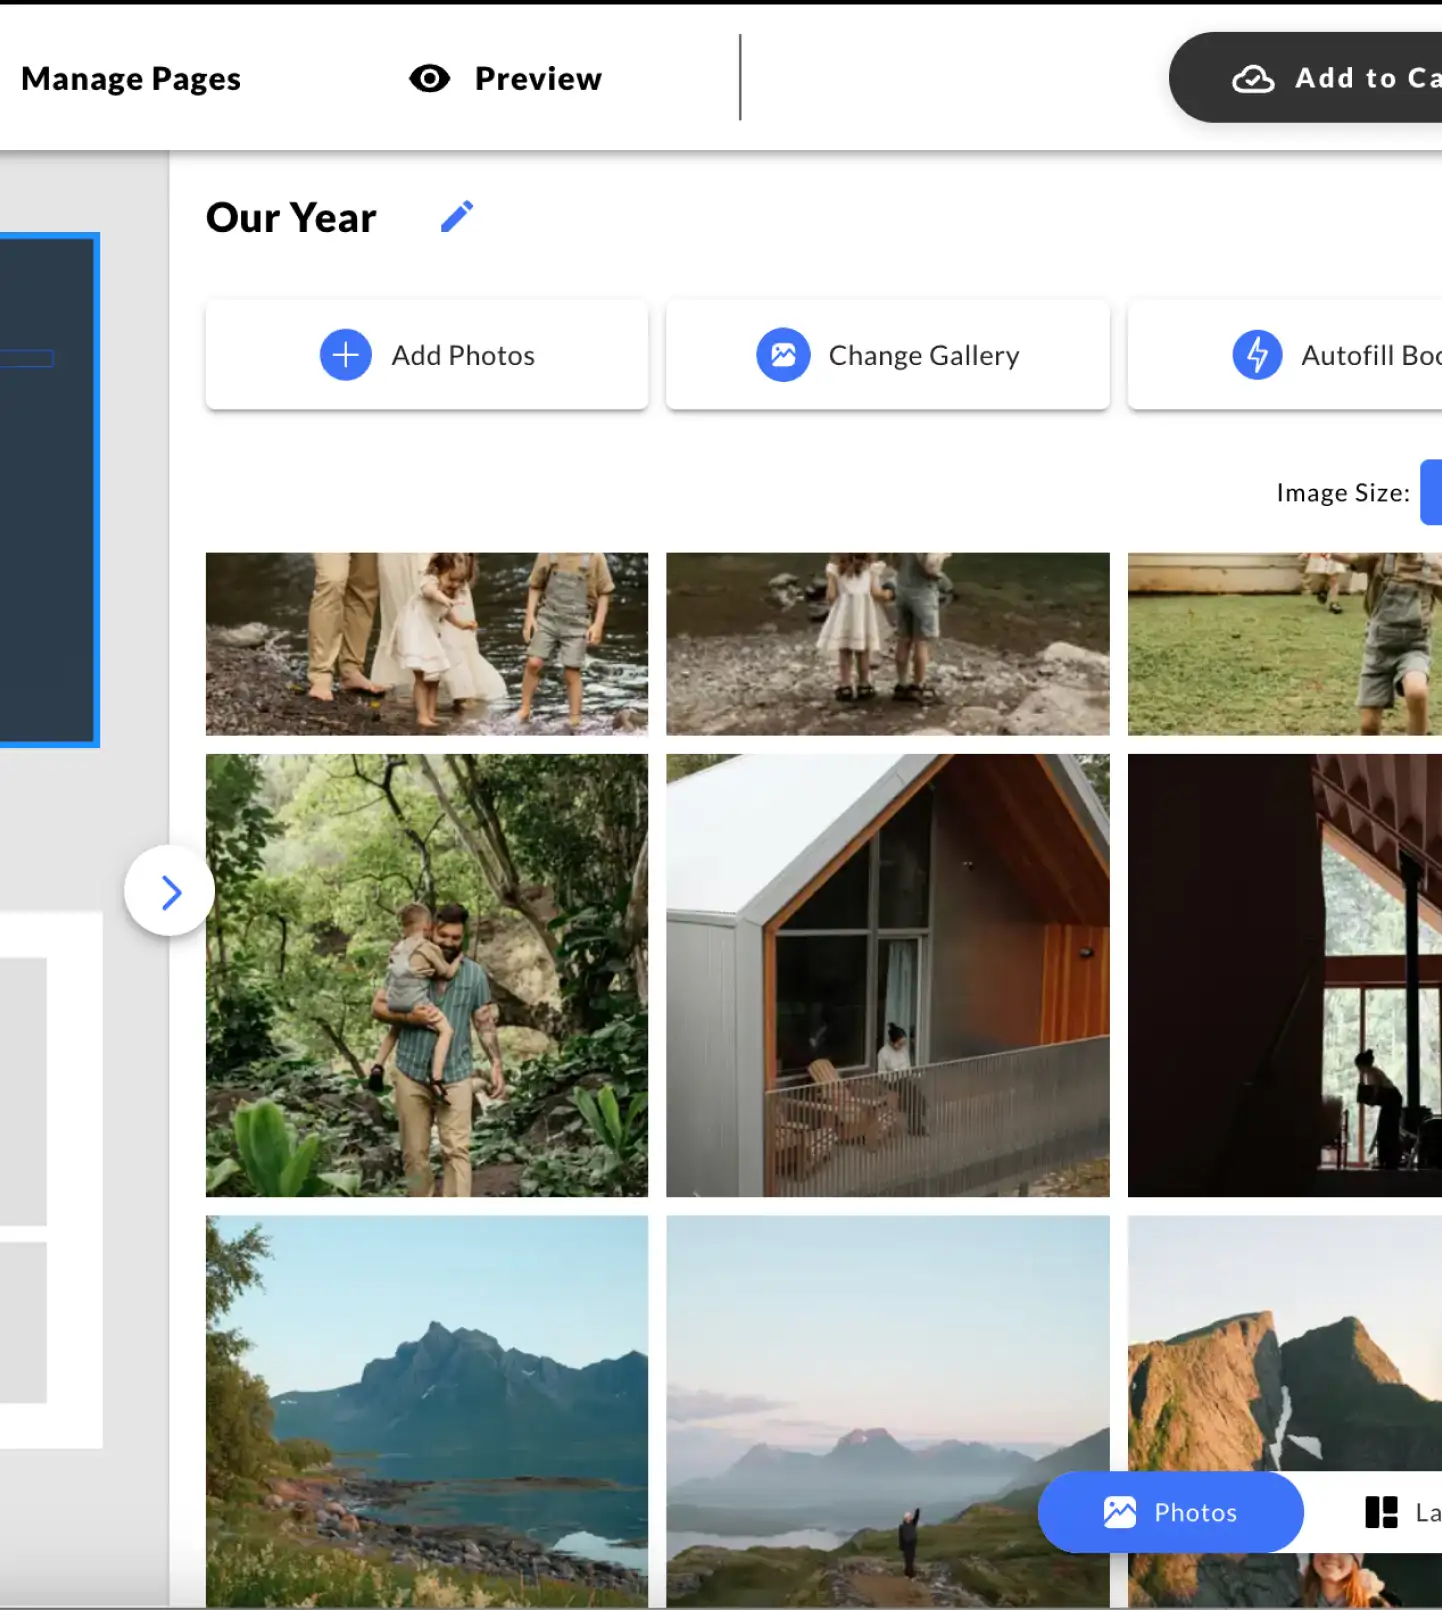
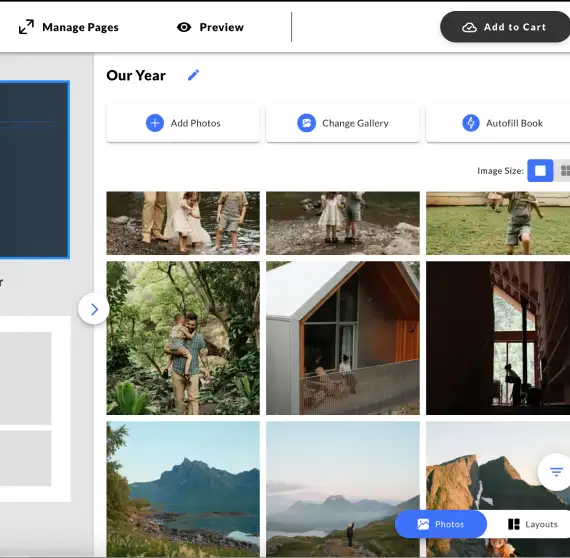
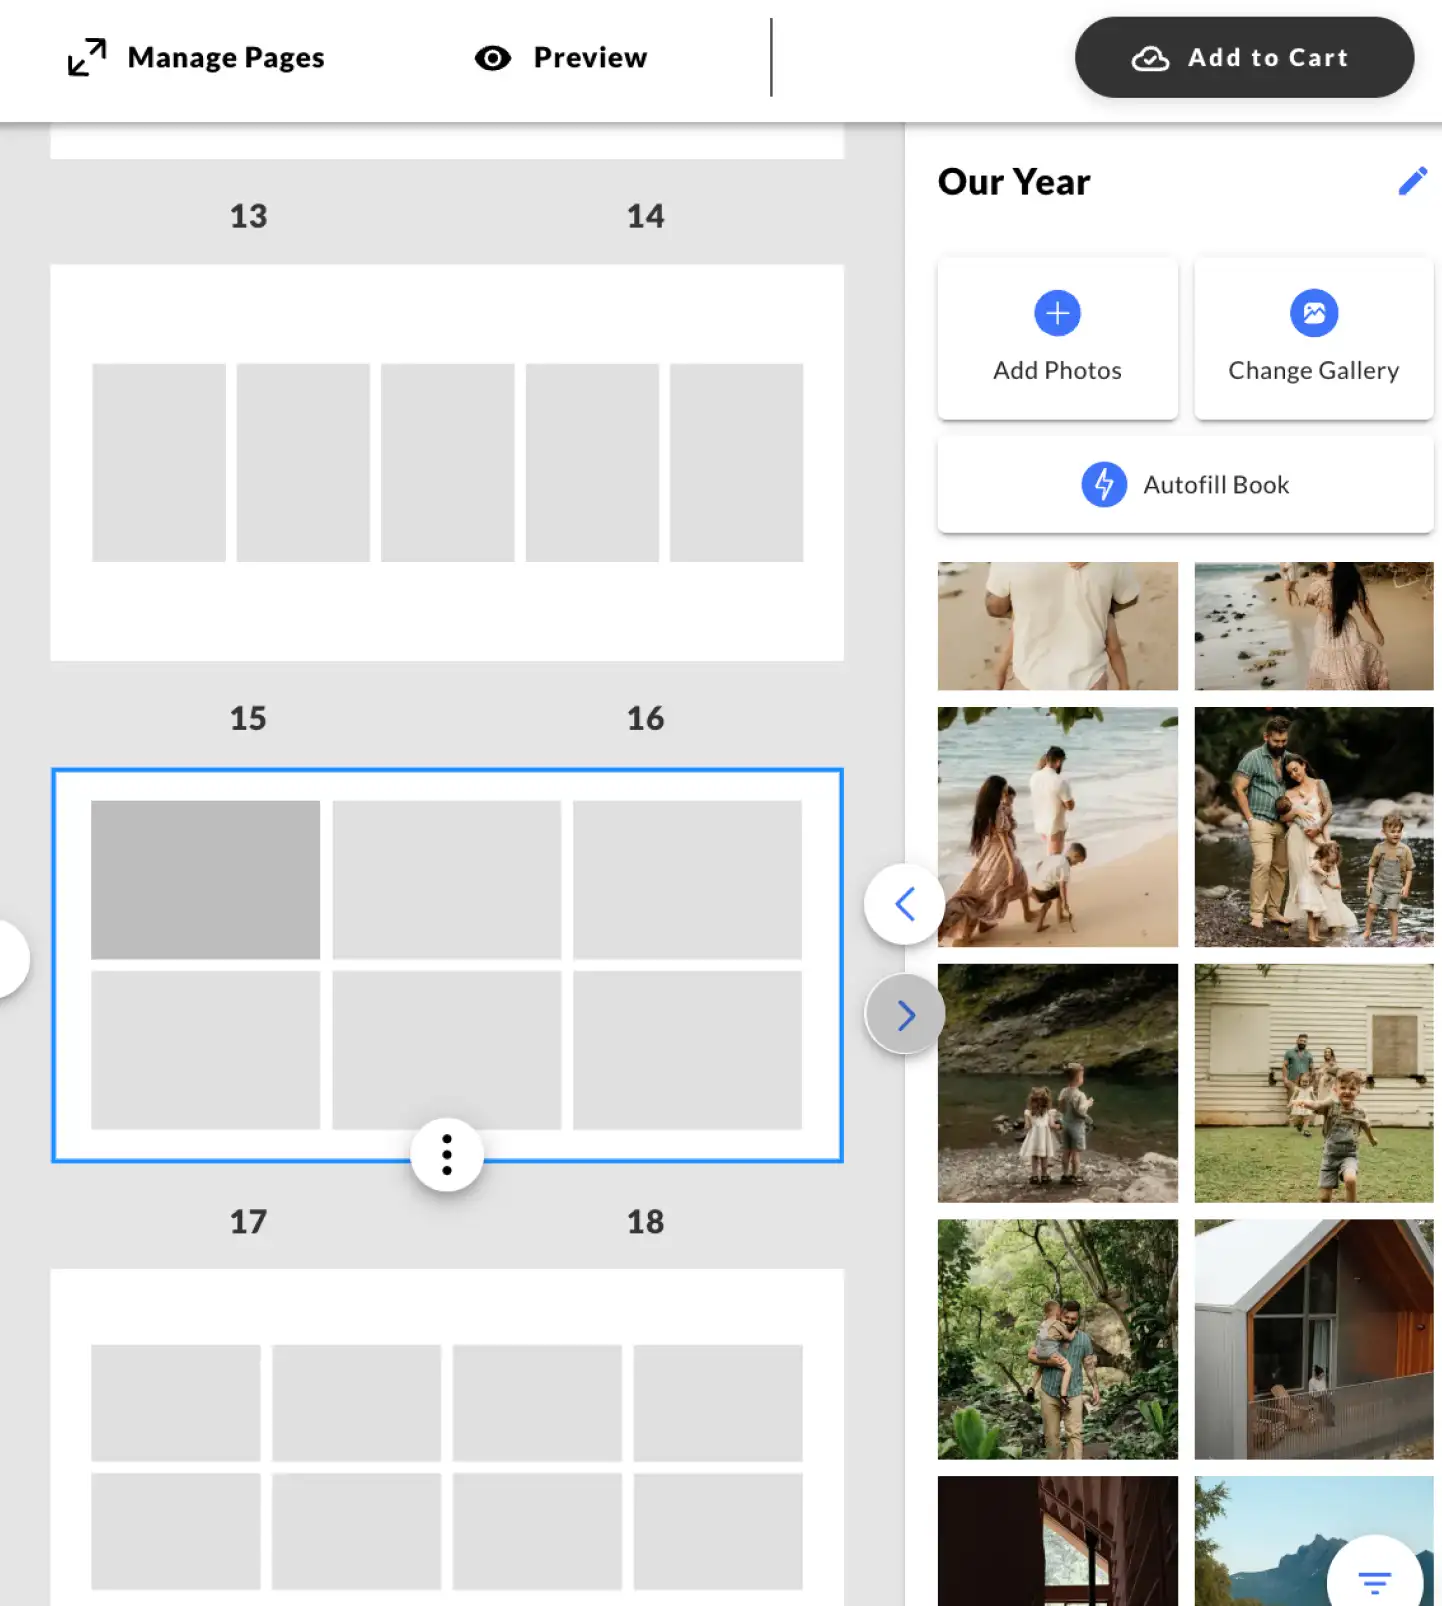
The "Images" Tab
Add photos to your book, upload photos while in the editor, and find
all of your galleries here.
The "Layout" Tab
Choose the types of layouts you want to add to your pages here.
The "Text" Tab
Customize your text styling and placement here. (Note: This tab only
appears when you're working with a text or hybrid layout.)
The "Customize" Dropdown
Change the color, size, and other elements of your book here.
Step 04
Lay It All Out
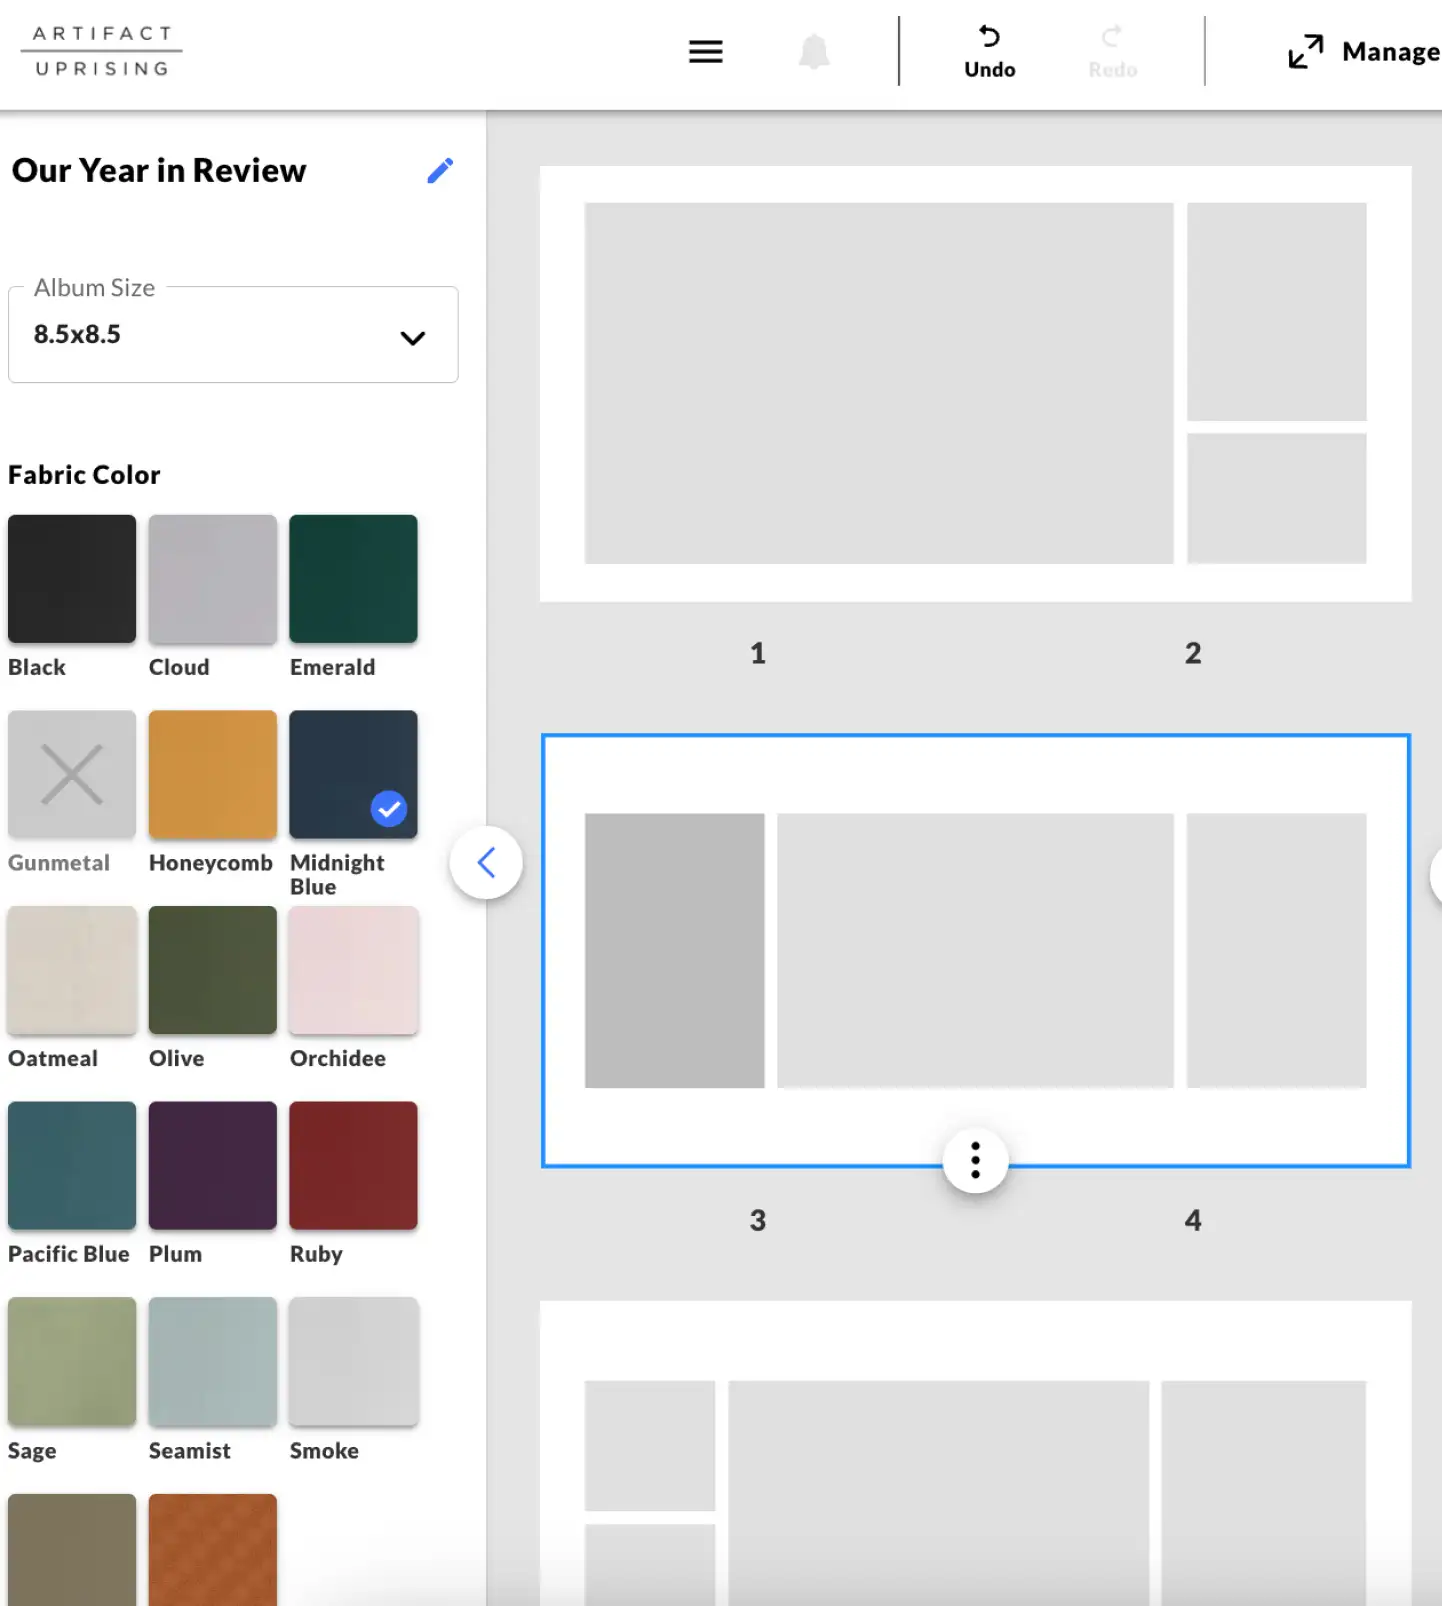
Creating the interior of the book is the true heart of telling your
story. It's where you'll have the most options to play with — which,
as far as we're concerned, makes it by far the most fun. (Other than
finally holding that book in your hand, of course!)
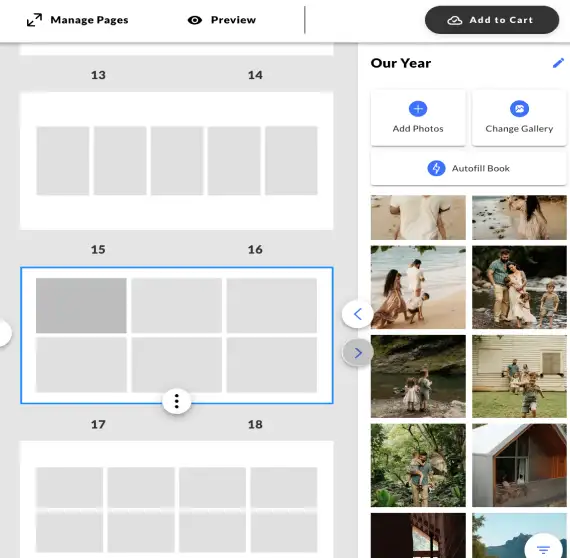
Start With Autofill
If all those blank pages seem a little overwhelming, that's where
"autofill" can come in handy. Just click the button to have the
editor take a first pass at filling your pages. It's easy to change
the order of pages or placement of photos once they're all in the
book.
Choose & Change Layouts
When you're playing with layouts, there are a few tried-and-true
tips that translate well to just about any photo book. We'll dive
into some of those in the next step! We also have plenty of photo
book layout ideas if you're in need of inspiration.
Hide & Sort Photos
With up to 300 photos in a given gallery, it can be a little tough
to sort through what you have and haven't used already. Try clicking
the "hide used photos" box to keep things clean and easy to peruse.
Sorting your photos by date taken, date uploaded to gallery, and
name can also help order images in ways that make them easier to
work with.
A Note on Editing
If you haven't already edited your photos in another program, try
bumping up the brightness just a touch to bring out their best in
print. Your photos may print a little darker in your book than they
look on the screen, so this simple step can help images translate to
print more seamlessly. (Pro tip: Check out our guide to editing
photos on iphone for help with any pre-project editing.)
Step 05
Bring the Story to Life
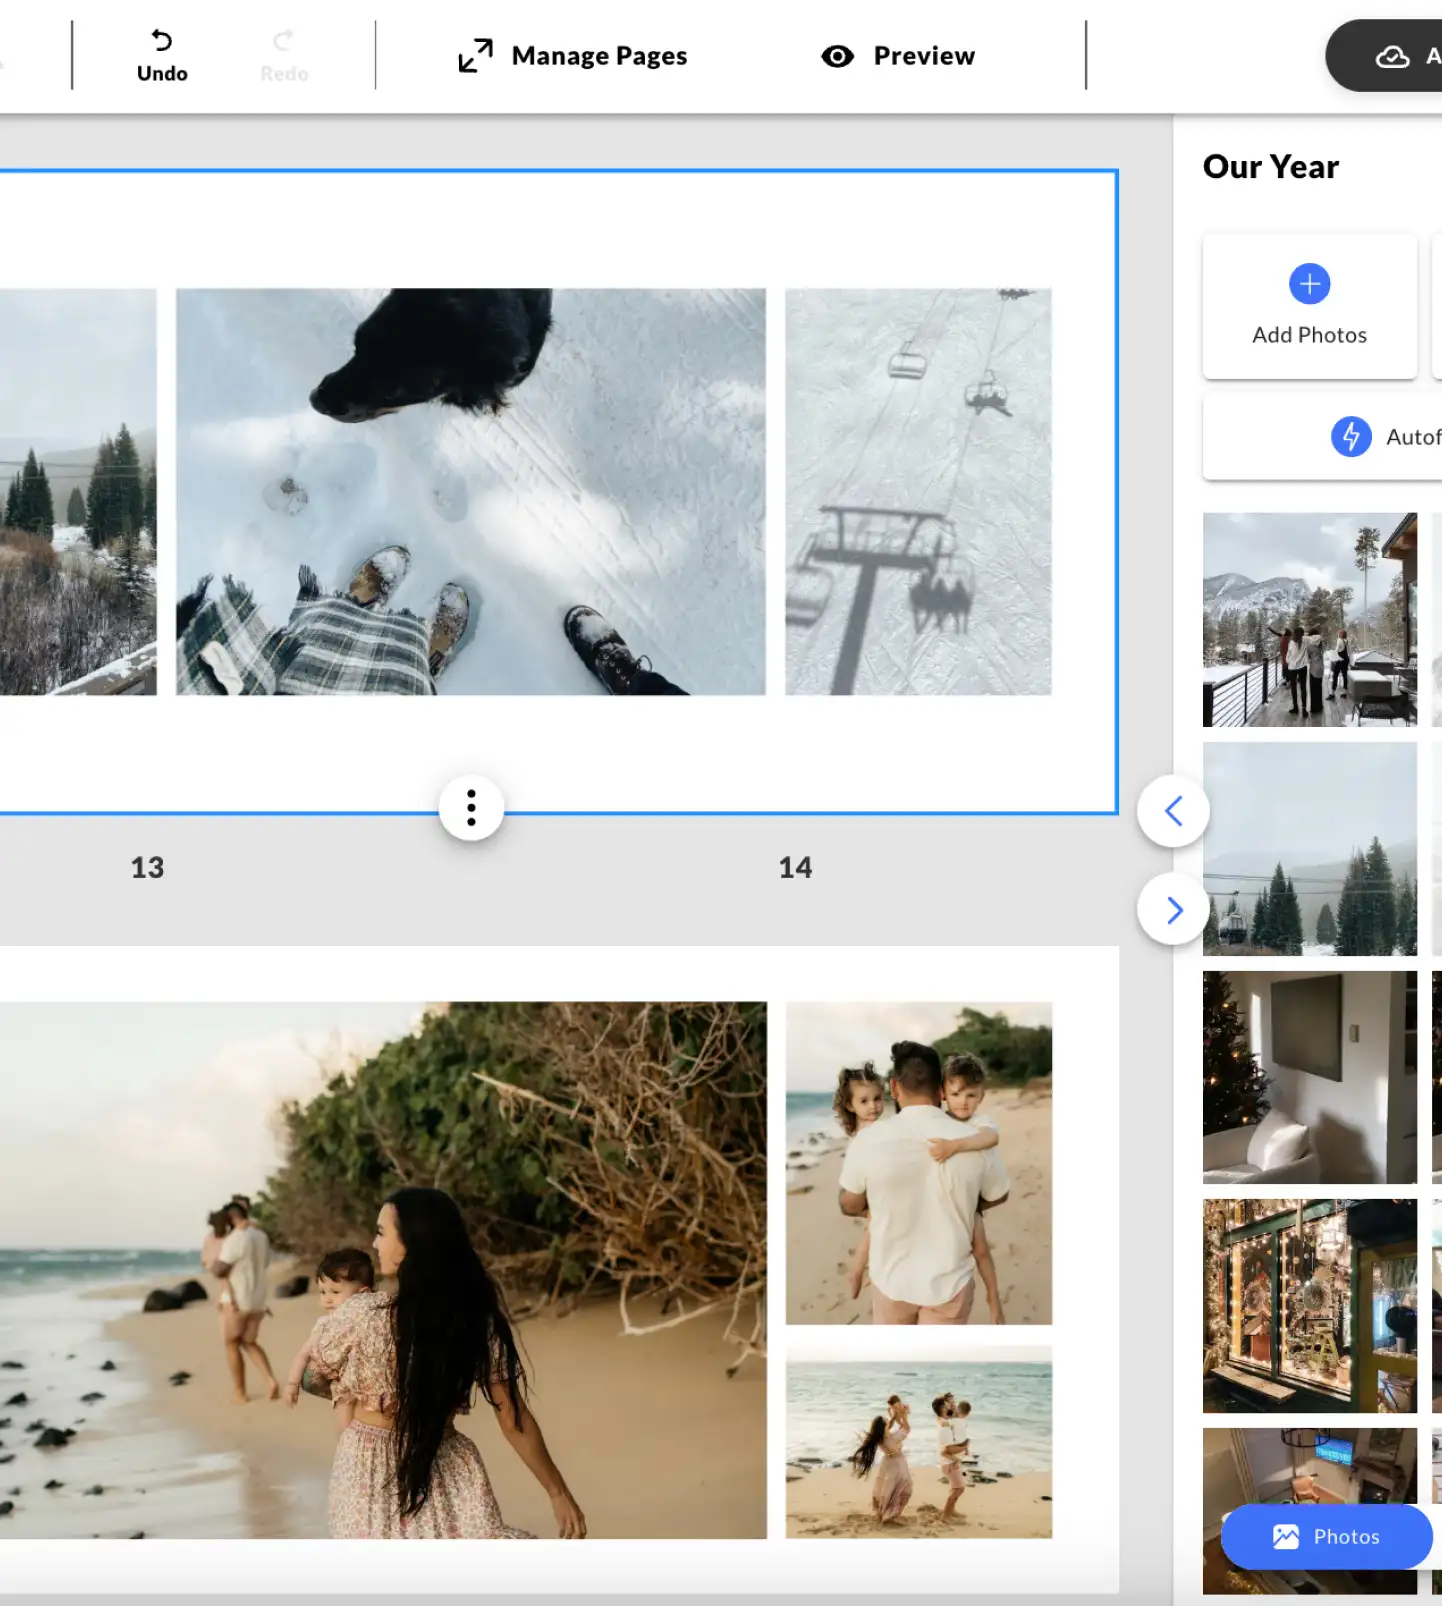
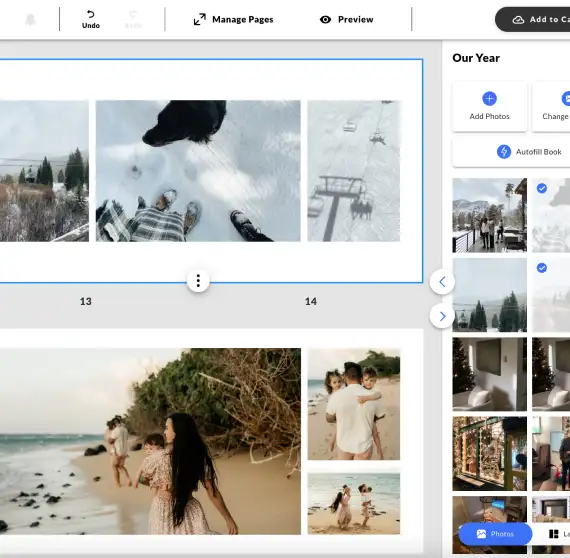
As you're putting your story in print, a few tips can go a long way
in helping you craft a unique and visually compelling narrative.
Set the Scene
Try starting your book with a big statement image that really sets
the scene for the rest of your book.
Add Variety to Your Layout
Add a little variety to your layouts by switching them up or
changing the positioning. For instance, a trio of square photos
running across the left page can be a great way to convey motion or
a series of events. Plus, it sets you up perfectly to place a large
concluding image on the right.
Go Big With Beautiful Images
Let beautiful images stand out by giving them the full-page
treatment. In Layflat books, you'll be able to create two-page
panoramic spreads where awe-inspiring landscape photos and heartfelt
snaps alike can feel right at home.
Play With Color, Tone, & Texture
Layered beneath the story you're already telling, coordinating
elements of color and texture in your photos can create a visual
substory that speaks to the eyes.
Use Text to Tell the Story
From captions that mark the date and location to dedication pages
that make gifts all the more meaningful, text can play an important
role in personalizing albums and preserving details.
Focus on the Meaningful
At the end of the day, that which is meaningful is that which
matters most. Don't stress perfection — you simply can't go wrong if
you focus on those photos that fill you with joy.
Step 06
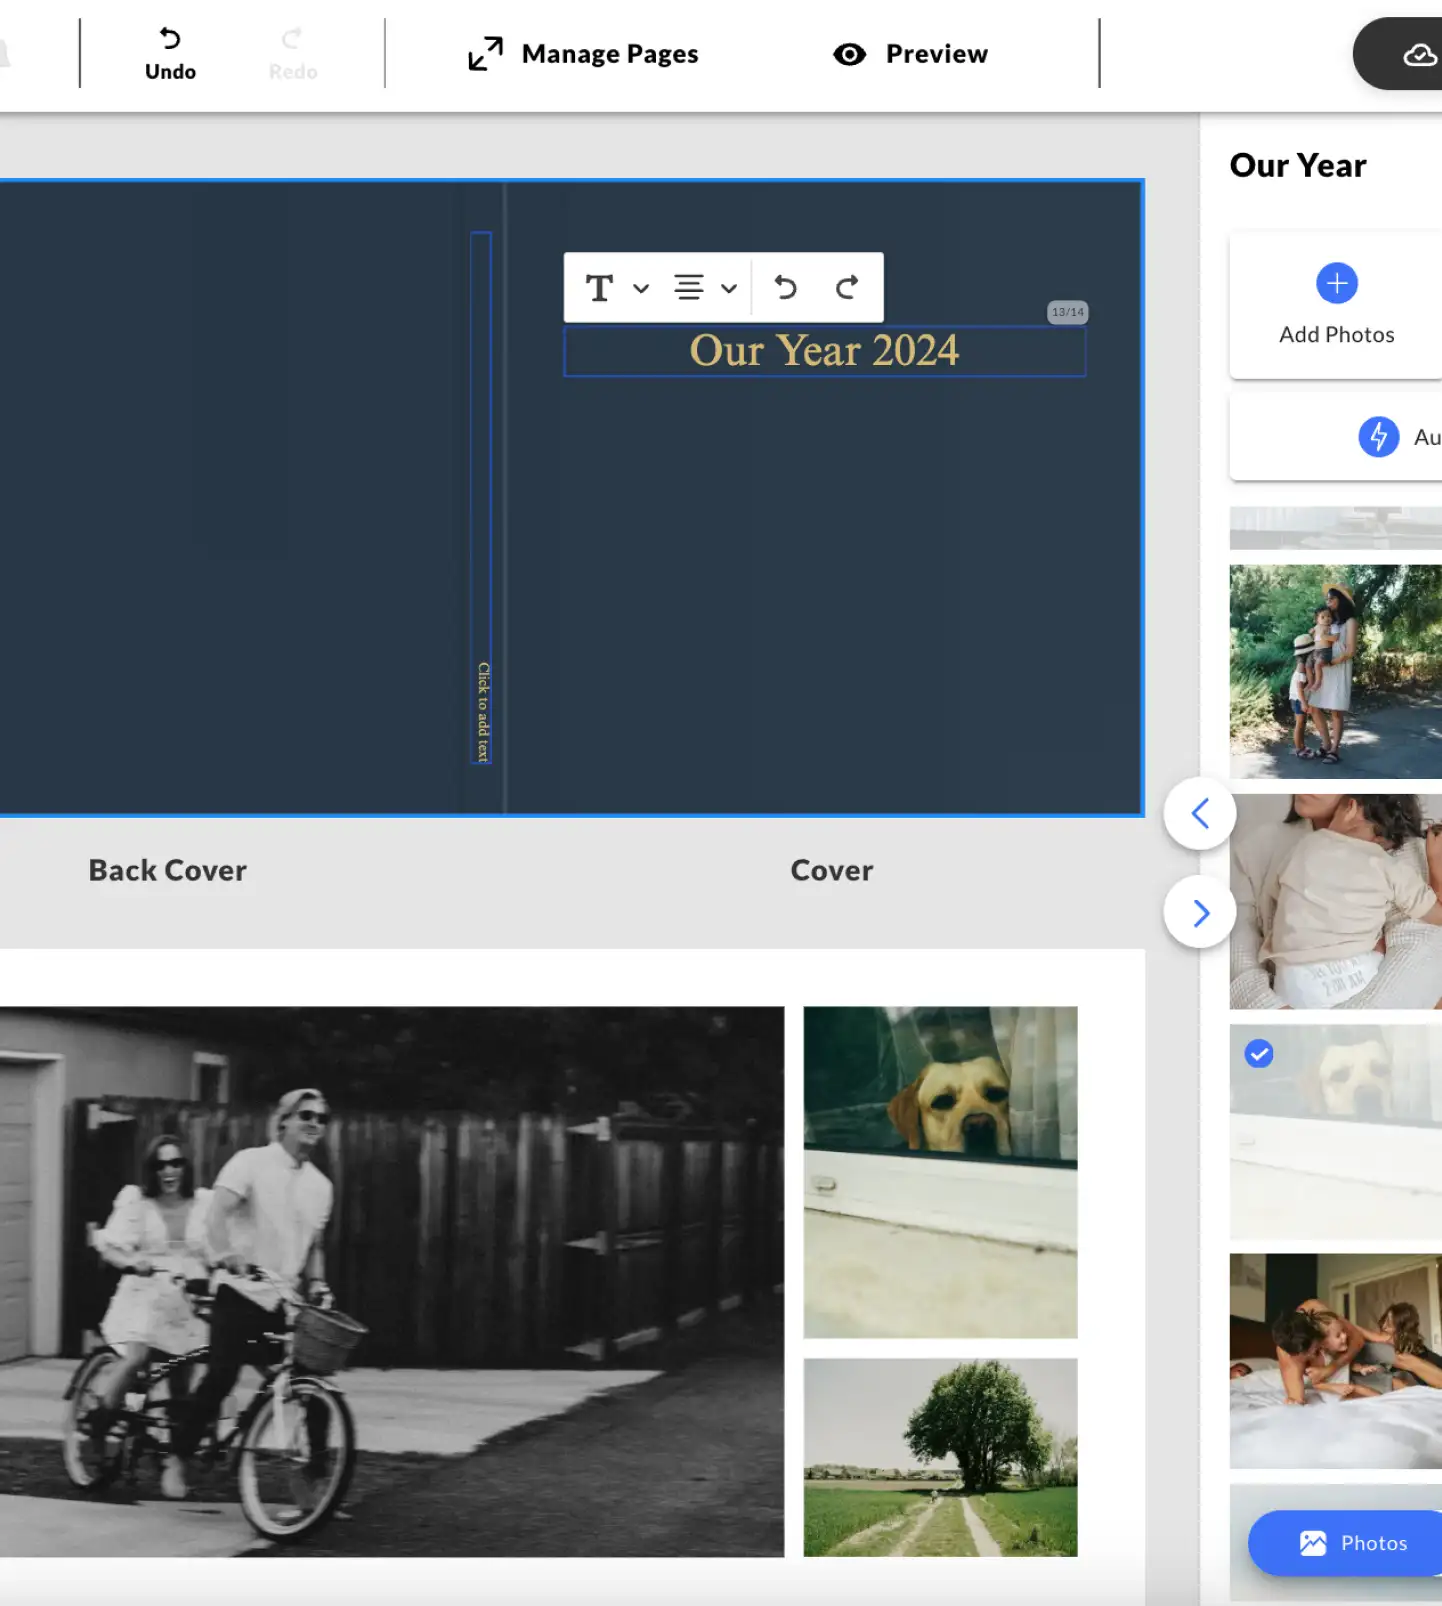
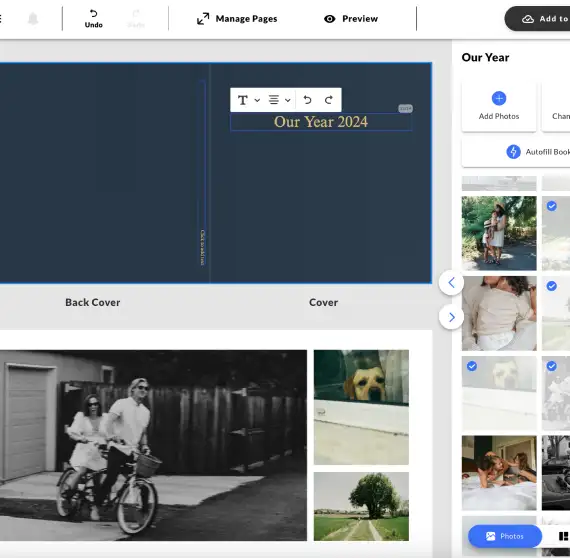
Create the Cover
Saving your cover until the end can make this step a lot easier. By
this point, you'll know how the story took shape and what photo sums
it all up the best. If your album doesn't have a cover photo, then
your work is already half done — just give it a name.
Naming your album can be the hardest part. so there's no shame in
keeping it simple. Think: year, month, people's names, or places.
Or, give it a little extra color by bringing in anecdotes, humor, or
an inside saying. You might even try asking yourself what you would
call it if the story was a novel. And if you're stuck, you can
always use our cheat sheet of
photo album title ideas. It's filled with dozens of ideas for each book type.
Step 07
Put It in Print
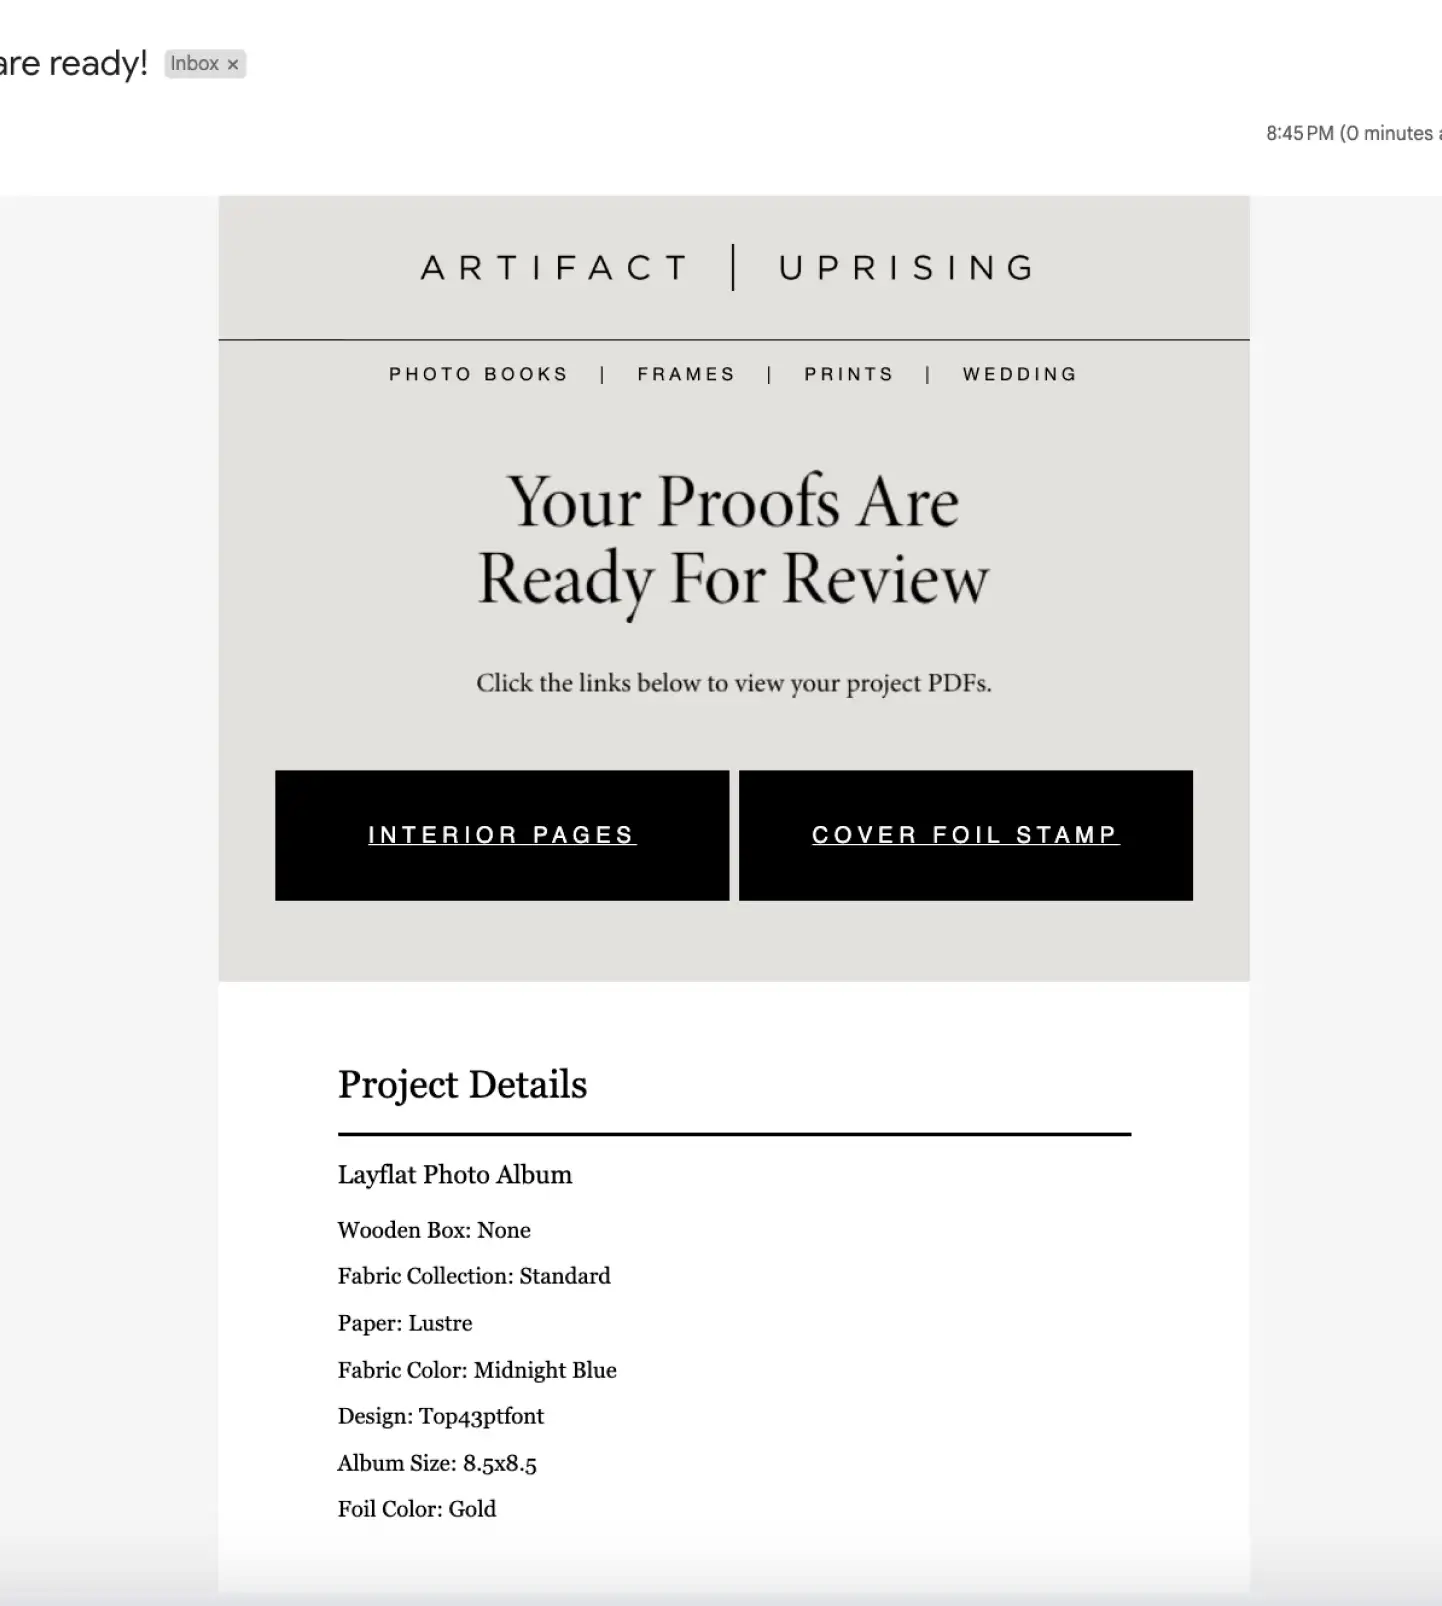
Email Yourself a Proof
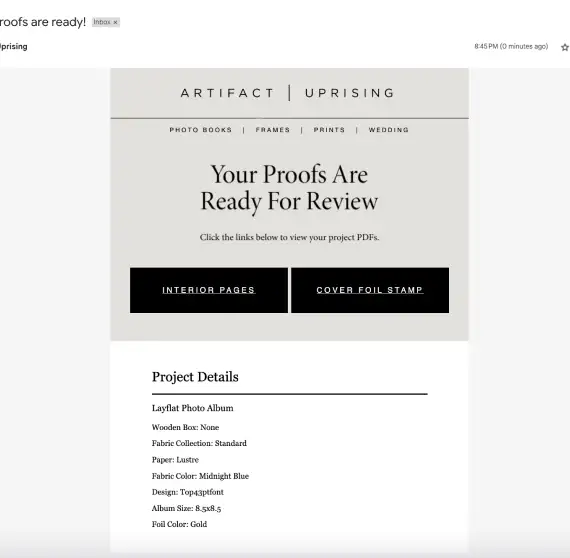
Once your book is finished, don't forget to email yourself a proof
before adding it to your cart. It's an easy way to see what the
final version will look like in print and spot any snafus that might
have been overlooked in the editor.
Don't Forget to Duplicate
Want to try laying your album out a few different ways before you
make a final decision? That's where duplicating your project can
save you from backtracking. Instead of erasing all the work you've
already done, you'll simply create a copy you can edit, experiment
with, and compare.







.jpg)
