Gather
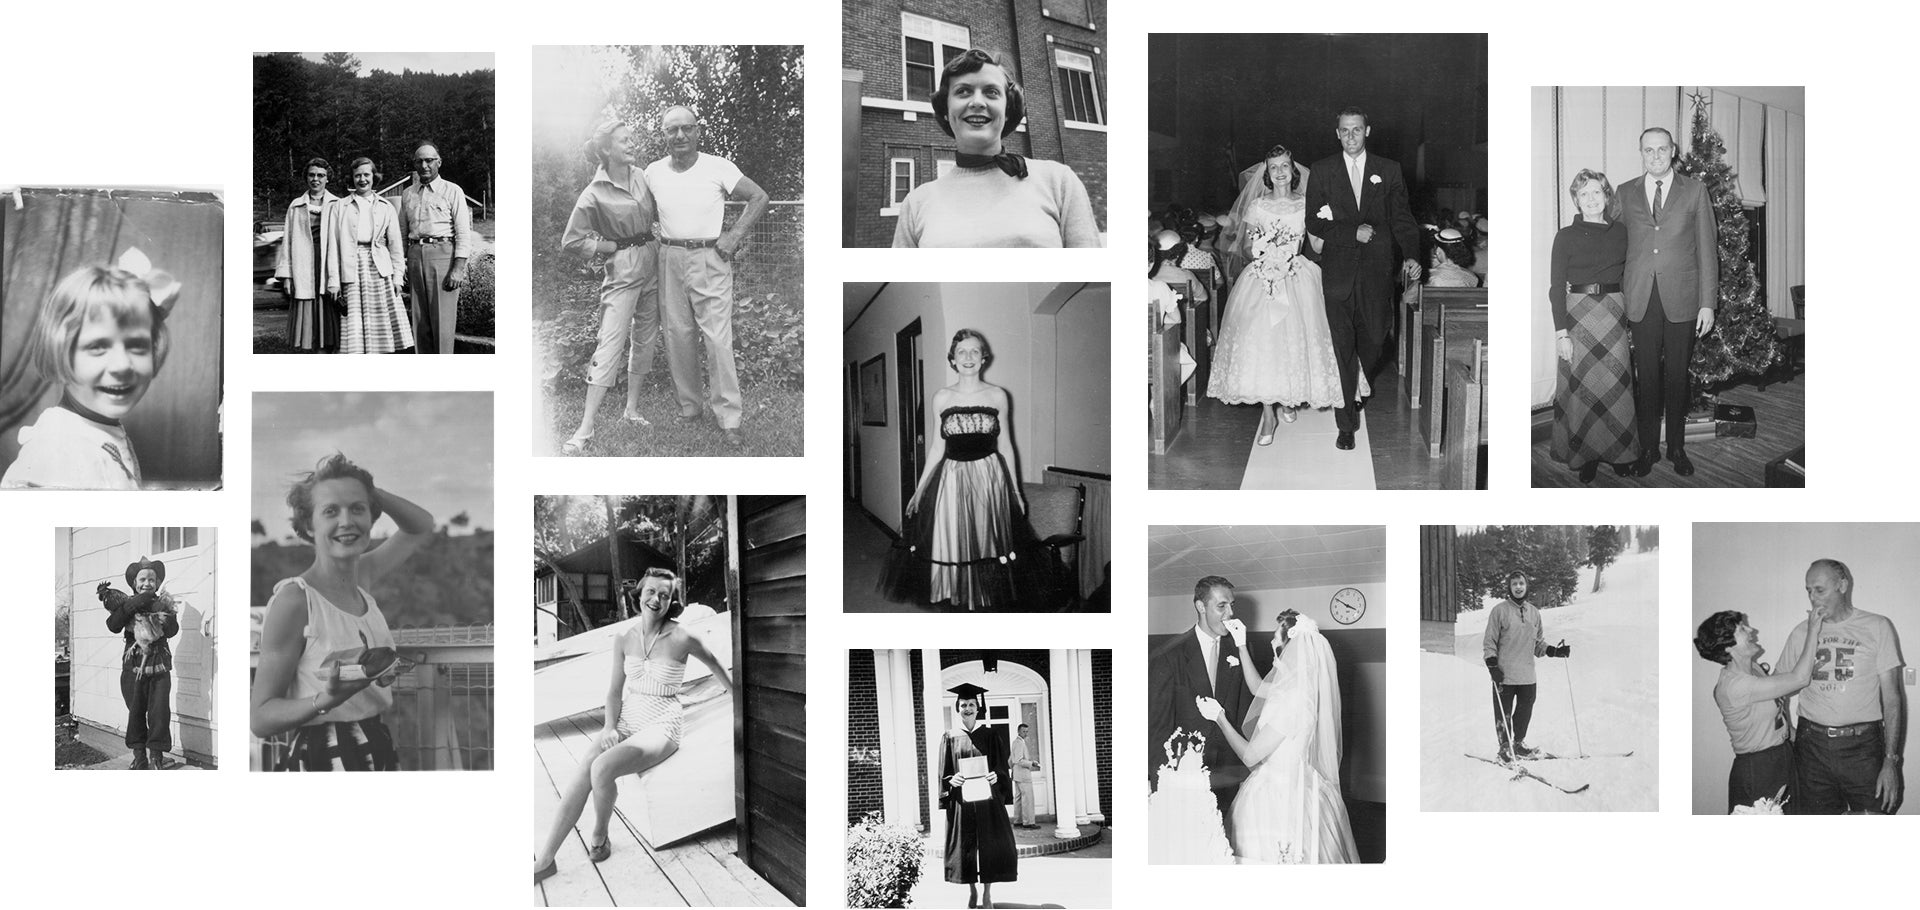
After my grandmother passed, my mother, wife and brother were tasked with cleaning out her closets and filing cabinets. I immediately set aside any box of slides, envelope of negatives, or album of photos. The amount can be overwhelming, so I wouldn’t recommend trying to sort or pick favorites this early on.
Digitizing
The next step was digitizing all of the photographs in their many forms. To help declutter and ease the burden of storage on family members, I opted to scan and upload every photo. There was advice on digitizing photographs here, but in the case of projector slides, I turned to the experts and had them processed by our local photo developer. (Note: Digitizing slides can be expensive, so this is a time when prioritizing photos is worth it. The texture and color that came from the slides was truly remarkable.)
Organizing
Be sure to organize your files as you upload them. Sorting by year, or life stage is helpful as the chronology will come in handy later. The last thing you want is a folder full of thousands of unrecognizable file names. Again, your diligence will pay off. You’ll likely end up with a lot more photos than you’re able (or want) to add to your project, so sort through and pick your absolute favorites. Tag them, or create a separate folder of “selects” so that you don’t get lost. Narrowing the pool will make building your book that much easier.
Embrace Imperfection
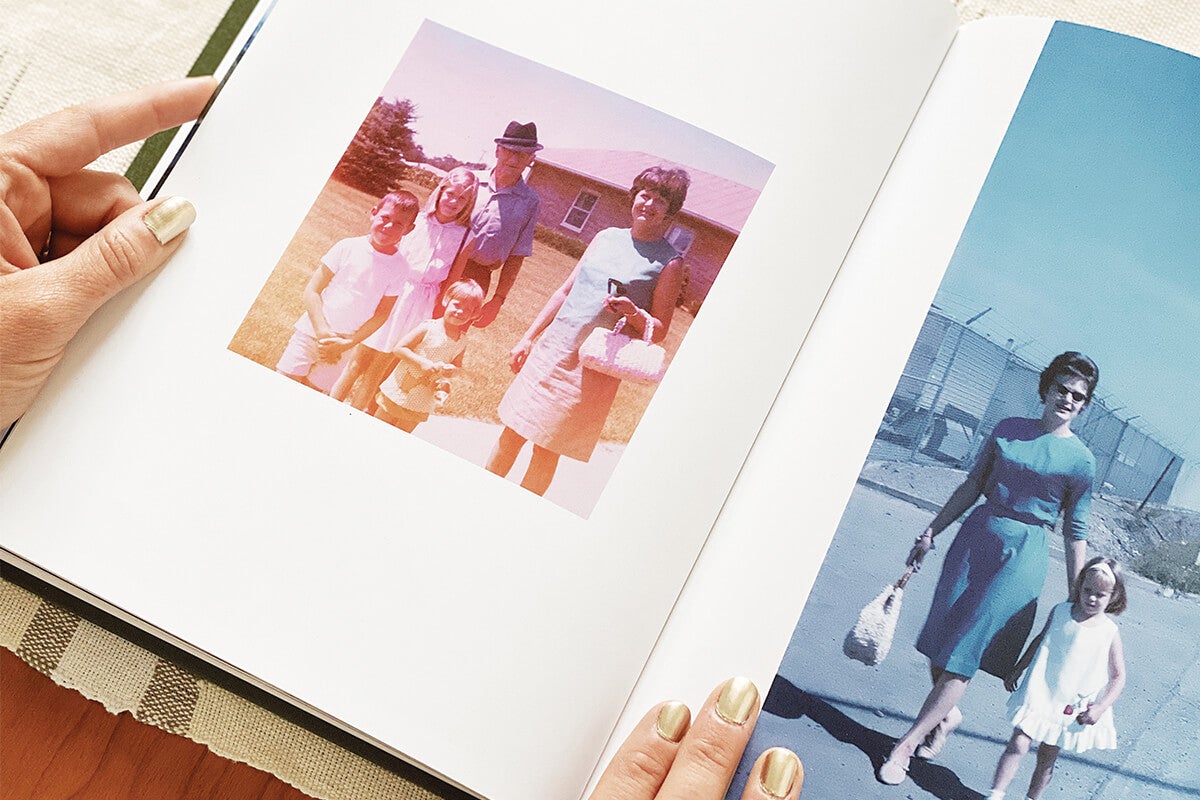
Let go of perfection. Welcome the scratches, dust, and torn corners. These give the book life and help bridge the gap between tactile printed photos and a cleanly bound book. Lens flares and light leaks add character, and ironically, are what a lot of modern-day apps and programs aim to recreate.
Arrange
Laying It Out
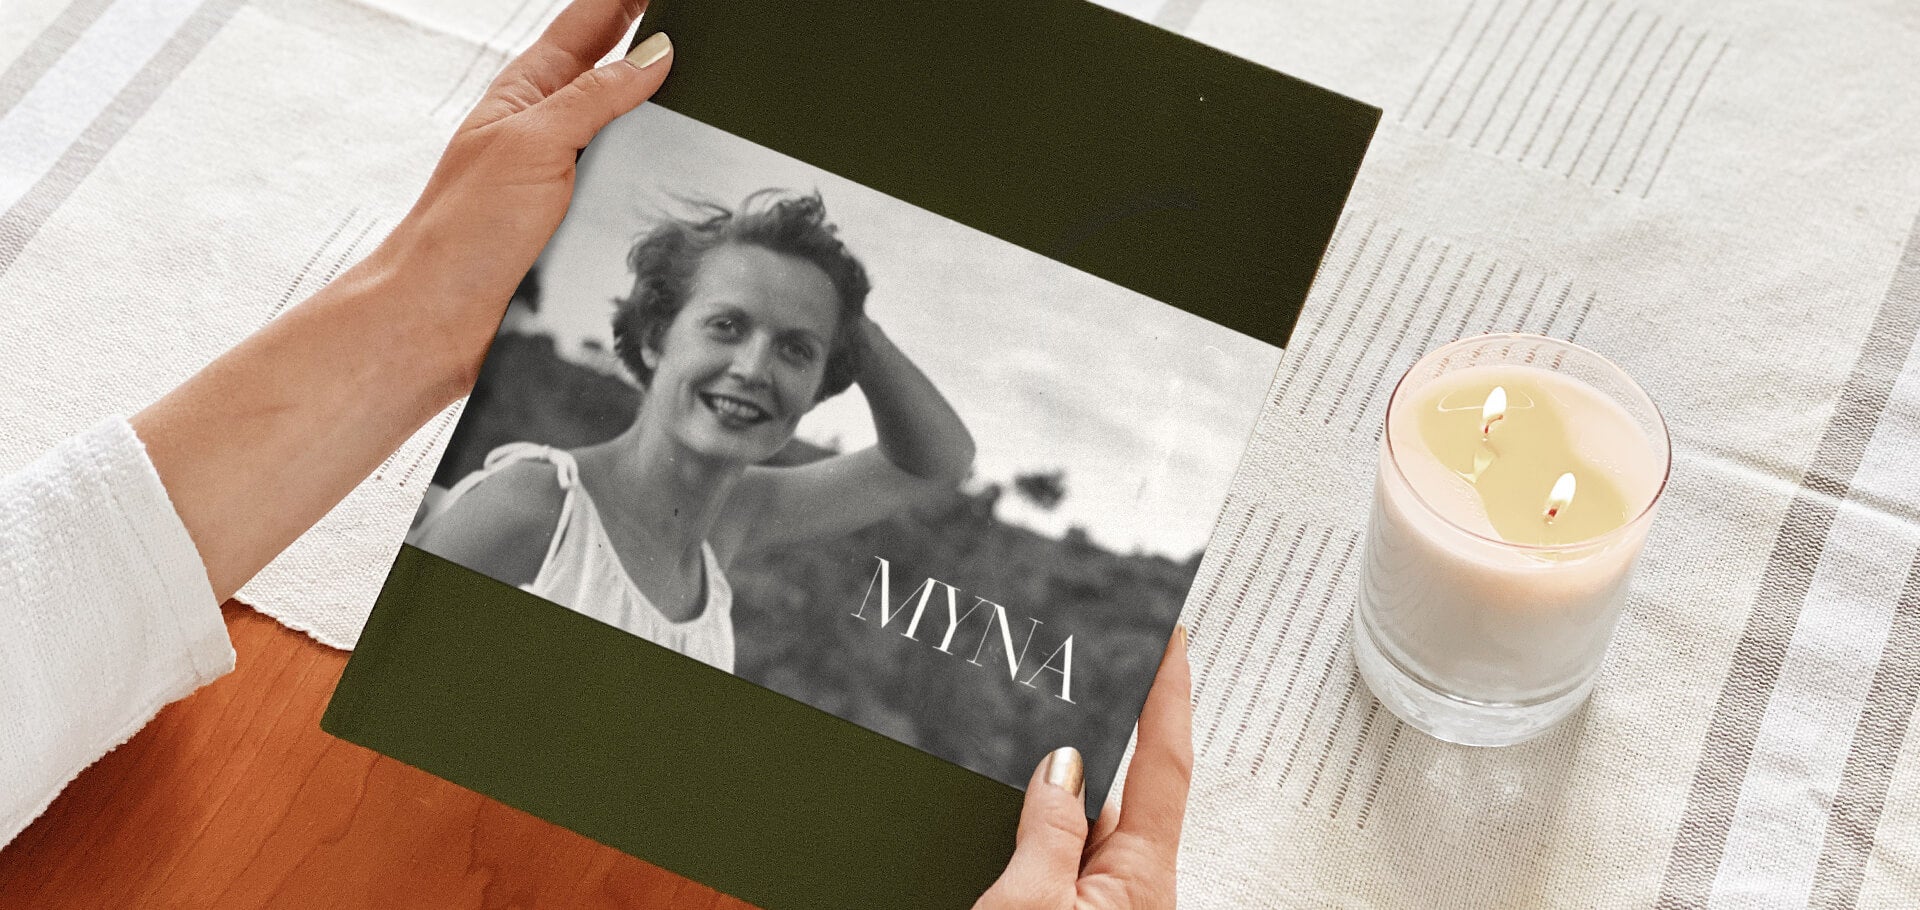
For the book of my grandmother’s life, I opted to lay it out chronologically. It tells a clear story, and helped me slot photos as I went. Getting to see your grandparent or other loved one as a child brings the story full circle, allowing you to showcase their life from start to finish.
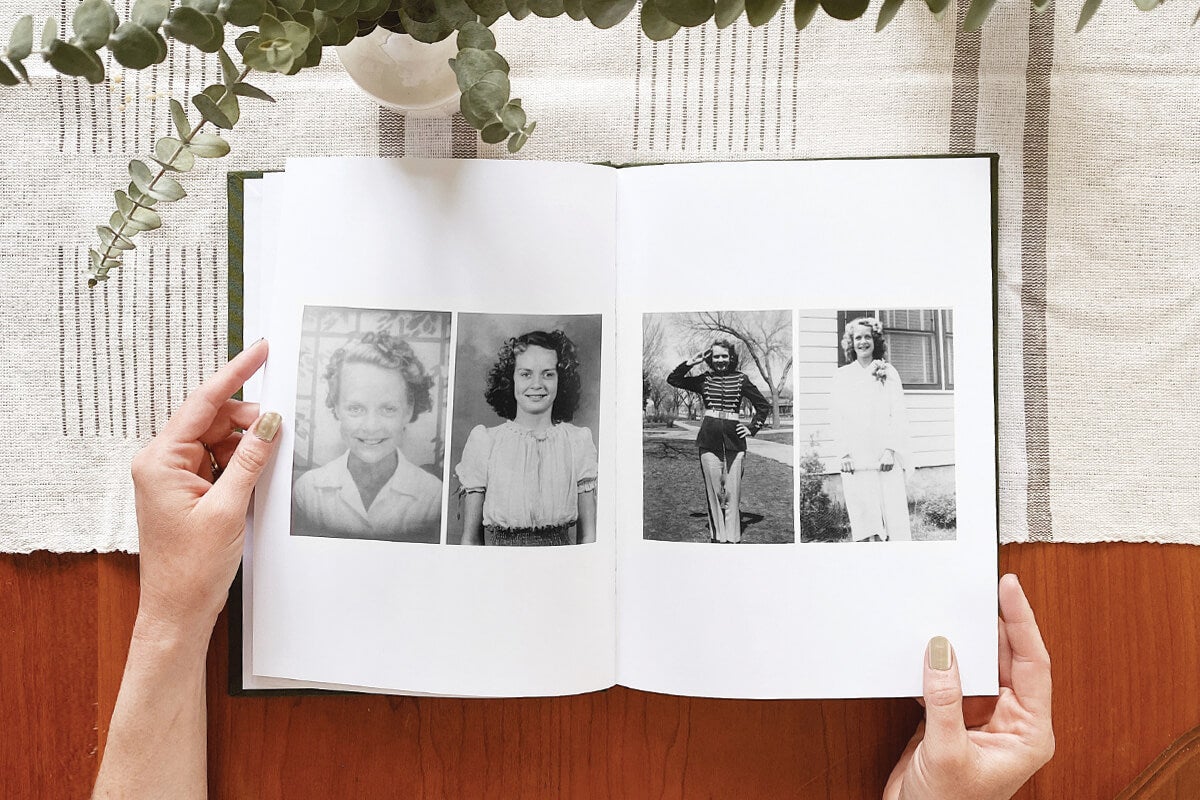
From there, I grouped the photos into other major life events: primary school, secondary school, college, travel, dating, marriage, kids, and so on. This way, even if the photos weren’t perfectly chronological, at least the major milestones would be.
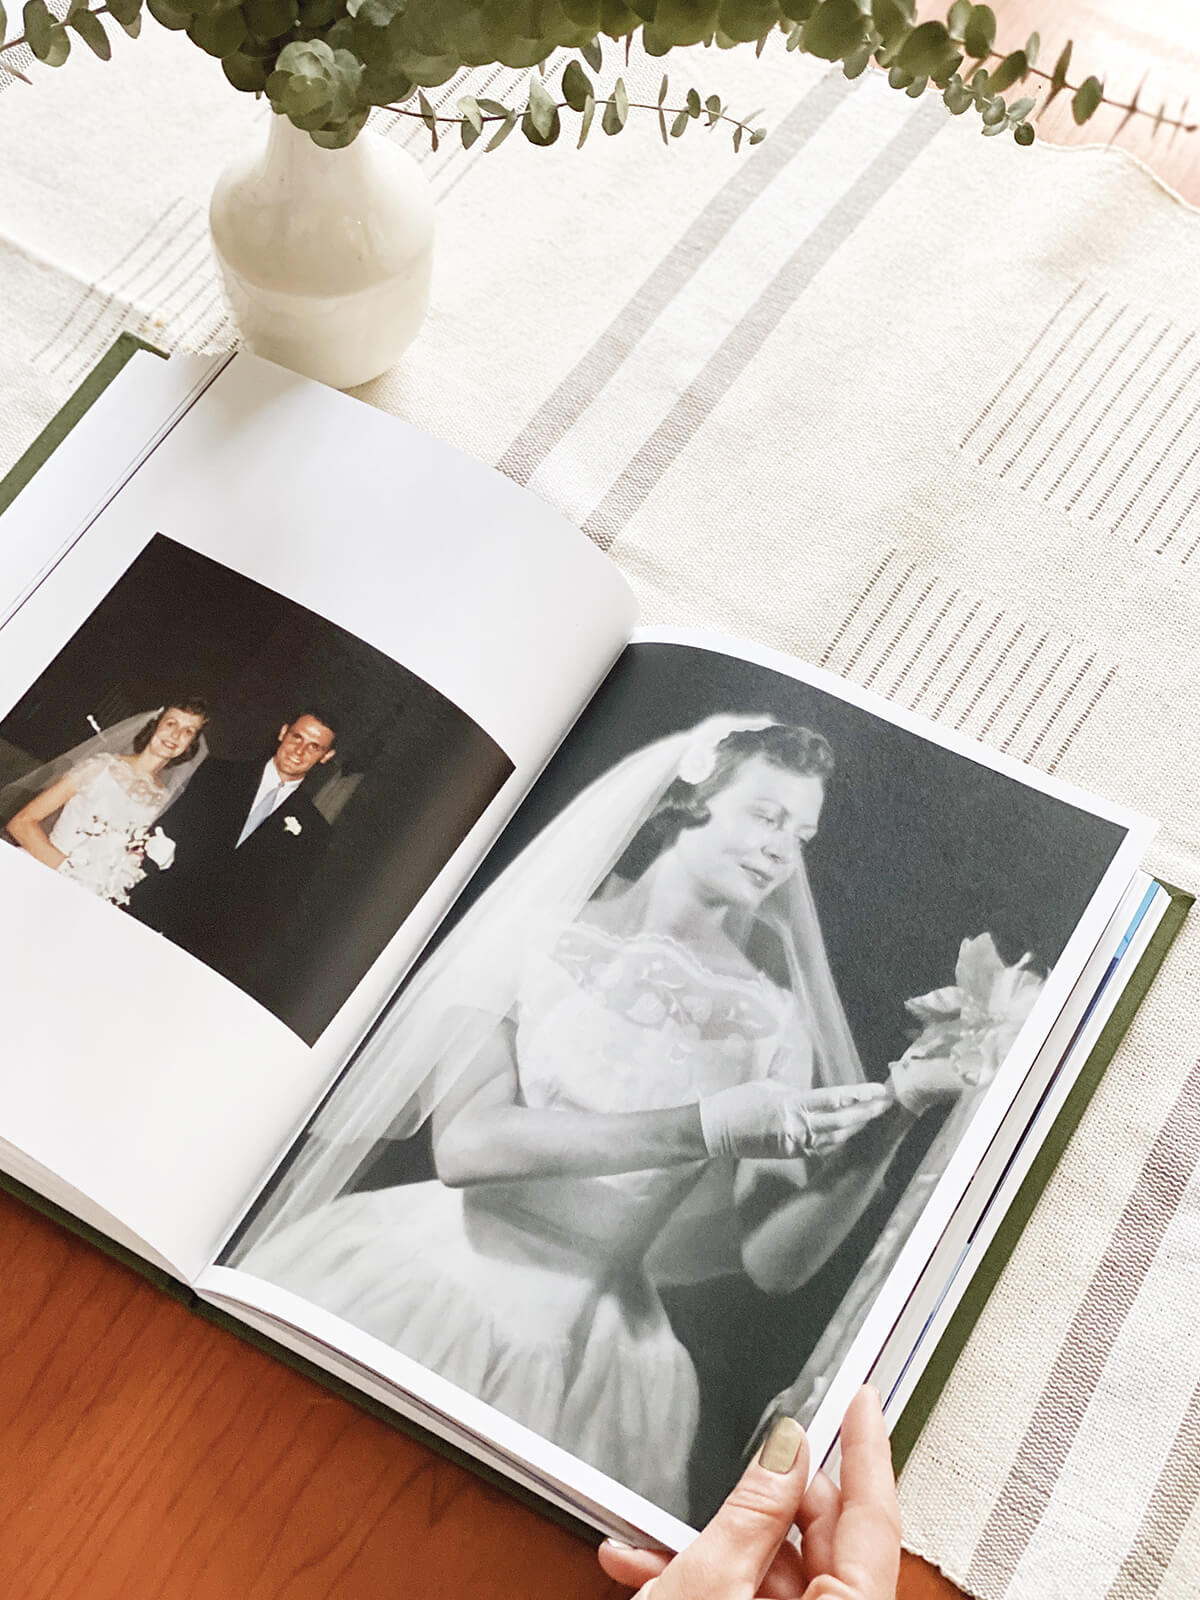
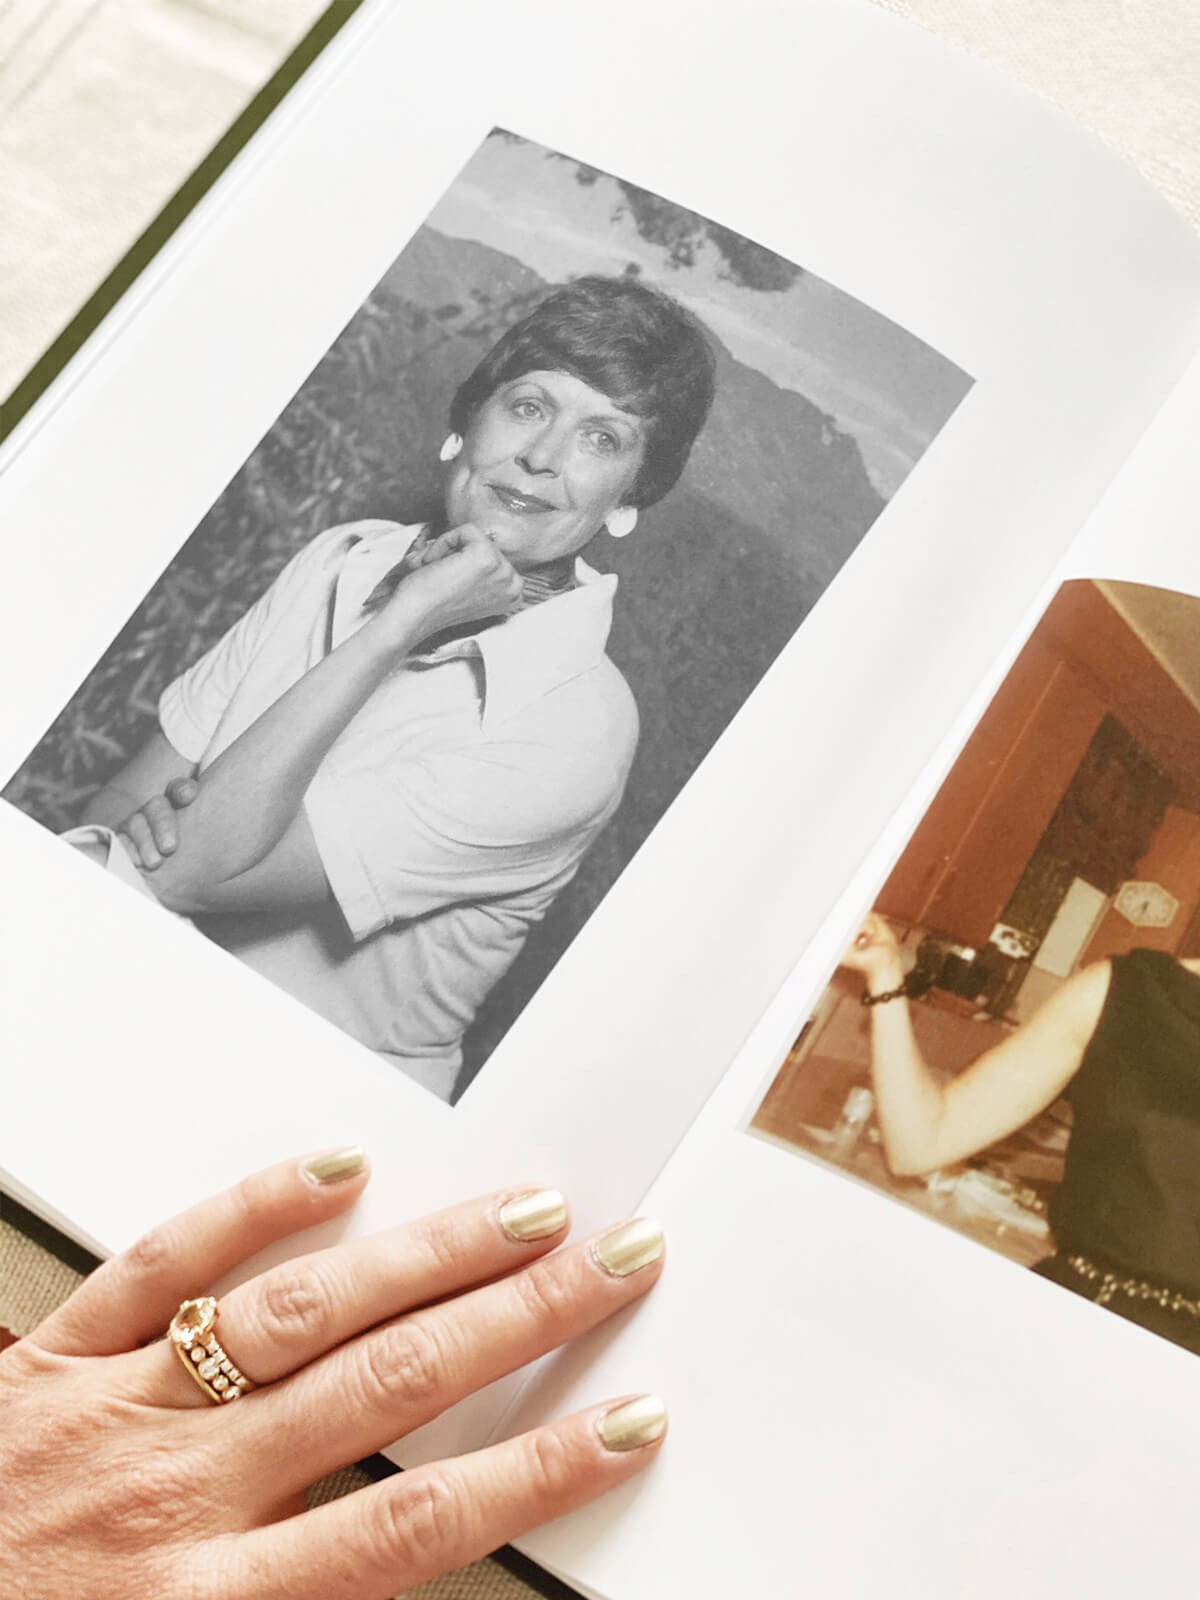
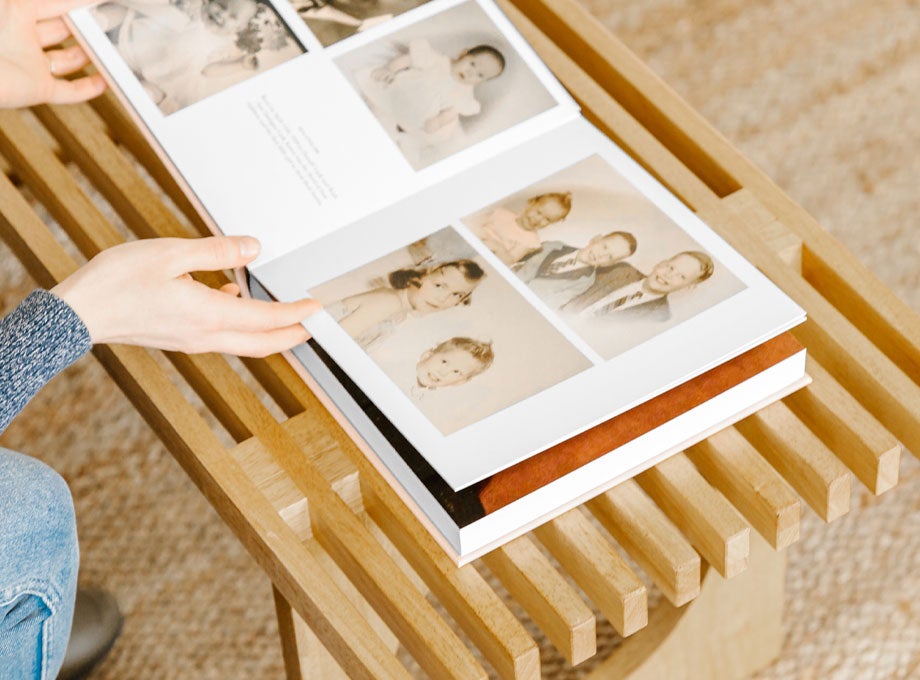
Building Tip: Each photo acts as a time machine. See what else evolves throughout the years as you build your book. It was fun to see my grandmother’s book transition from only black and white into full color.
Weave It Into A Story
Loss can be heartbreaking, but celebrating a life well lived shouldn’t be. Highlight everything. The good, the bad, and everything in between. Create a cadence in your book, feature some sentimental tear-inducing moments, followed by more humorous times. Levity will help add some laughter for those who return to your book often.
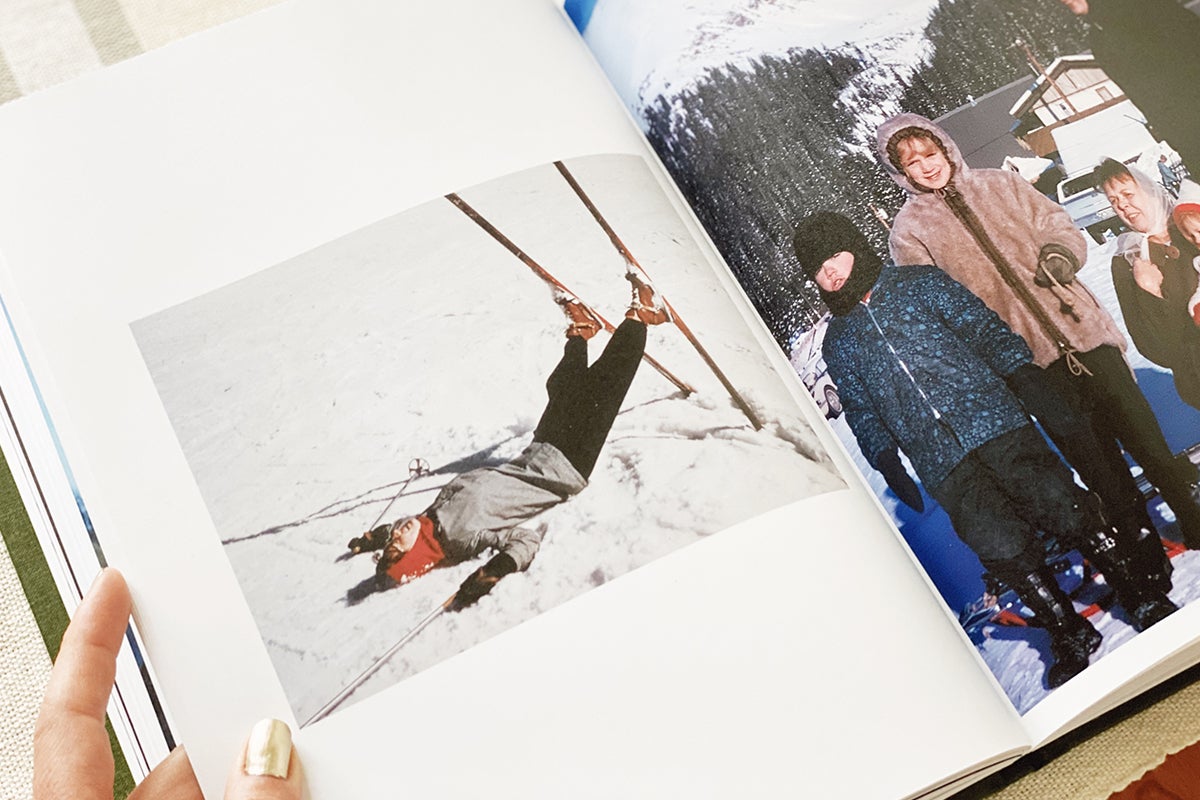
A memorial book doesn’t only have to contain photos of that person. Add in their famous recipes, diplomas, old family pets, or running jokes that the recipients might all enjoy. Again, this is a book of their life, so anything they held near can be equally powerful to include.
Building Tip: It’s fun to use photos that your recipients have never seen before. It turns out my great grandmother was the family photo-taker, so a lot of the images that got printed were a complete surprise for many of my family members.
Keep Recipients In Mind
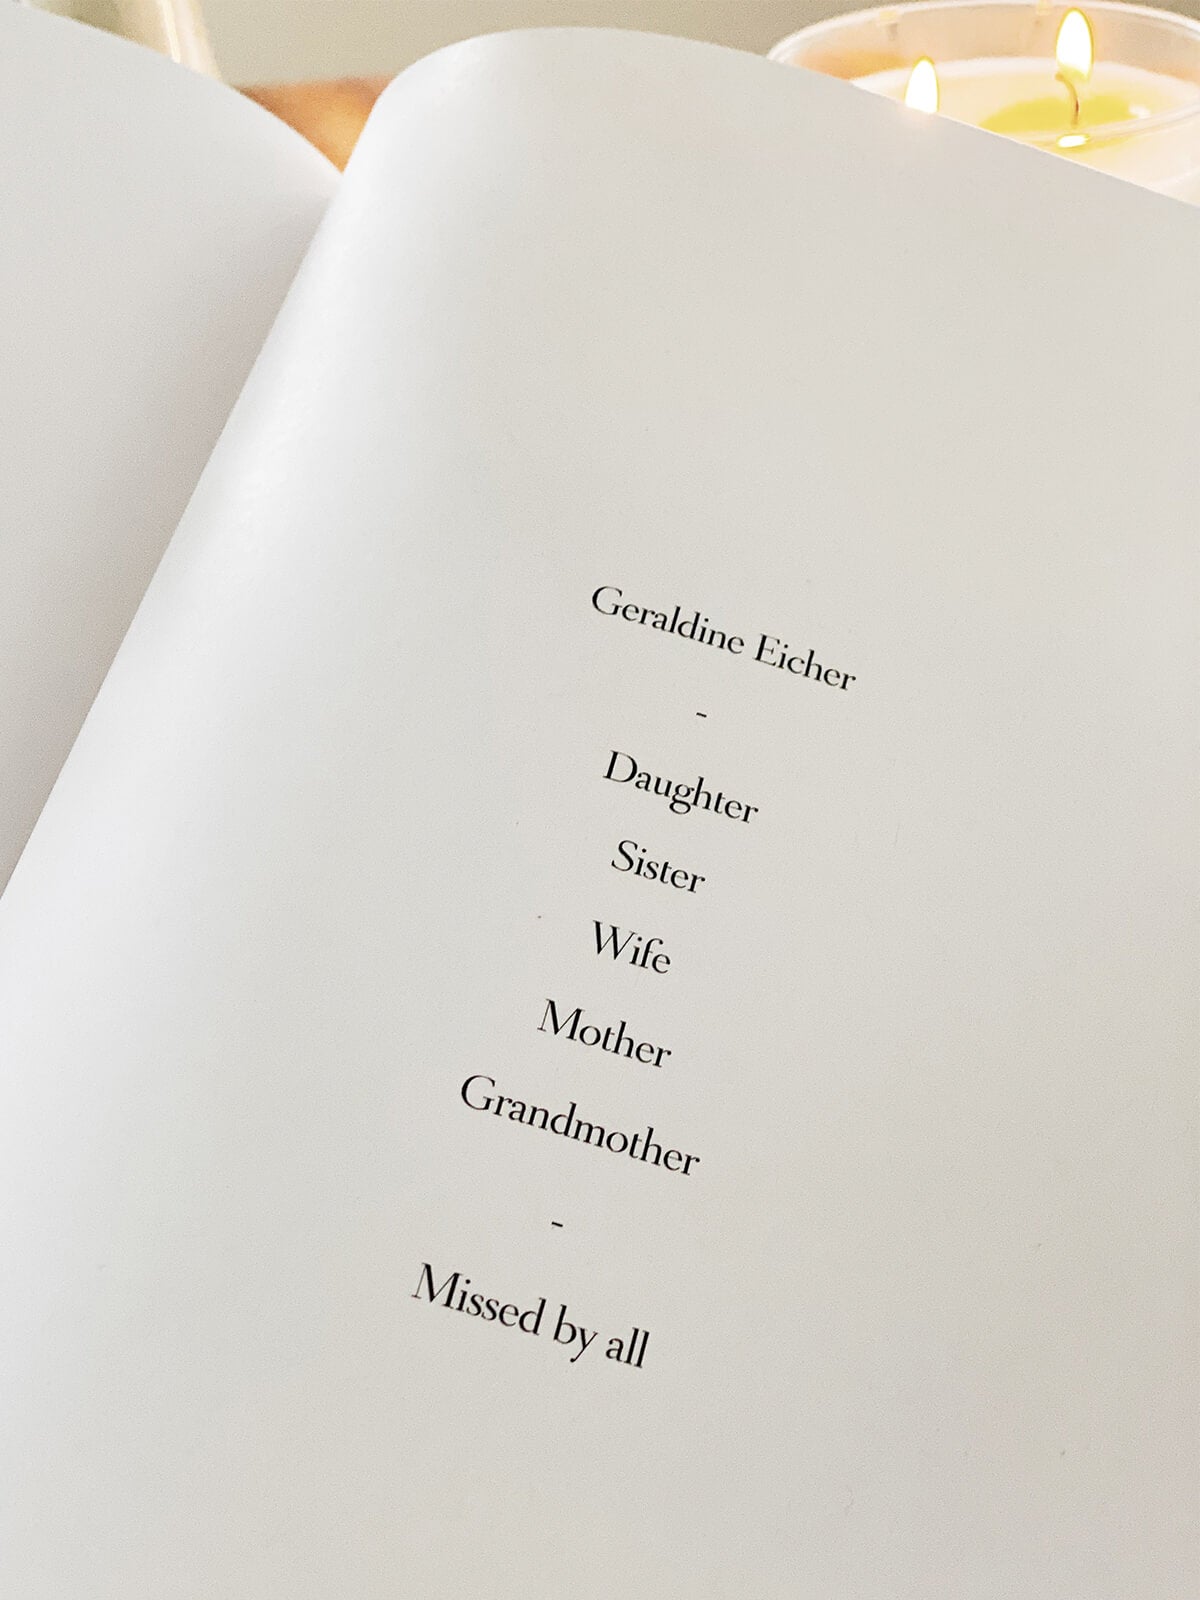

I started off by adding a title page to address everyone who was receiving the book to include them in my Grandmother’s story.
Personalizing Each Spread
Because I was gifting this book to each of my grandmother’s children (my aunts and uncles), I kept that in mind as I built out the book, making sure there were moments from each relative's relationship with my grandmother. For some spreads, I included a photo of them as babies next to photos of them as adults with my grandmother. Creating these smaller vignettes within the album helped build a cadence and create special moments that each recipient would enjoy personally.
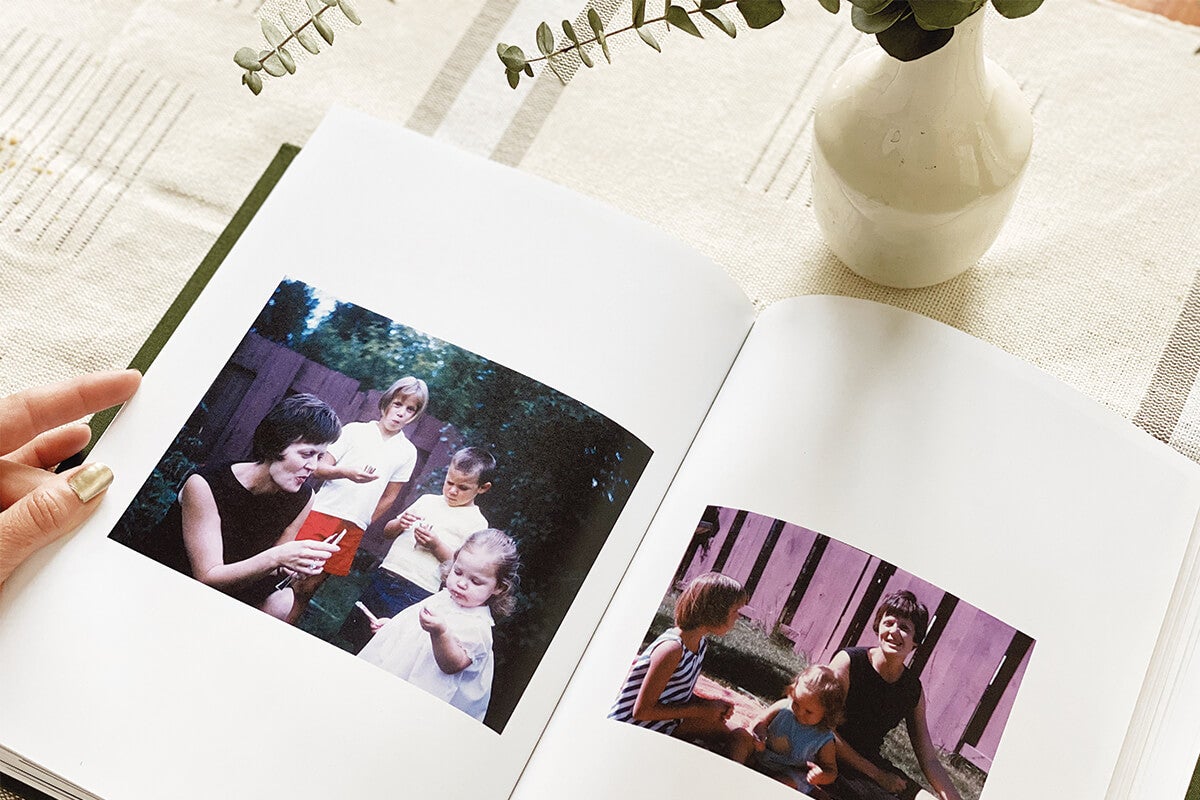
Highlighting a Key Relationship
The loss of my grandmother was sudden and unexpected, which meant that my grandfather had no time to prepare. His memory loss was substantial at this point, so I wanted to recreate the most vivid moments of their life, together. From their first date, to their wedding day and all that followed — their relationship was the main focus of much of the book.
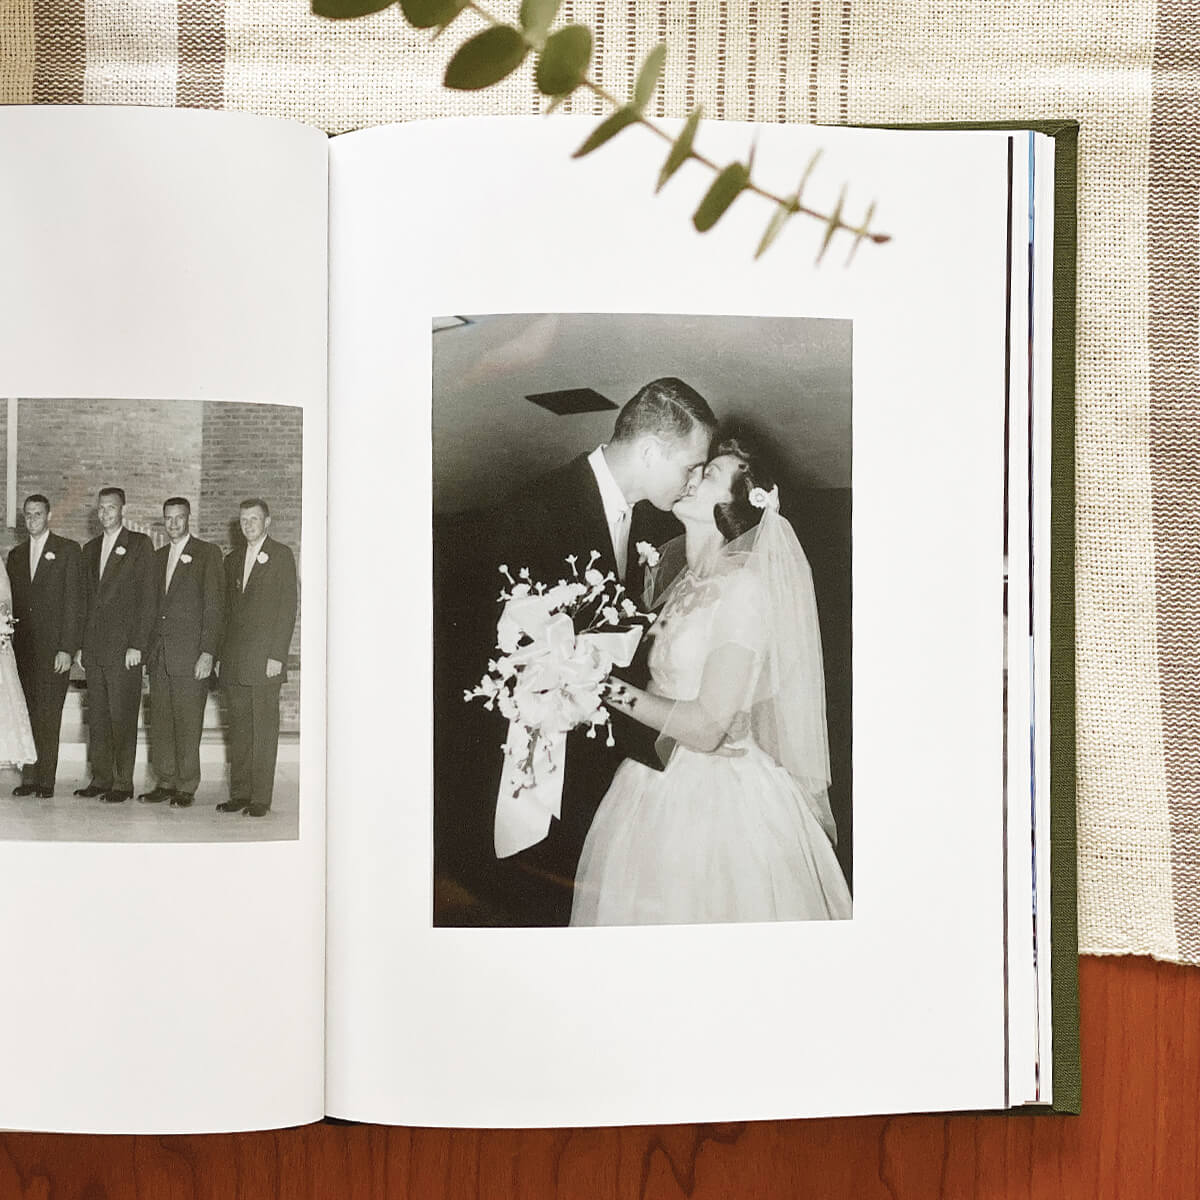
Building Tip: In my example, I created one book with copies for the entire family. However, tailoring each book to its recipient is another way to make the gift that much more personalized. You’ll likely have enough photos to do so, but I will warn that it can take a bit more time to customize each book.
Revisit Often
Before we eventually lost my grandfather, the book of my grandmother’s life always sat next to his chair, and he would always say “She was a great lady.” My hope was that when he had trouble remembering the details, this book could remind him of her greatness.
Each page brings a different second of their life back into focus.
It’s impossible to reflect an entire life in a book, no matter the length. However, these photos will trigger sights, smells and sounds — memories, laughter and love. Each page brings a different second of their life back into focus.
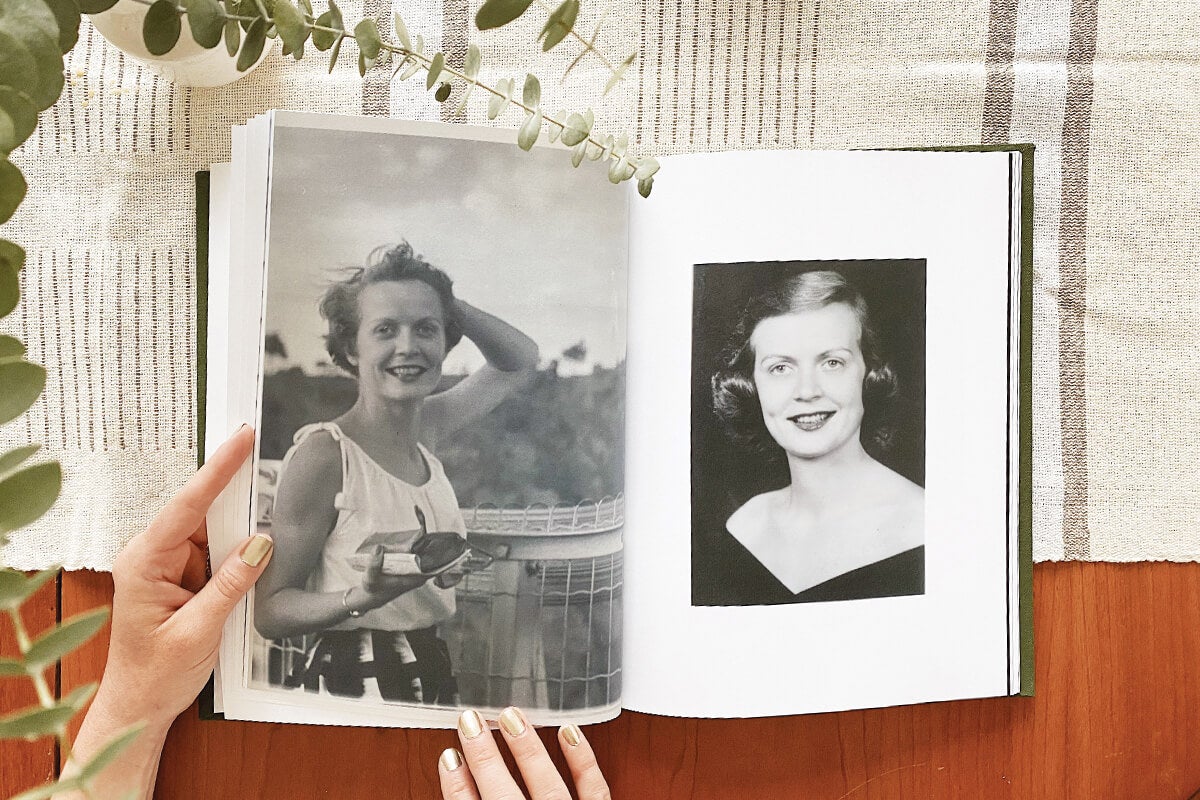
A book like this serves as a window into another time and place. A book filled with photos is a great way to collect your favorite memories of someone who is no longer with you. Photo books can bridge the gaps between distance and time, which is why they’re the perfect way to celebrate a life now passed. Enjoy your book and turn the pages often. Wear the paper, scuff the linen — you’re building this book to be loved.
