Tip 01
Find the Favorites
With Jenna Graham
When taking pictures of my three busy babies, it’s not always easy to get the perfect shot, so shooting multiple shots of one event helps me maximize my chances of getting "the one". The key to this, though, is to choose your favorites right after shooting. The first thing I do is cull them — deleting any and all images that are blurry, accidental bursts, closed eyes or poorly lit. This helps me spend time editing the photos that are the ones I love the most, and it also helps me feel less overwhelmed when it’s time to choose what images I want to share to social media or print. Once I have narrowed a batch down, I use the favorites feature to quickly put all of my favorites into one folder. (When you press the star button below the photo, it goes into the already-set-up favorites folder). I edit those few which best represent the moment I was trying to capture.
Take action:
- Delete the shots that are blurry, accidental, or poorly lit
- Use the favorites feature to star all the photos you want to edit
- Delete and favorite as you go to avoid an accumulation of photos

Tip 02
Create Categories
With Tania Kolesnik
I love using the albums tool on my phone to organize our most cherished memories. I create albums based on both the year & occasion so I have a place for every picture that is meaningful to me. I add photos into their corresponding album as I go — it’s so much easier to find them in there than in the depths of my camera roll. Since becoming a mom, I’ve learned to organize our best shots intentionally to easily make gifts for our loved ones. I’ve found that creating an album for all of the wonderful people in our lives at the beginning of the year (grandma + grandpa, aunts + uncles, friends, etc.) helps me accumulate photos that relate to them so I can conveniently make a meaningful gift for them! (Photos of our babies are our go-to gifts). I’ll also make an album ahead of time for a gift and then I am reminded to gather photos for that gift as I go.
Take action:
- Create albums based on year & occasion
- Add photos into corresponding albums after you take them
- Make specific albums ahead of time for gifts
2017: At the Beach


2017: Days at Home


Images for Father’s Day


Tip 03
All About the Apps
With Scott Snyder
I take an incredible amount of photos on a daily basis, so I keep coming back to a few apps to help me stay organized. First, I use the iCloud photo sharing (which is already on my phone with iOS). Here, I make different collections and allow others to contribute (perfect for making a shared book for a friend or family member!) I also use Google PhotoScan to scan in all of the old photos of my family so that all of my photos are in one place — on my phone. Also, Google Photos is a great tool for backing up / auto-organizing your photos. At the end of every few months, I upload all of my photos there.
Take action:
- iCloud photo sharing: Easily create shared albums and collections
- PhotoScan: All of your photos, in one place
- Google Photos: Your one-stop-shop for backing up & compiling your photos

Tip 04
Put it to Print
With Bev Weidner
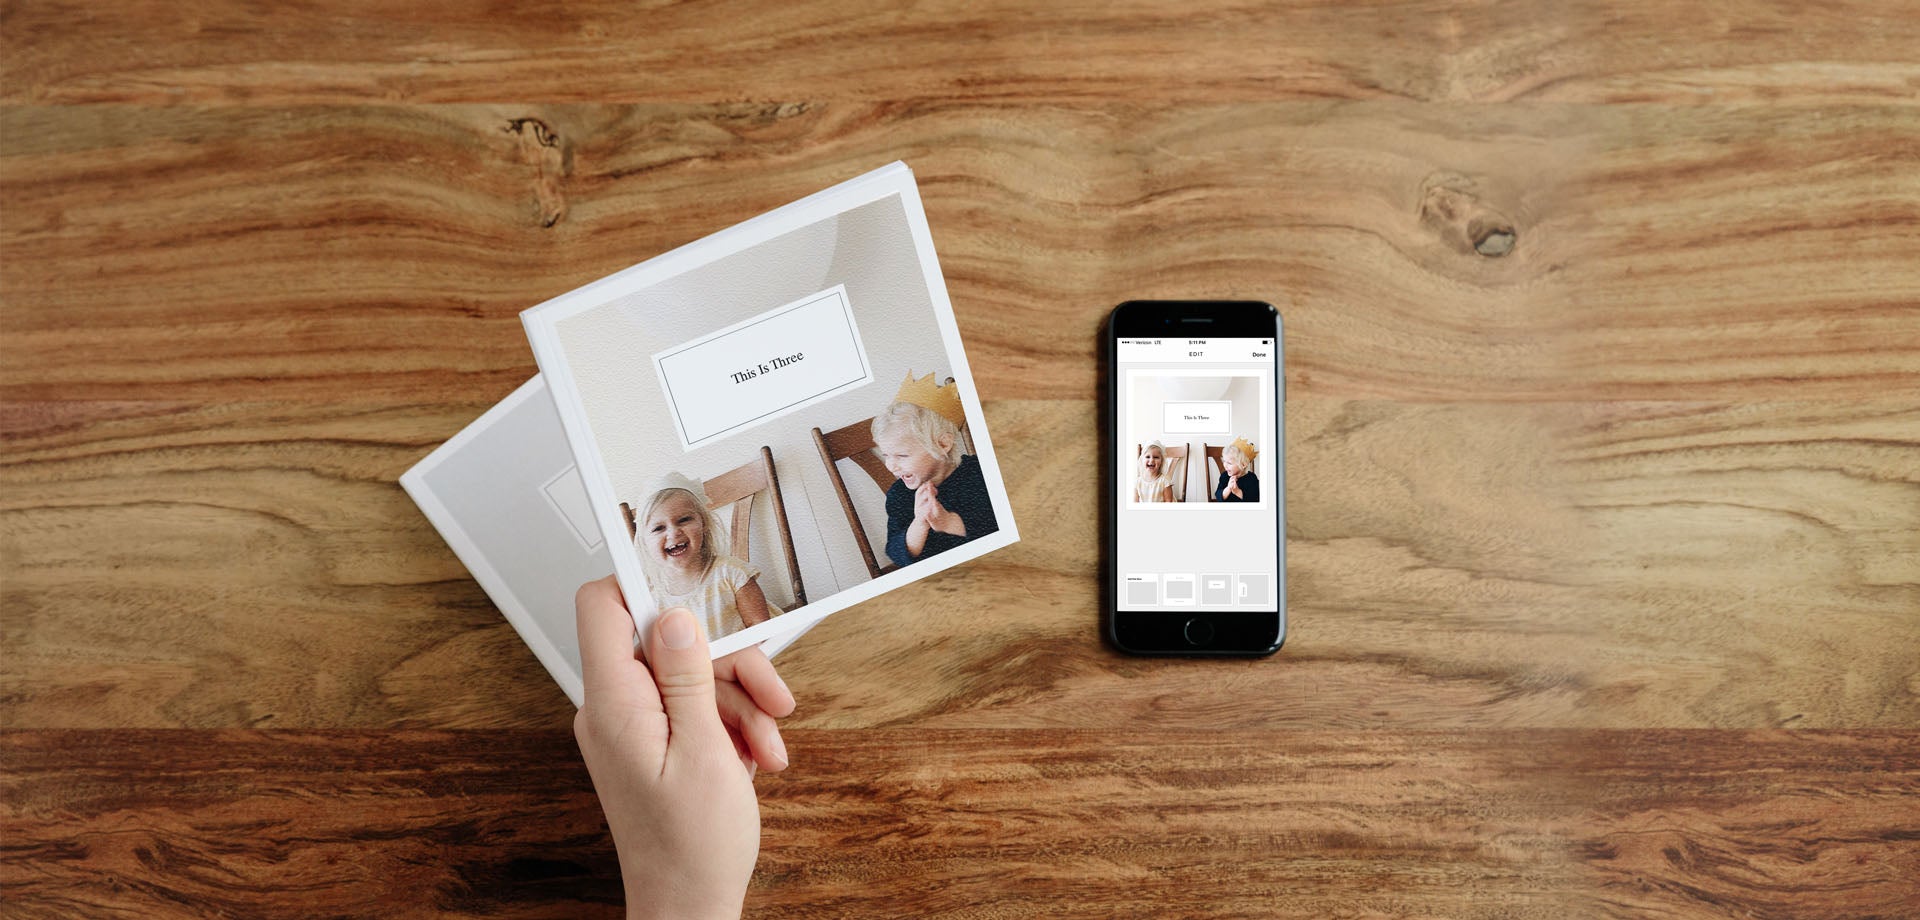
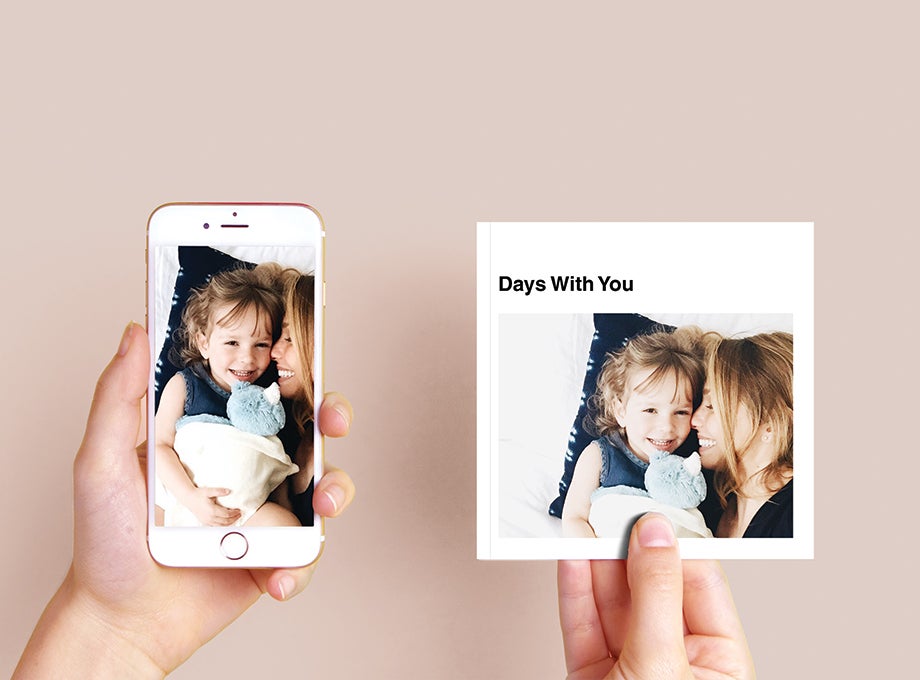
I’ve discovered that creating stylish and minimal photo books straight from my phone is a breeze. So easy that I make one every year for the fam! And myself. I do this for birthdays, milestones, holidays — anything that gives me an excuse to print out my images. Because, hi, I’m obsessed. I pop onto the AU App, upload straight from the albums on my phone, and ba-da-bing! Tangible memories. Also known as: your excuse to weep for a straight month. I rest easy at night knowing that my photos exist — in real life. But, they ultimately end up on an external hard drive, in case of the apocalypse. You know.
Take action:
- Create books on an recurring basis so that it becomes habit
- Directly upload the albums on your phone into a book (the hard work of curating the images and naming the book is done for you!)
- Back up your photos on a hard drive for extra measure


