Step 01
The Photo Hunt
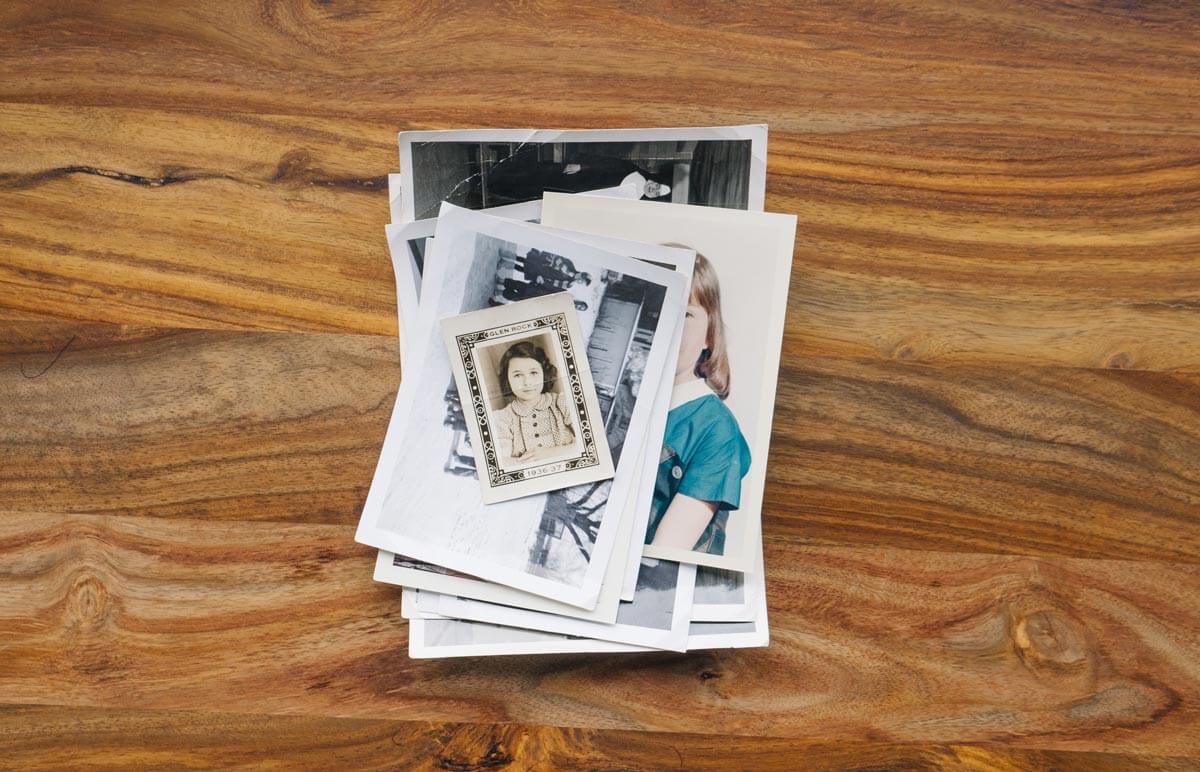
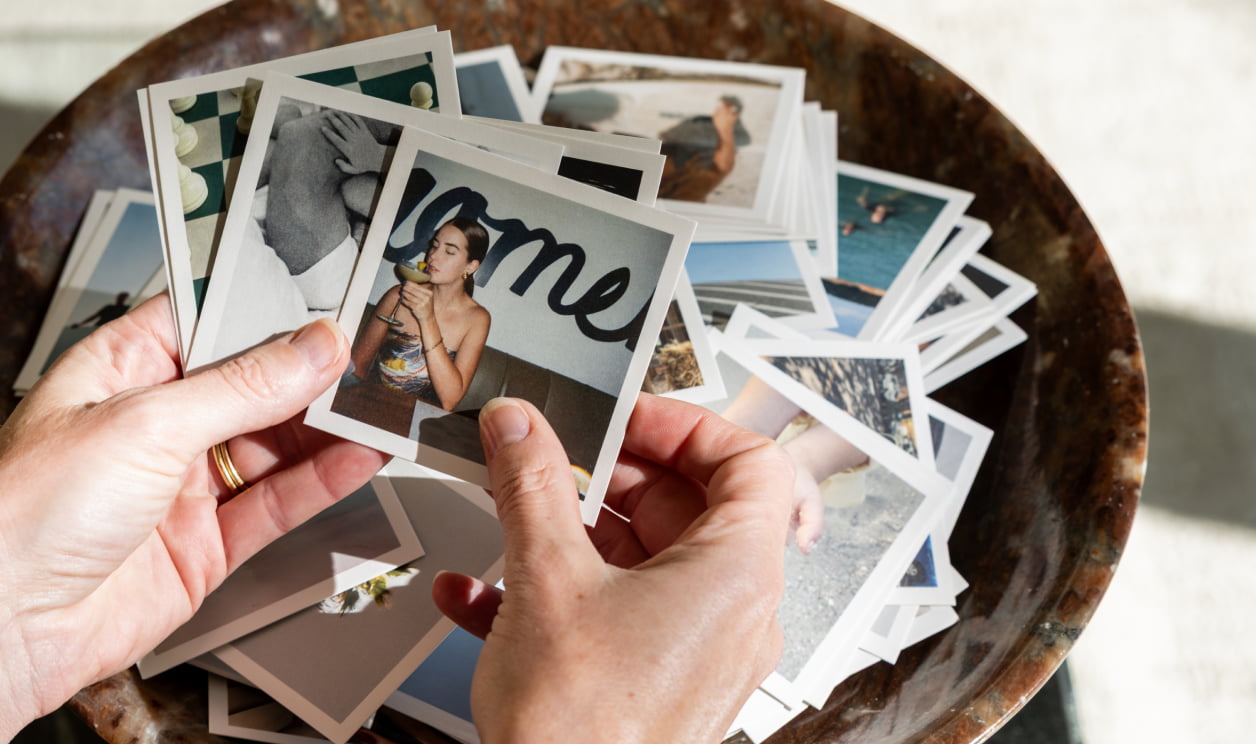
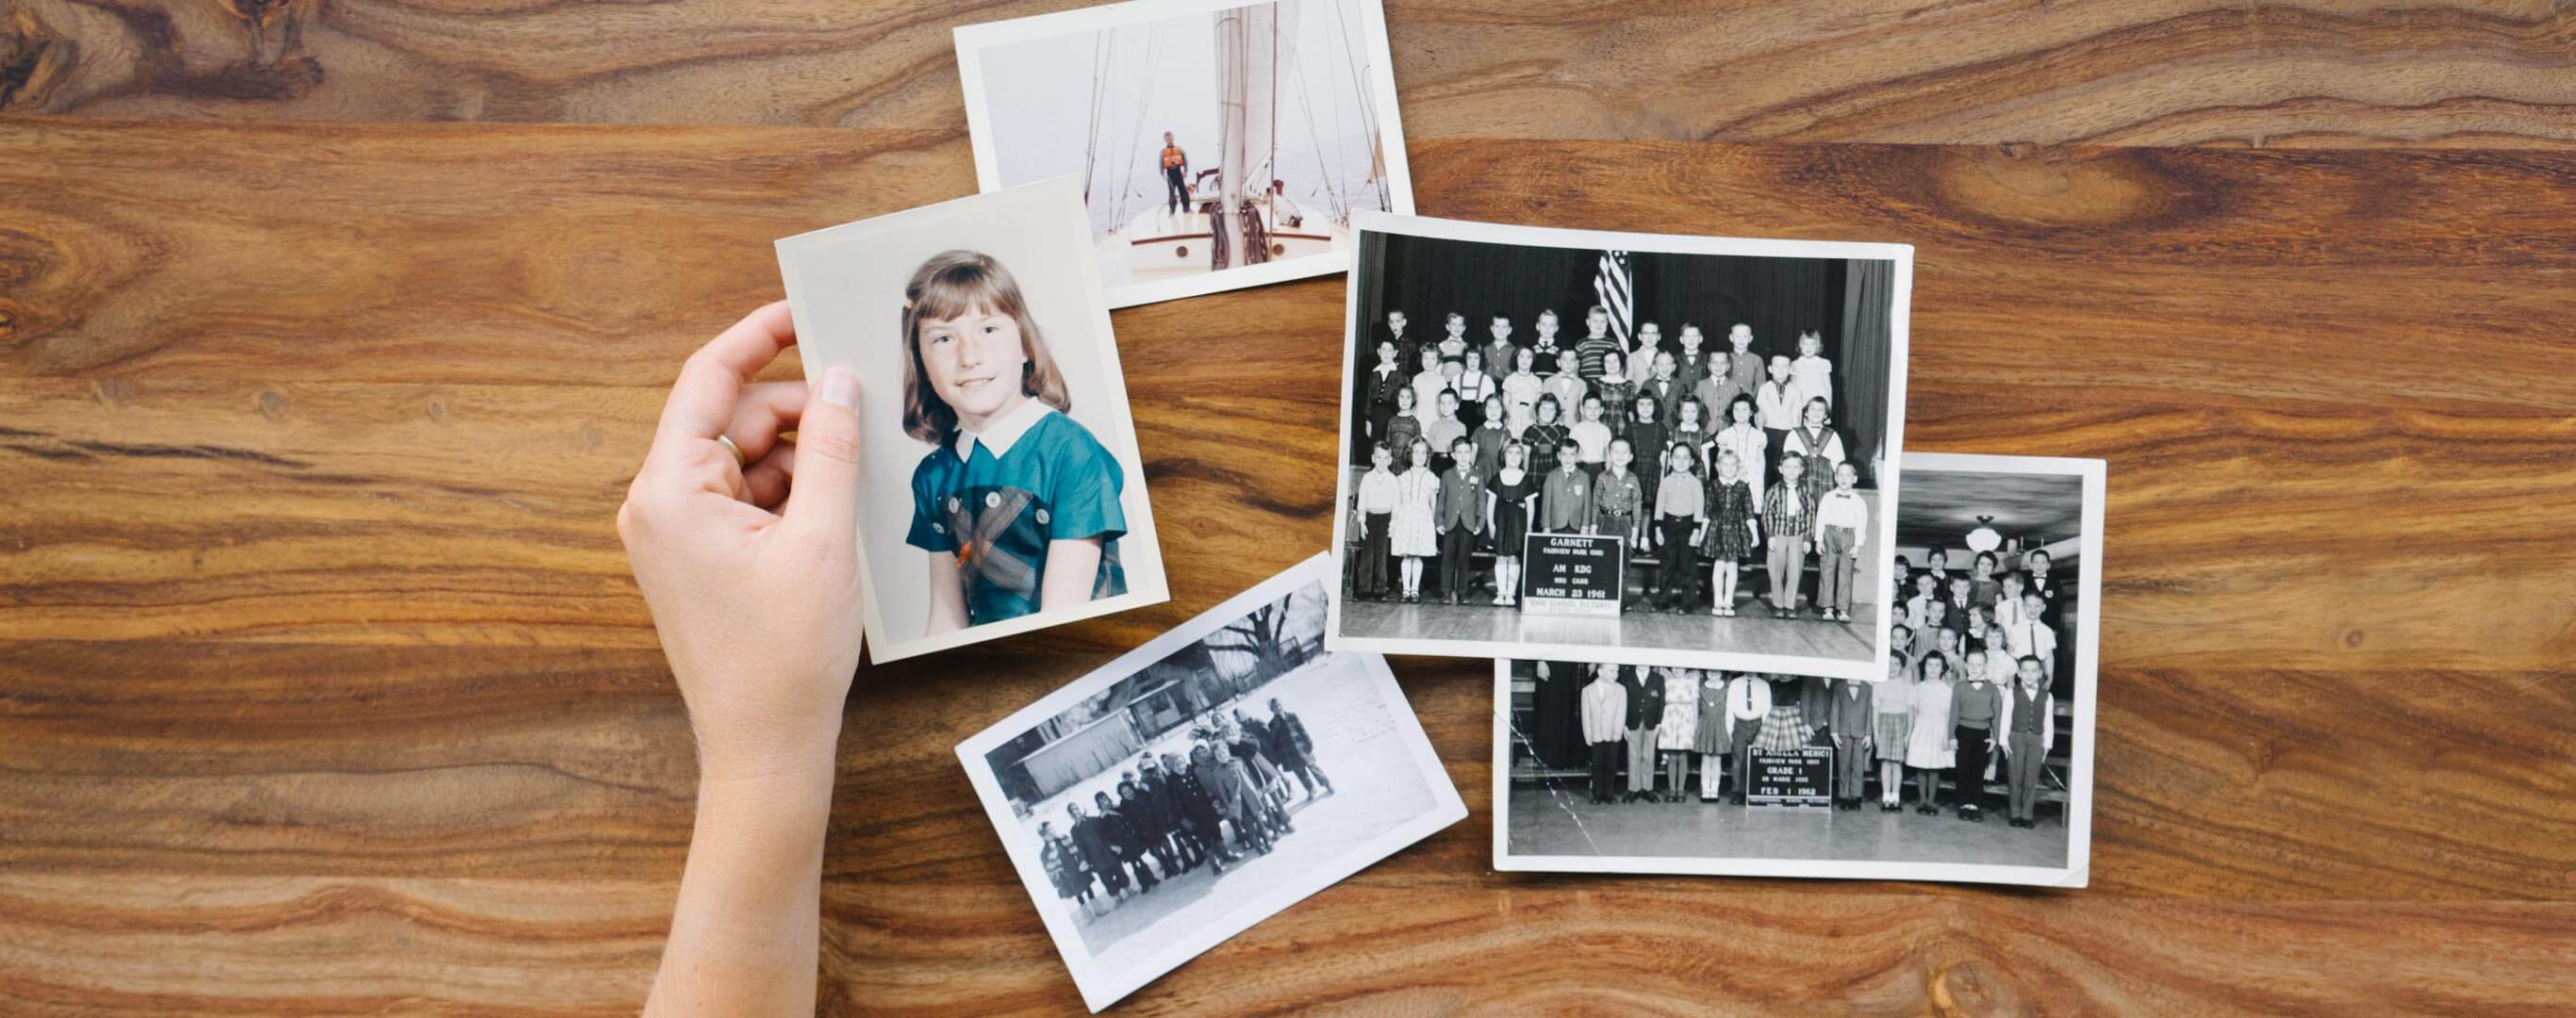
The hardest part of scanning old photos is hunting them down. (If you're digitizing photo albums you already have, you can skip this step.) Start by putting out the photo call to let your friends and family know you're counting on them for those age-old snaps. Give them enough time, but not too much time. After all, there's nothing like a looming deadline to spur action!
It's likely the level of tech know-how varies in your circles, so let your aunt know she can snail mail some of her favorite photos and you'll have them safely returned. Then for your sister and other tech-savvy family members, turn to texts, emails, or a shared folder hosted in a cloud storage app like Dropbox or in Apple Photo Shared Albums.
Pro tip:
By proactively following a few tips for organizing photos on your camera roll, you can make this step a little simpler.
Step 02
Curate Your Images
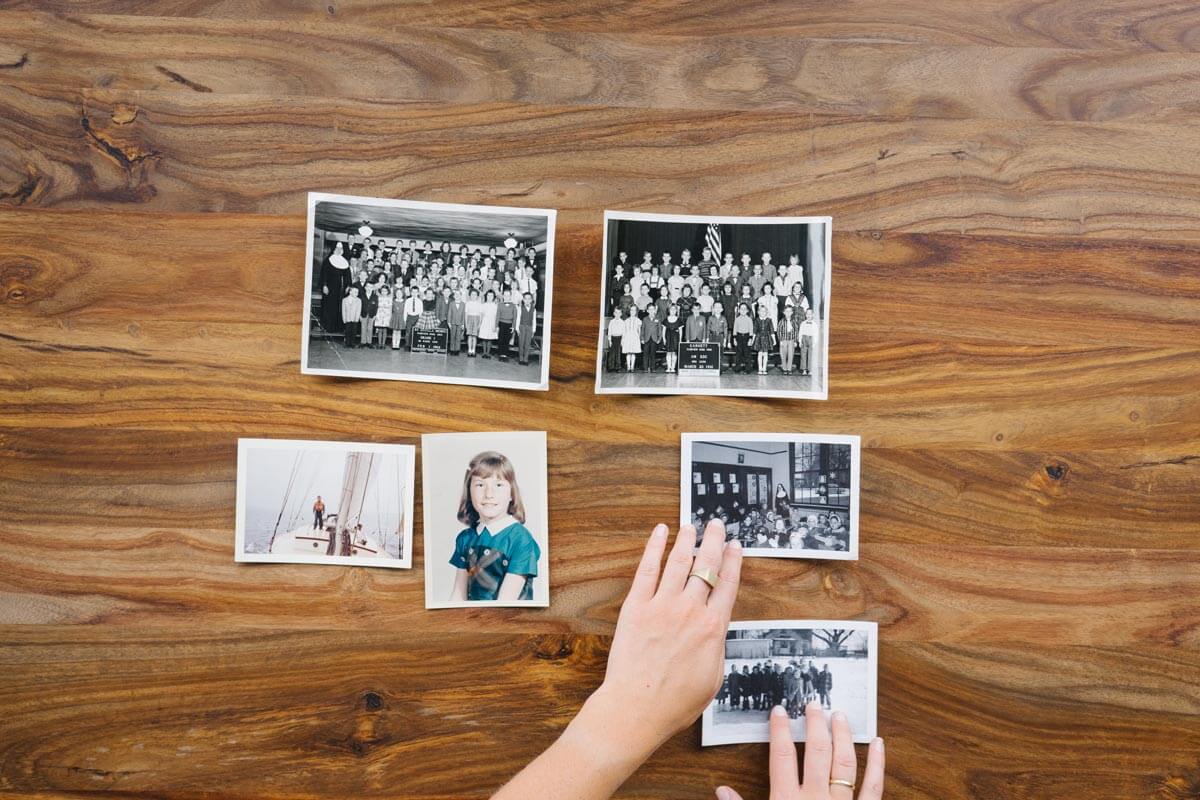
Good news, folks: With photos in hand, you can consider yourself on the home stretch! Next up is getting organized. Familiarizing yourself with the photos from the get-go will help simplify the album design process. When shuffling through your pile of photos – in print or otherwise – start pulling out the images that tell a story or make you feel something. We recommend getting a second pair of eyes from a family member to chime in on key dates or the stories behind these photos. You just might learn a thing or three about the people you come from.
Pro tip:
Still having trouble organizing your photos? Here's how some of our favorite photographers do it.
Step 03
Scan Old Photos to Digital Files
If you're lucky, your family and friends can help you in digitizing those old photos that live across zip codes. But if they've sent the photos your way or you find yourself digging through boxes in your grandmother's basement, these next tips to digitize the images will come in handy.
Need to Scan Photos With a Phone?
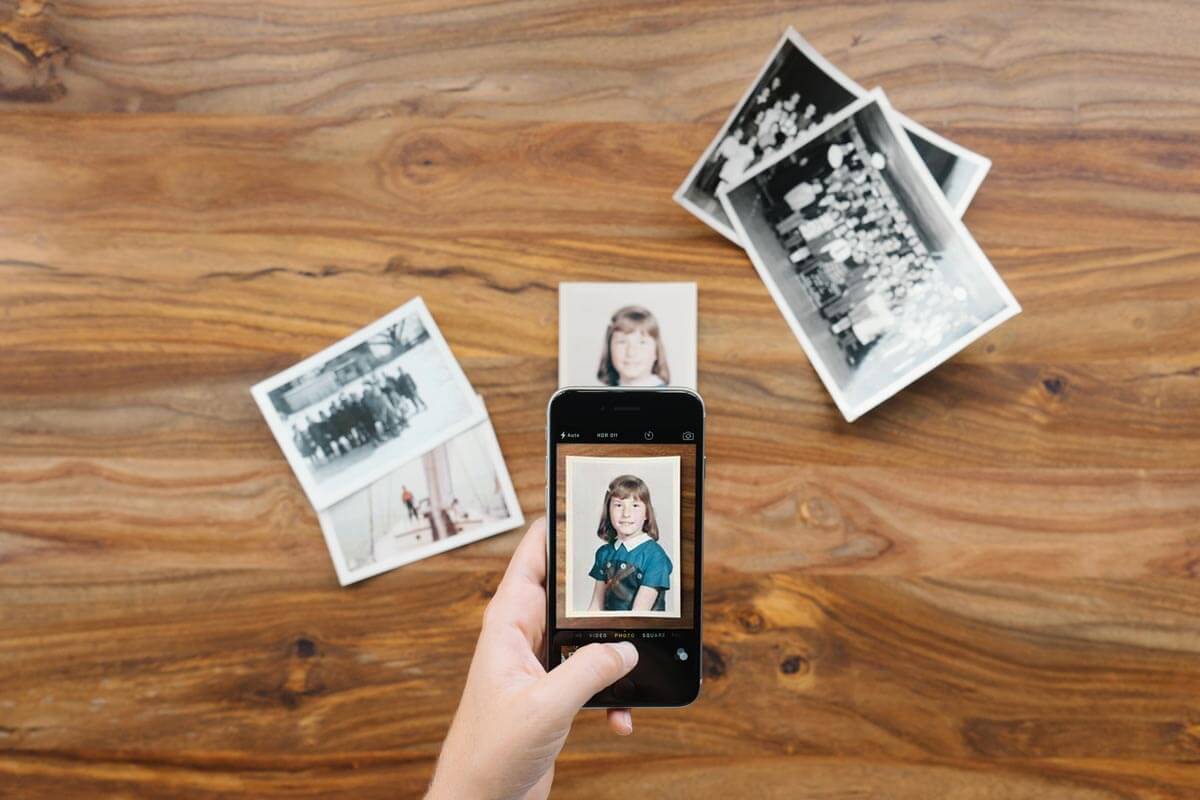
See also: your own mini photo studio. When you get the lens of your smartphone close enough to the image, the resolution will then be high enough to reproduce a beautiful print, album, calendar, etc. Simply find a well lit spot and start snapping (think natural light in a nearby window or well lit space). You'll want to avoid direct sunlight, which can change the color and look of your photographs.
I've found it useful to create a small shadow with my body by hovering over the photo to ensure there is no glare on the original print. Hold your phone overhead and make sure the image is in focus first. You are able to focus most smartphones by simply tapping on the middle of the screen on the subject. Then click away!
There's an App for That
You heard that right. Skip the old-school scanner and let your phone do the work. New apps allow you to quickly scan photos and documents right from your mobile phone. Here are a few of our favorite photo scanning apps that are free to download:
- Pic Scanner — Photo specific and gives you the ability to batch scan.
- Google Photo Scan — Detects the edges of your photo and automatically removes glare.
- Photomyne — Allows you to store multiple images in one go.
- iPhone Native Notes App — Simply start a new note, click the camera icon at the bottom of the screen, and tap "scan documents."
The Best Way to Scan Old Photos
Sorry, smartphones — when it comes to quality, the scanner is still king. In most cases, your at-home scanner can capture visual information at up to 1200 DPI (dots per inch). That's four times the resolution of a print-quality image, which is an especially big deal if you're looking to enlarge a photo for printing. Simply put, it means you should be able to scan a print and reprint it four times larger, all the while keeping the quality of the original scanned image intact.
Pro tip:
Start by increasing the resolution in your scanner settings, as it most likely won't be set to 1200 DPI automatically.
Step 04
Save and Share

You now have digital versions to share with everyone else (cue: family favorite). Our go-to for cloud file storage is Dropbox — through this platform you can upload your photos from either your laptop or from your phone by using their handy phone app. Create a folder and invite all of your friends and family to access the photos. Best part? These same Dropbox photos can be accessed through our online editor during the album design process.
Step 05
Build Your Album
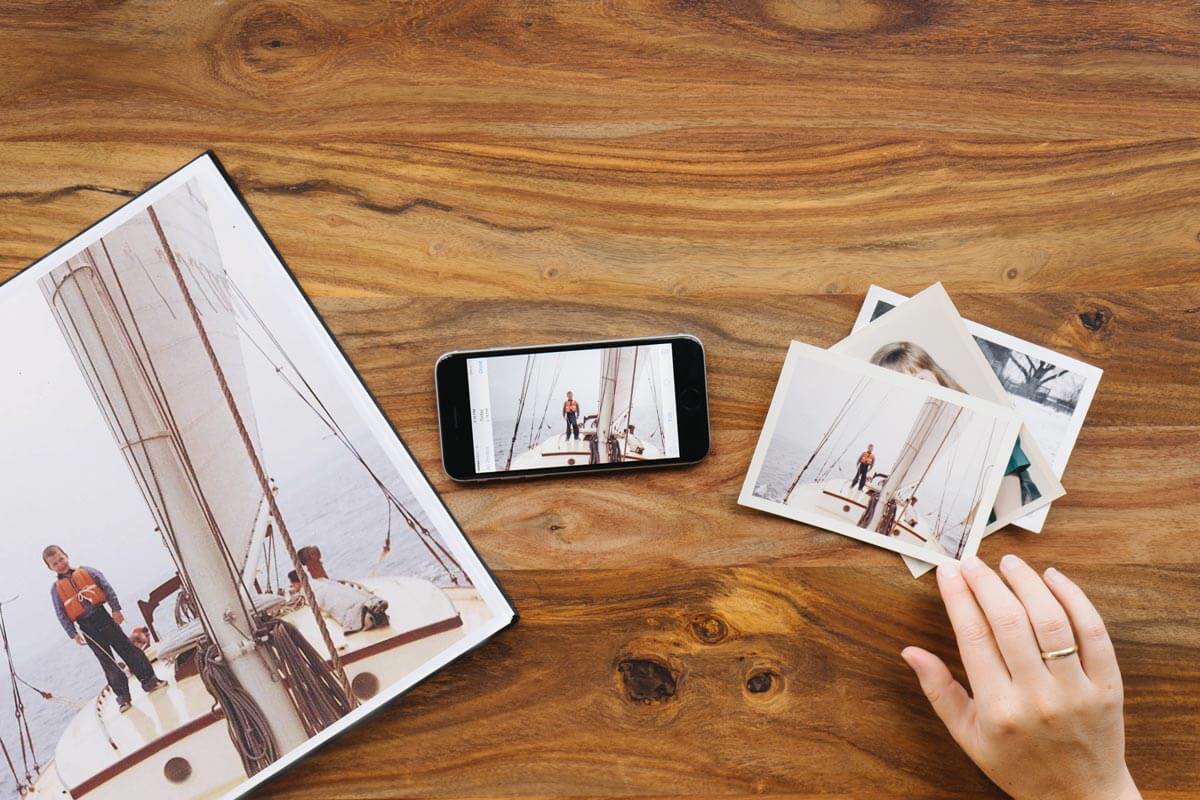
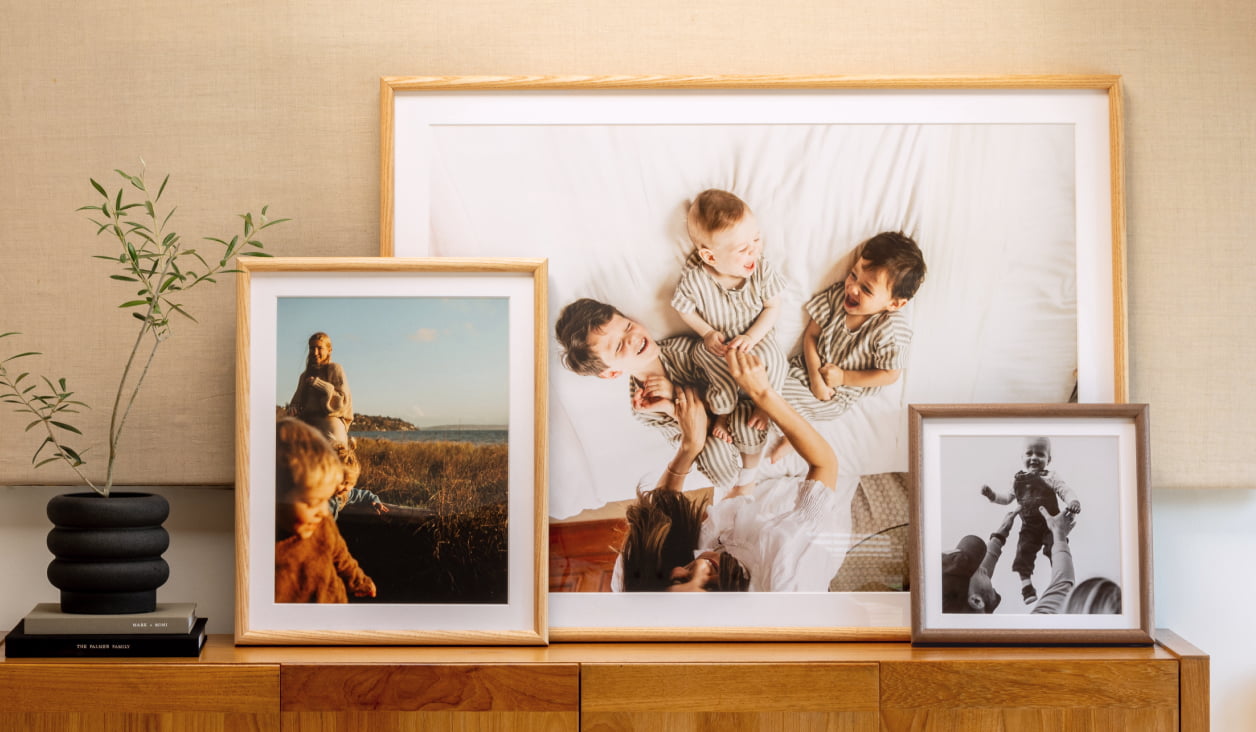
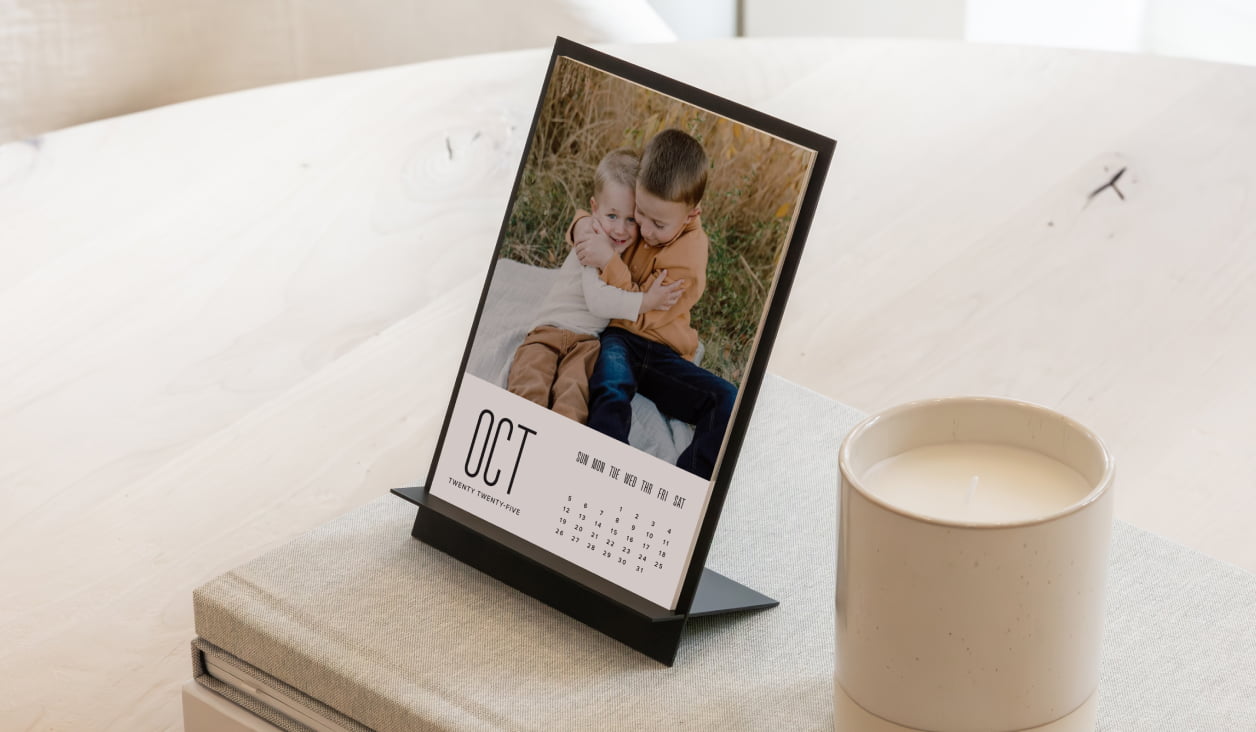
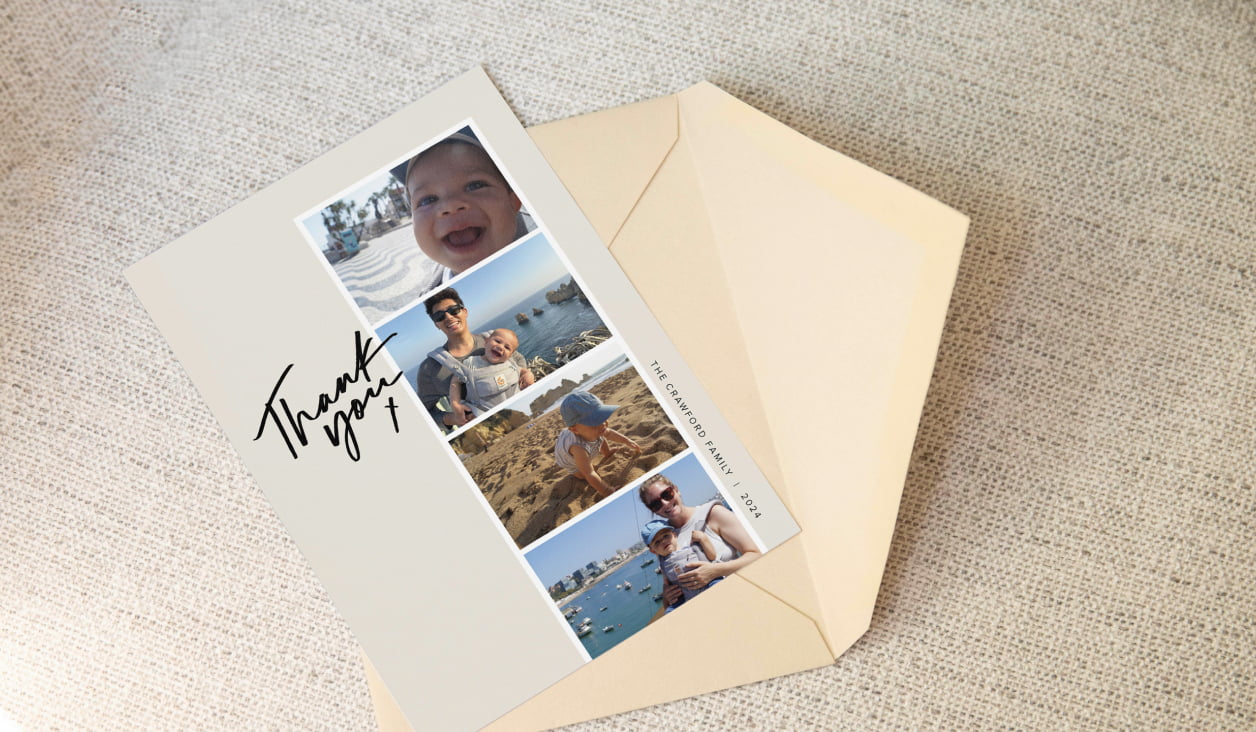
Now for the fun part. What's going to make your album its best are all those photos you've carefully curated and given a second life... and it's time to put them to print. We've made quite a few photo books ourselves, and have certainly collected a few telltale tips for creating a photo book, as well as some unique photo album ideas to help you tell your story, your way.
Preserve What Matters Most
Breathe New Life Into Old Photos
I handed my mom 60 years of photos in one album. With a lot-a-bit of digging and a little bit of time, I was able to print history back to life. Perhaps this guide was just the nudge you needed to dust off those boxes and get to work. I promise you it's worth it — just ask my mom.

