Have you seen any emerging trends in wedding calligraphy recently?
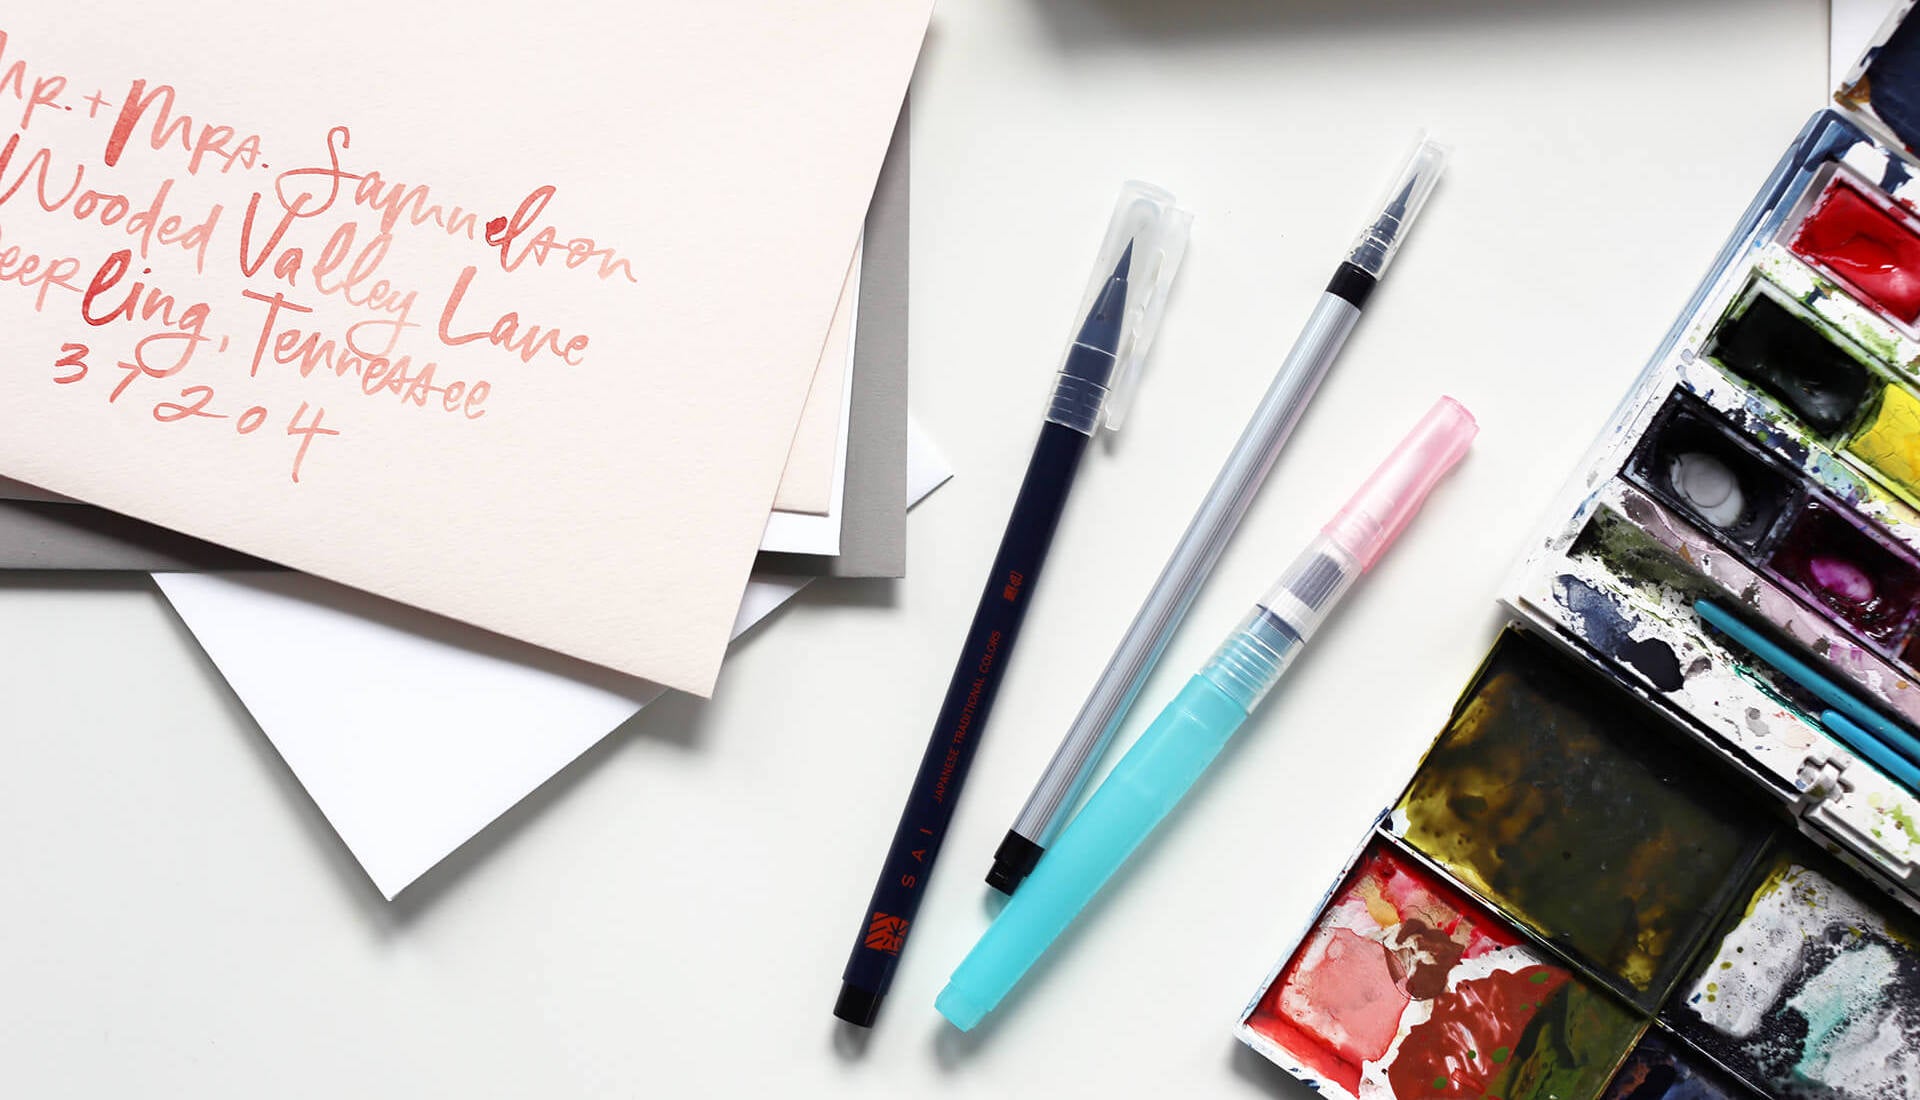
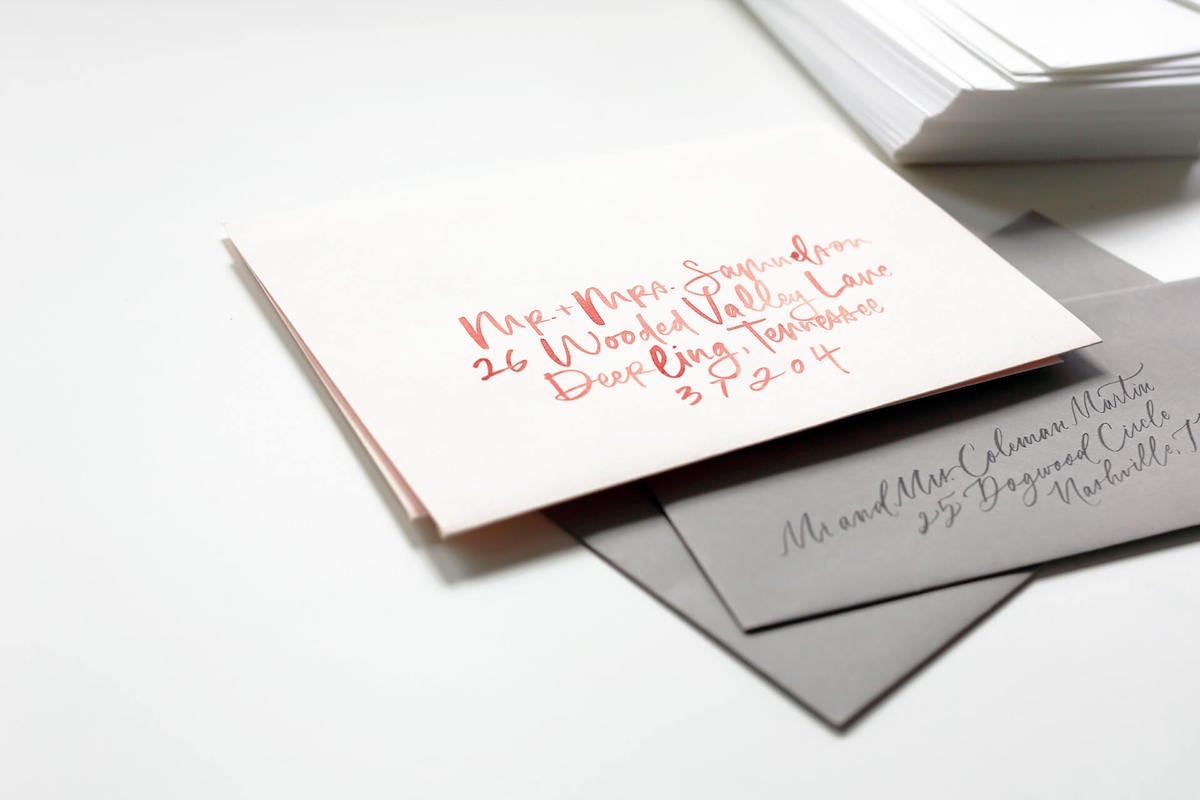
Lucky for us, I’ve seen a much looser lettering come into fashion lately. With this style of lettering, you’re free to play around with the size and spacing that otherwise might stick out like a sore thumb with traditional calligraphy. This style of lettering seems like an approachable way to begin your journey into lettering, since there are no hard-and-fast rules to follow. Just have fun and play around with different styles of your own handwriting!
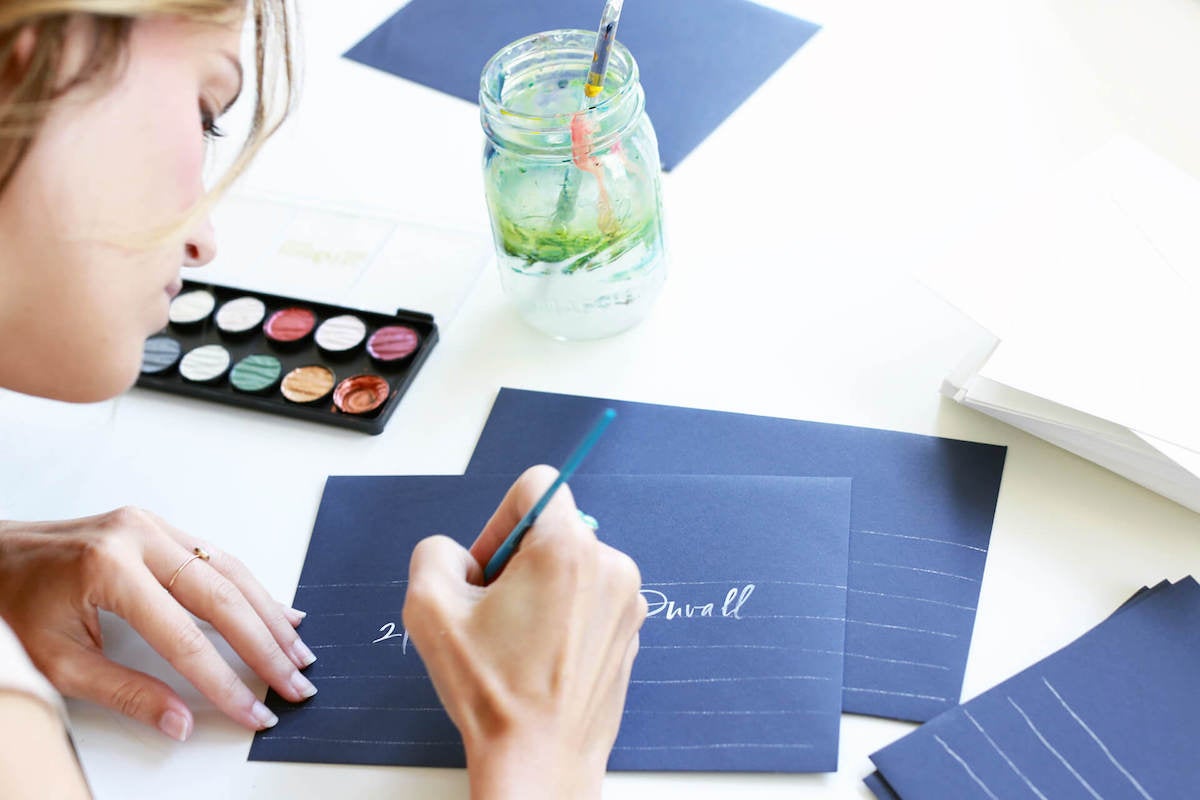
Calligraphy requires plenty of practice, and can’t be learned overnight. Do you have any advice to help tackle the task?
I’ll be honest: Addressing your own envelopes isn’t for the faint of heart. If you’re not used to the motion and specific muscle group it takes to write dozens upon dozens (and sometimes hundreds upon hundreds) of envelopes, it’s easy to tire of it quickly. But just because you may be new to the practice doesn’t mean you should give up on it! Set a realistic goal for yourself so that you don’t become burnt out or overwhelmed. Maybe set out to hand letter 10 to 15 envelopes a day. Or maybe just hand address the envelopes going to close family members and your bridal party. This should be something that’s fun and worthwhile to you; if it becomes a burden, forget it! You’ve got enough on your plate as it is, and envelopes shouldn’t be bringing you down.
For those taking on envelope addressing themselves, what tips do you have for starters?
Give it a shot! If you decide to go this route, make sure to practice on paper first before ruining those nicer wedding envelopes. Here are a few tips to get you started...
Picking a Writing Utensil
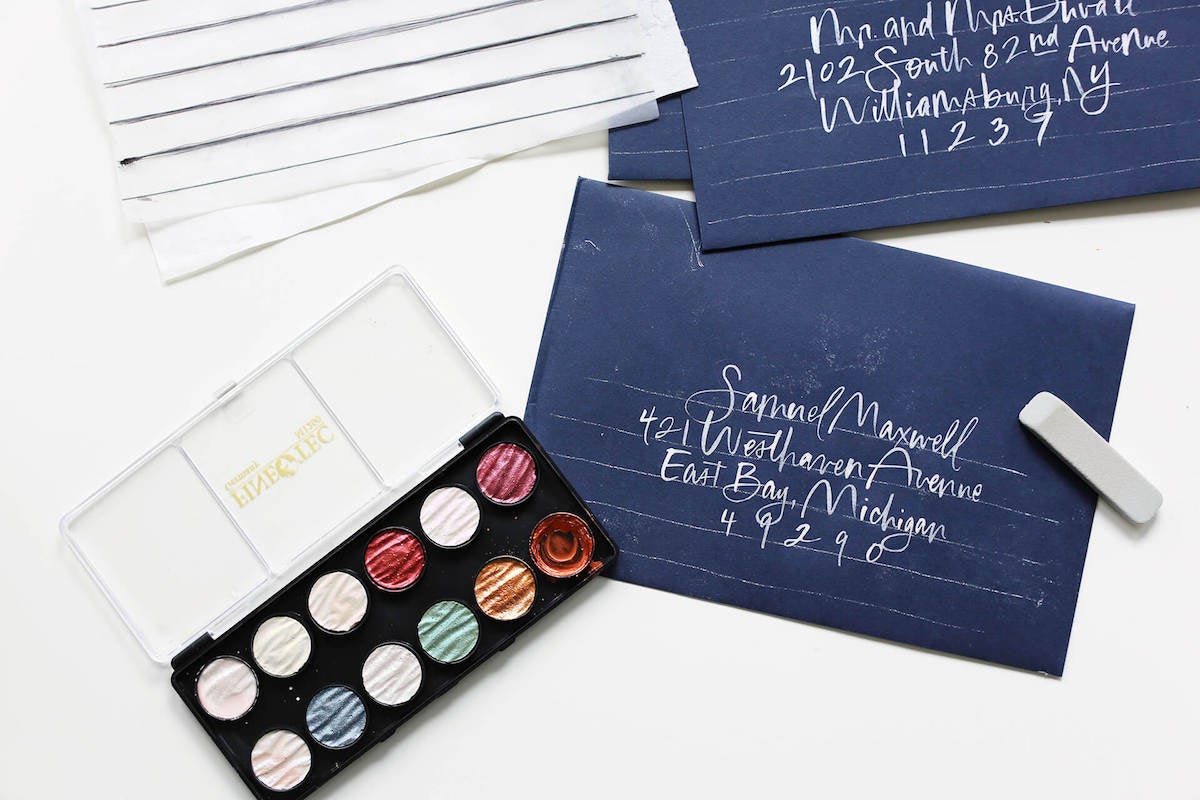
When beginning, a calligraphy pen or paintbrush might feel a little intimidating. Instead, consider addressing with a brush pen or waterbrush. Brush pens come in a variety of colors and sizes, so you can match them to your wedding card suite. Waterbrushes use ink and watercolor paint, acting like a paintbrush, so you can match the color to virtually any color you’d like!
Writing Straight Addresses
There are a few tricks of the trade with writing straight on your envelope:
- The most time-consuming but most straightforward way would be to draw lines on your envelopes using a ruler and pencil. For darker envelopes that would have a hard time showing the graphite of the pencil, draw the lines with a piece of transfer paper between your pencil and the envelope. The downfall with this method is the time it takes to not only draw the lines, but then to erase them once your job is complete.
- If you’re lettering on light-colored envelopes, working on a light box with a template placed under or inside your envelopes is another option. This is a great option for beginners and involves a lot less eraser crumbs than the aforementioned technique. Just remember that this won’t work for some medium- and dark-colored envelopes.
- You can also purchase or make an envelope addressing guide. This template allows you to letter within a certain area and keeps your lettering straight. Just don’t forget those pretty descenders (i.e. the tails of such letters as y’s, g’s, f’s, etc.) that the constraints of these kinds of templates don’t allow for.
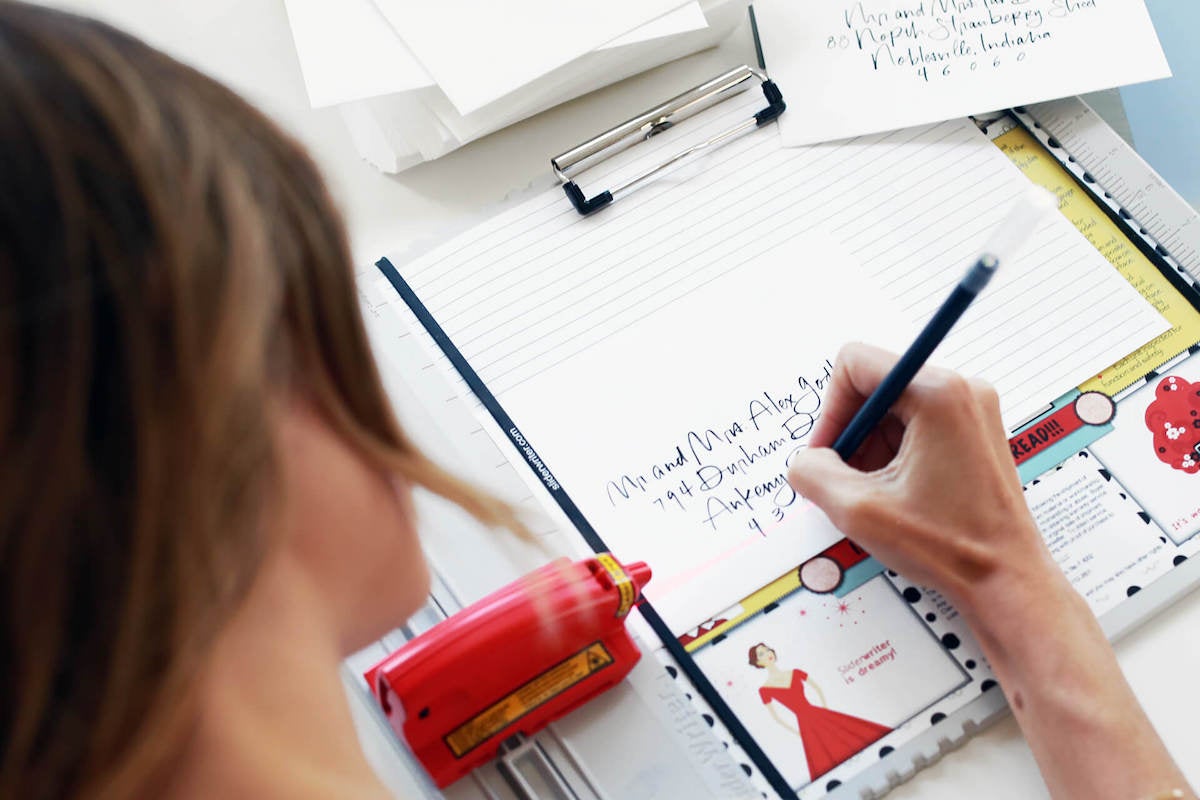
- Most of my addressing jobs are done using a SlideWriter. They seem to be harder to come by these days because so many of us have realized what a timesaver they are! They work by projecting a laser on your envelope that can be slid up and down as you move from line to line of your addresses.
Choosing Calligraphy Styles
When it comes to the style of addressing, if you’re not comfortable using your own handwriting, try printing out different fonts to mimic. Download a font that you’re most drawn to and print out the alphabet (upper and lowercase of each letter, as well as each number) for you to reference when you’re working your magic. It might also be helpful to print out what this font looks like for recurring words like Mr., and, Mrs., Street, Apartment and any city or state that’ll be lettered often.
What’s the biggest mistake couples usually make with addressing their invitations?
Not giving themselves plenty of time! Depending on the type of ink or envelope I’m working on, it can take me as long as four minutes to address one envelope. (I’m not saying I’m the fastest worker there is, but still…) If you’re addressing your own envelopes, time how long it took you to address five, and then do the math to see how long it’ll take you to complete your guest list. Oh! And make sure to have plenty of extra envelopes to allow for messups. Generally, 10-20% extra will do the trick.
If going the route of hiring a hand-letterer, what does wedding invitation calligraphy typically cost, and why might it be worth it?
Typically, I see the cost of hand-lettering envelopes to range from $2–7 each. Depending on the size of the guest list, this might seem like a rather large expense, but when you take into account the time it takes an artist to letter each envelope and the time it saves an already busy couple, it can prove to be a necessary time-saver for some. Also, your wedding mail correspondence is often the very first thing a guest receives from the couple and sets the tone for the day!
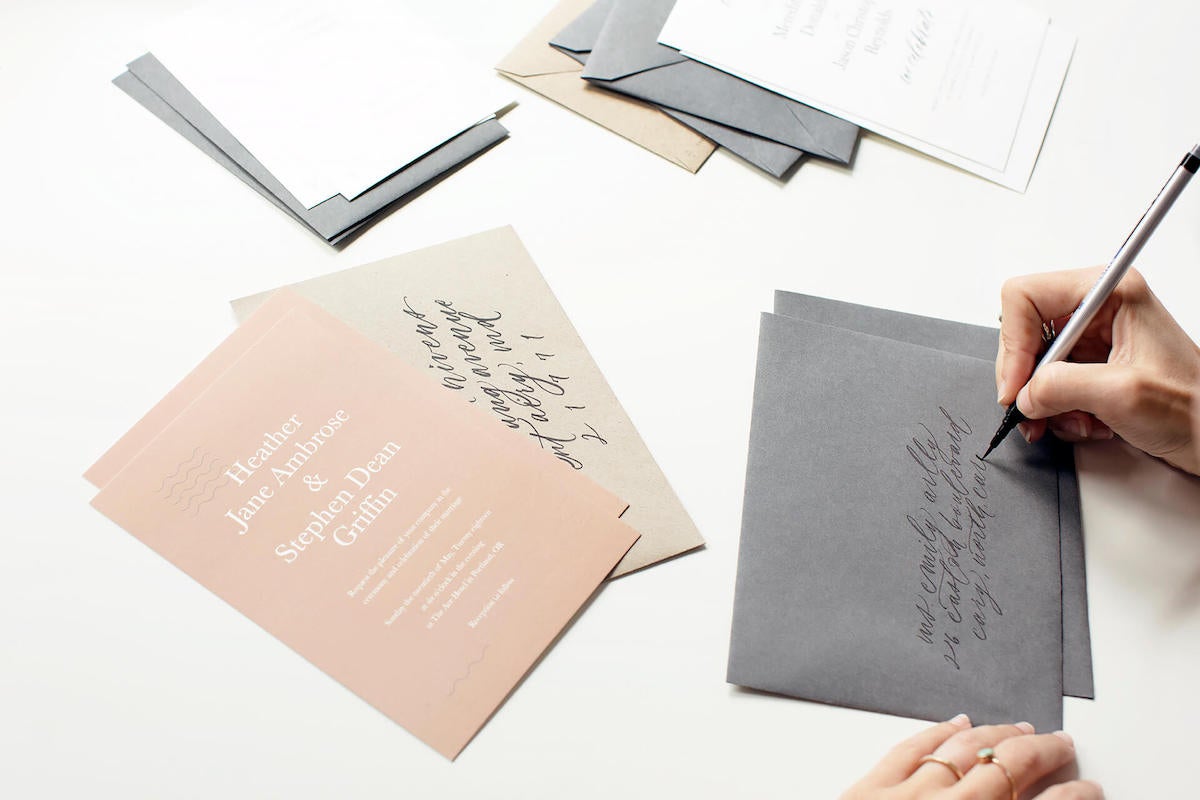
Are there any big things to keep in mind when hiring and working with a wedding calligrapher?
If your wedding invitation already has calligraphy, hand-lettering, or a typed font, choose an artist whose work blends well with that text. Also, before you start compiling the address list, be sure to ask the calligrapher if there’s a certain format in which they need the list to arrive. It’s also important to ask if they charge different prices for varying styles, types of ink, and envelope colors.
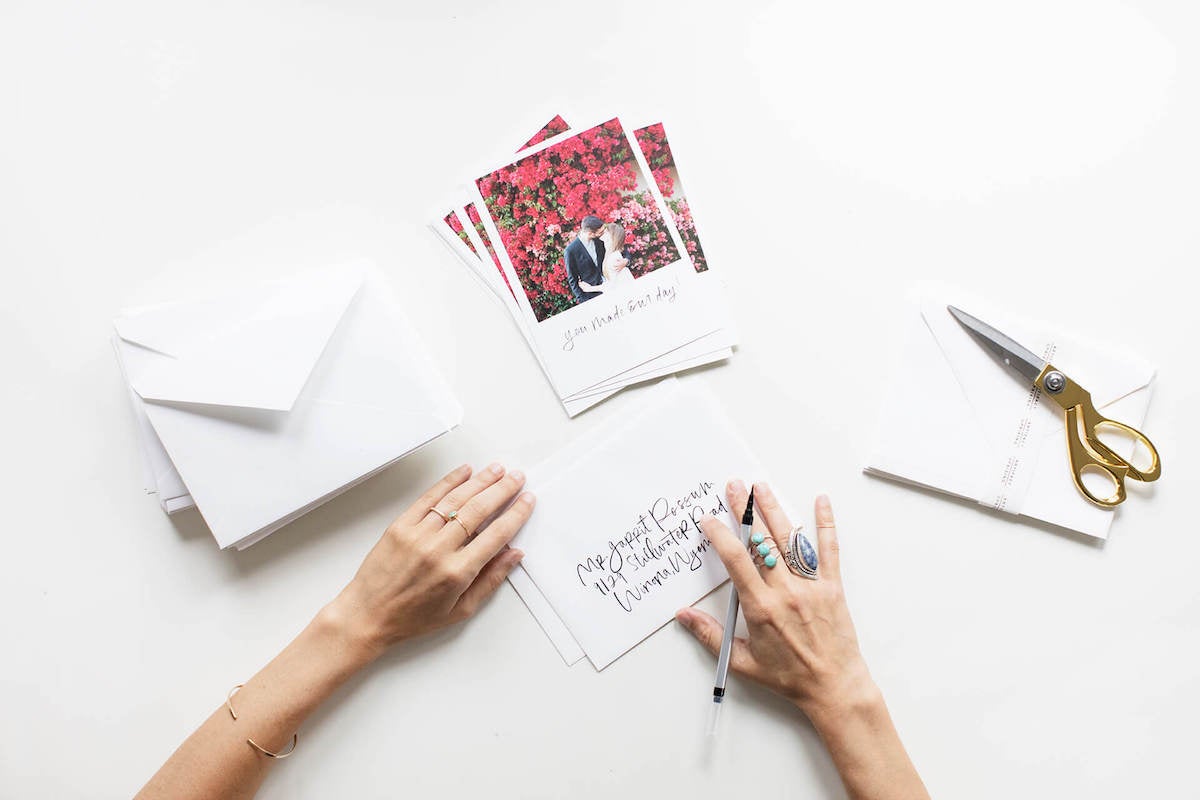
The handwriting doesn’t need to stop at invitations! What are some other elements of the wedding that can be enhanced with some sweet script?
I think making sure the aesthetics are consistent throughout all of your paper goods is key. From the invitations to the day-of goods, keeping the style and lettering the same makes for a cohesive celebration that’ll show forethought to your guests. If you enjoyed your time addressing envelopes, why not try your hand at the escort cards, place cards, or the reception menu? Maybe crack the ol’ tools back out for addressing your thank you cards, too!
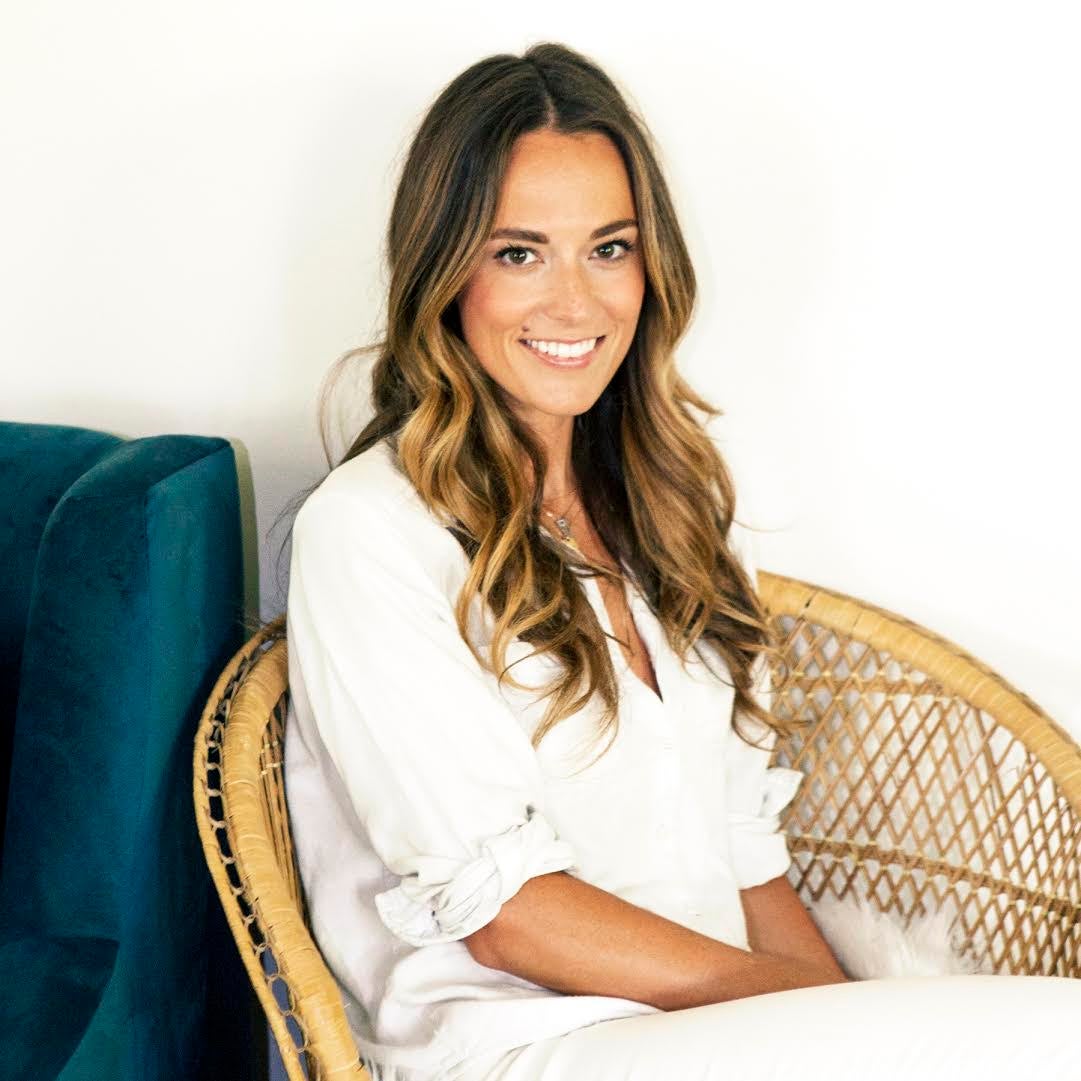
Chelsea Petaja began her lettering career back in 1996, when she was in middle school and selling sheets of her stationary—complete with bubble-lettering and lizard illustrations—for a penny-a-piece. Since then she's graduated with a Fine Arts degree, married a handsome photographer, become a mother, and honed her lettering skills to the point that she can convince people to pay more than a penny for her work. Chelsea lives in Nashville, Tennessee with her husband, daughter, and their two cats with hilariously human names.
