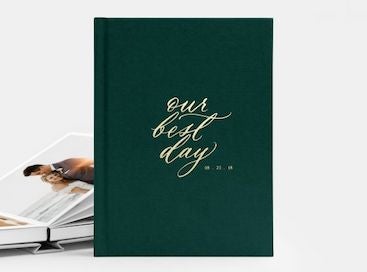
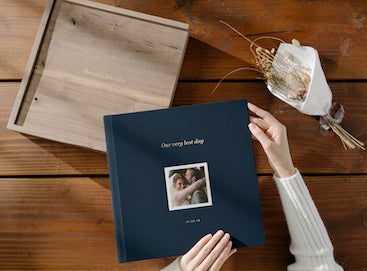
Like all things that you have procrastinated, it’s not gonna be as bad as you imagined...
11 Tips That Helped Me Make My Wedding Album
Words and Photos by Melissa Gayle
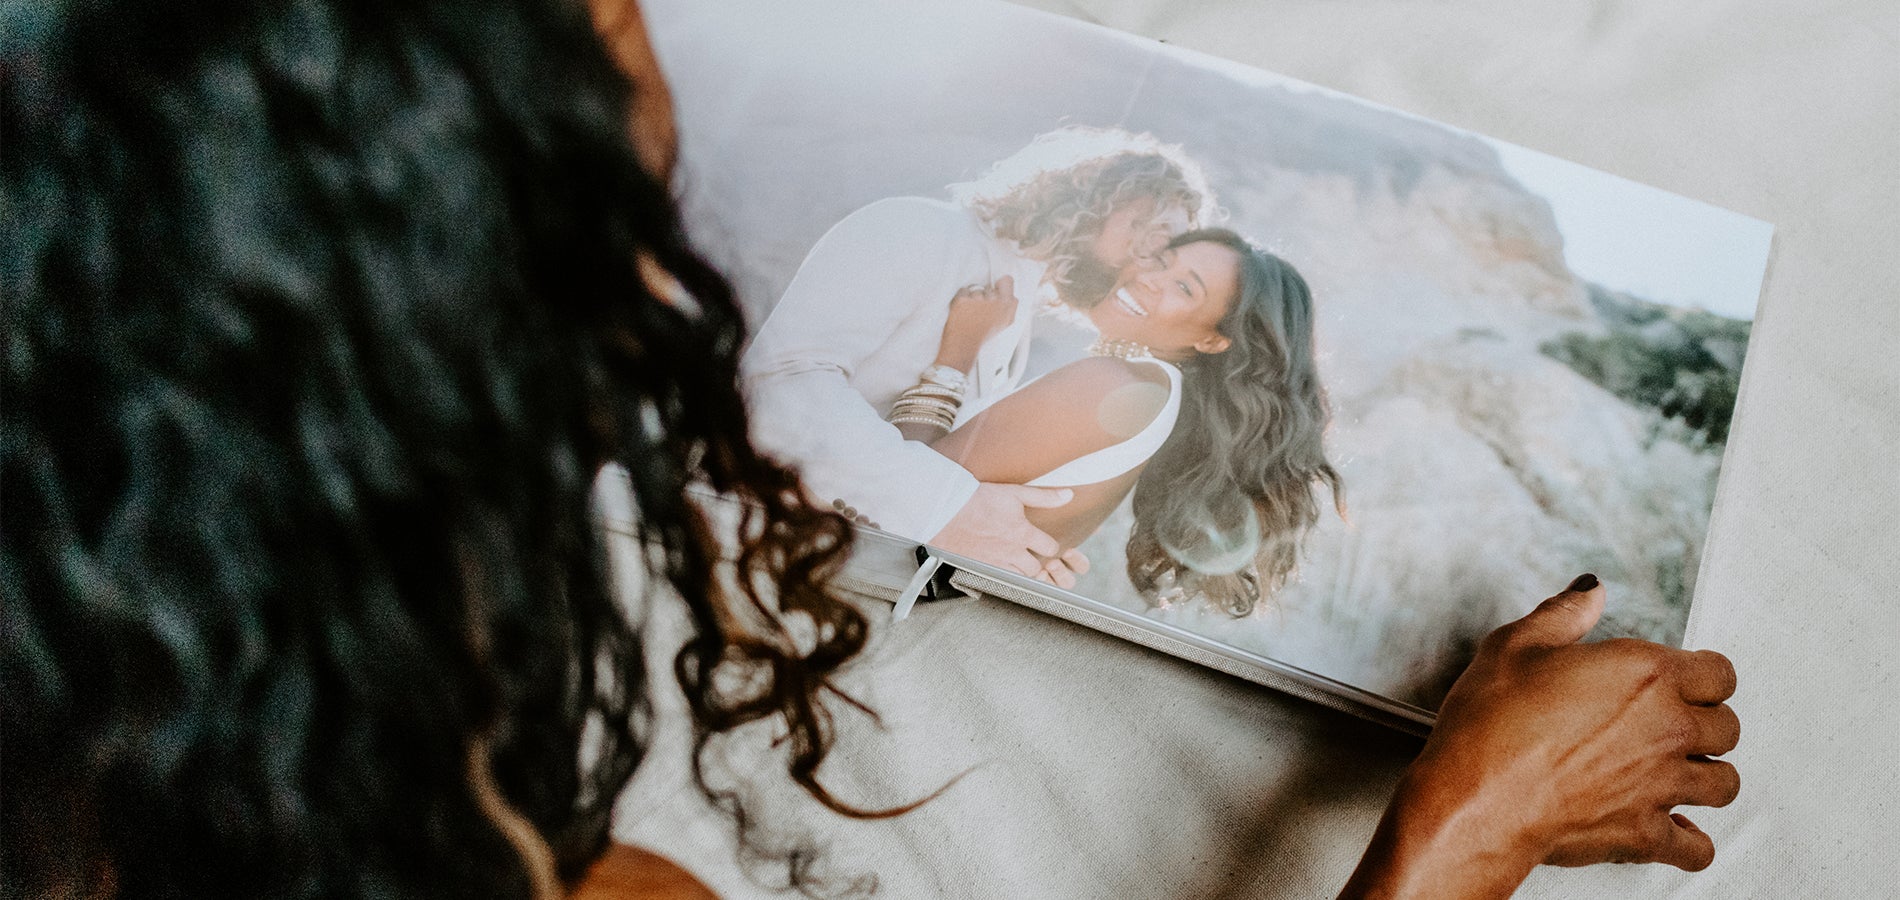
It happens. You get back from your honeymoon with the best of intentions to create that wedding album, only to get distracted by life's many squirrels. All of a sudden, a year or two go by, and the inertia just seems a little harder to come by. It happens — even to wedding photographers. Just ask one of our favorites, Melissa Gayle.
Five years removed from her own wedding, Melissa finally sat down to create the Signature Layflat Album of her dreams… and she learned a thing or two along the way. Here, she shares her best advice from the experience, including the little tips and tricks that made it so much easier than she thought it would be.
Get in — we're putting your big day in print.
Tip 01
Take yourself back.
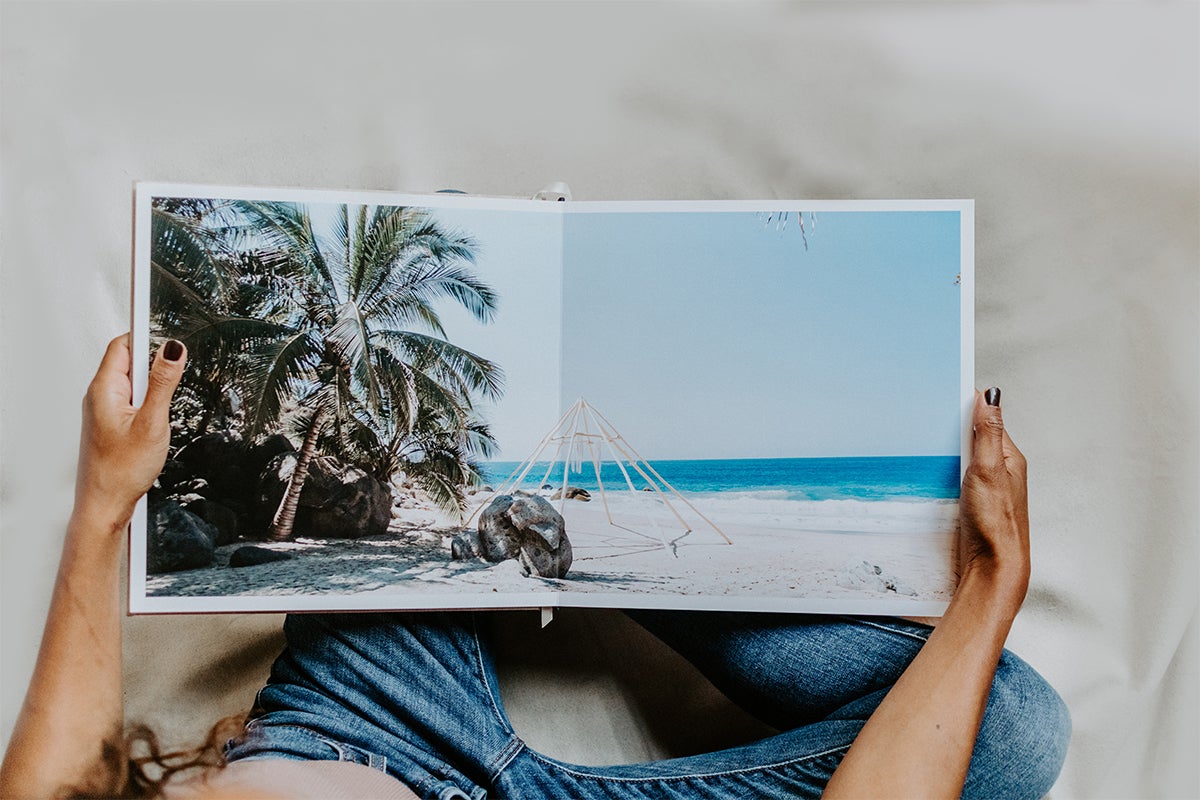
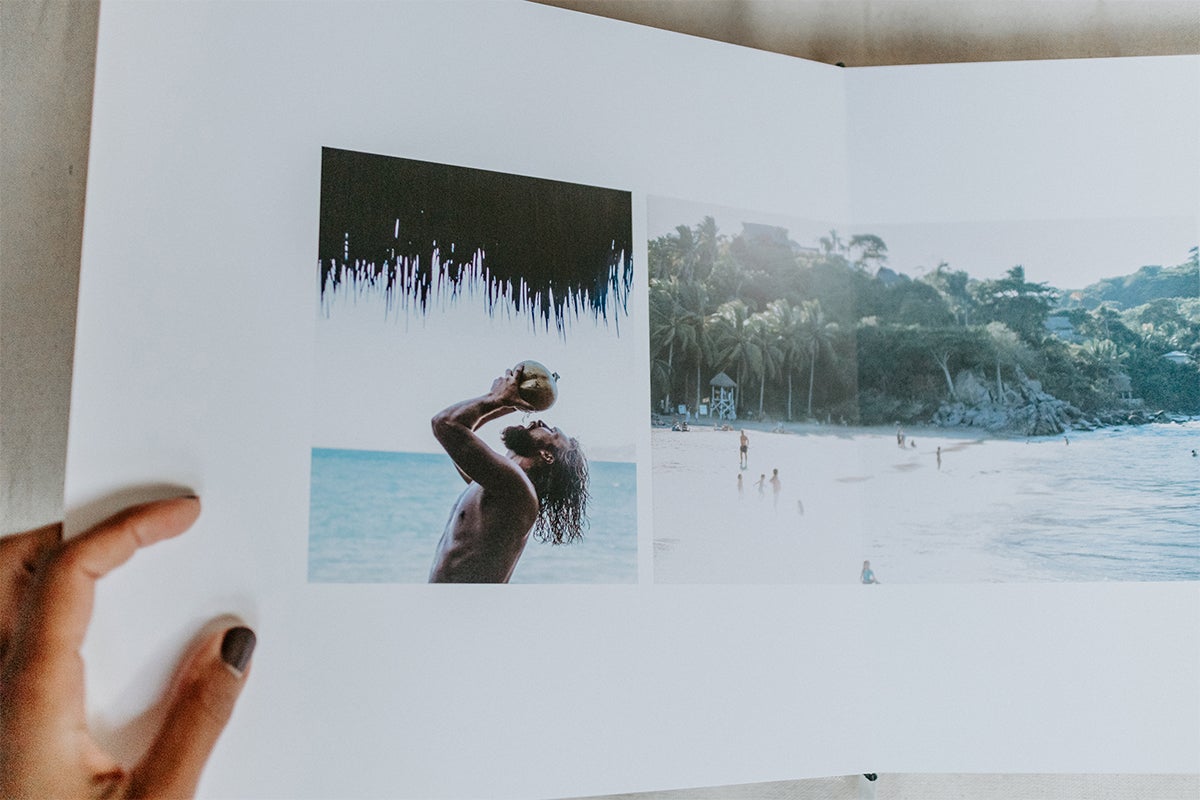
Start with the feeling in mind: look back on the day and find the emotions tied to the vision you have in your memory. You’ll always have your digital gallery, but this can be a place to showcase the sentiment of your wedding and tell the story in a beautiful, visual way. What are the sensory memories you want to evoke in your selections? For me, it was carefree beach days, bright vibrant colors, and getting free!
Tip 02
Use the highest resolution.
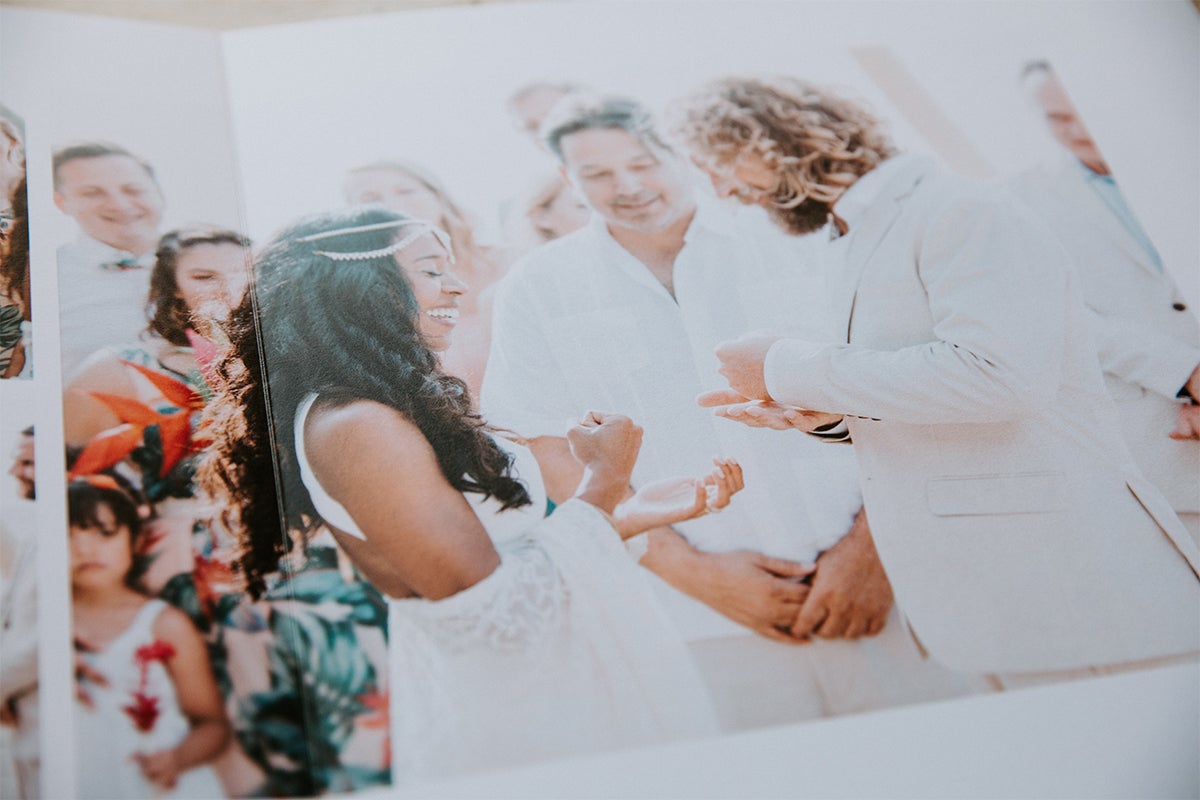
Make sure you have access to the highest resolution images from your photographer. Some wedding galleries give people the ability to download web-size and large images, but you want the original resolution of your edits. These images should normally be around 300 DPI and at least 2,200 pixels or so on the short edge.
Not quite sure how to check the DPI of your photos? Check out this guide. It also shows you how to enlarge your images for big, high-quality wedding frames.
Tip 03
Where you make it matters.

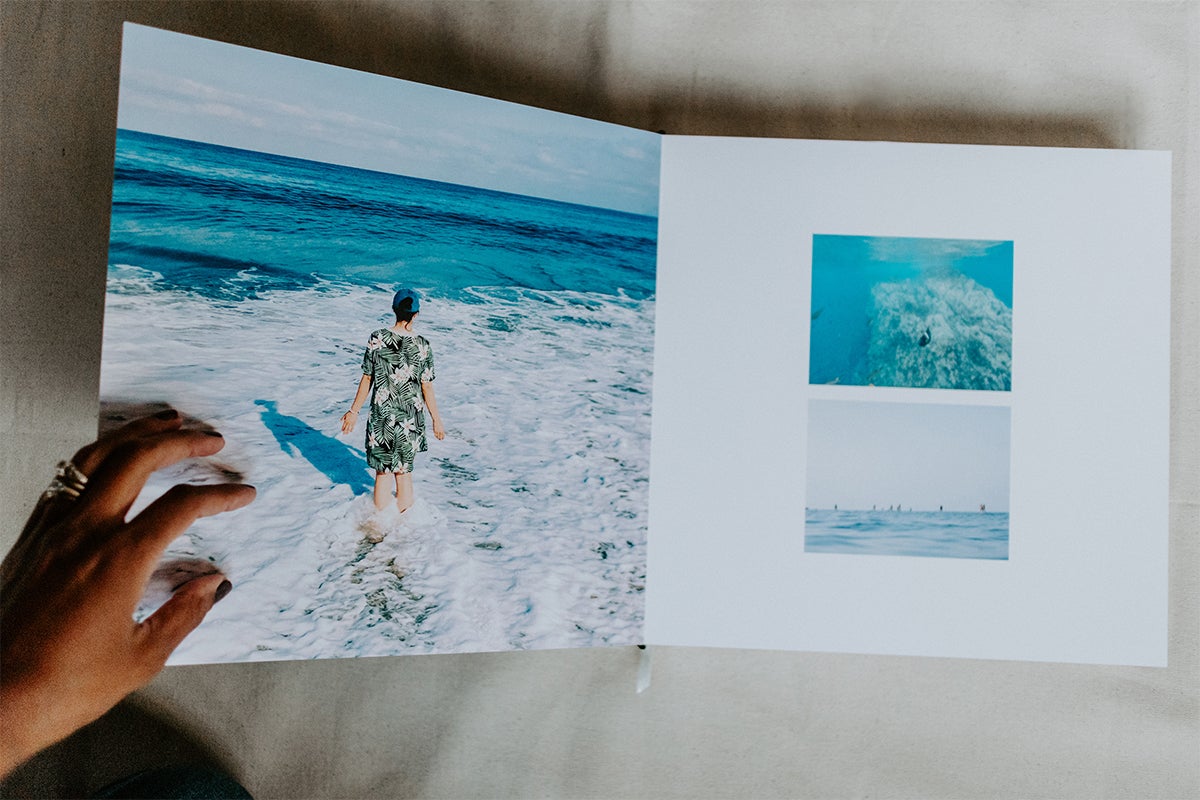
Don’t fight poor internet or try or create this from your phone. I’d say that having a comfortable and efficient workstation is critical for this project. Making sure you don’t run into snags with uploads and changing things around is key. You’ll want your monitor and a notepad to reference images you might go back and grab or remove.
Tip 04
Curate your photos first.

Upload no more than 75-150 photos in the editor to begin filling your pages. Make a broad selection of about 100-200 images to get started, then take a break and narrow it down further. Taking a first pass at this in a folder on your desktop will make it a lot easier once you're in the photo book editor. You can always add more, but it can be too overwhelming to have to scrub through so many images. Promise, the highlights will really stand out once you start comparing similar images and have to make decisions.
Believe me — helpful little project tips like this one are going to make the process so much easier!
Tip 05
Go big or go home!
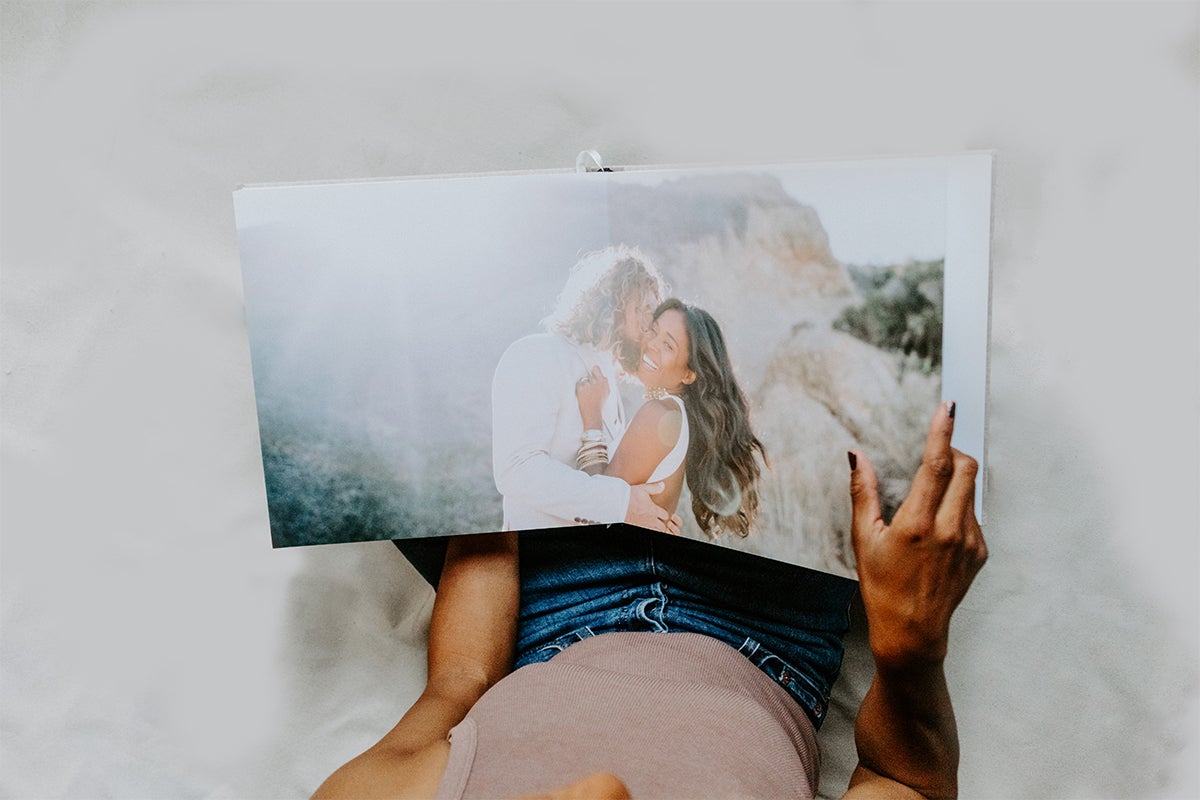
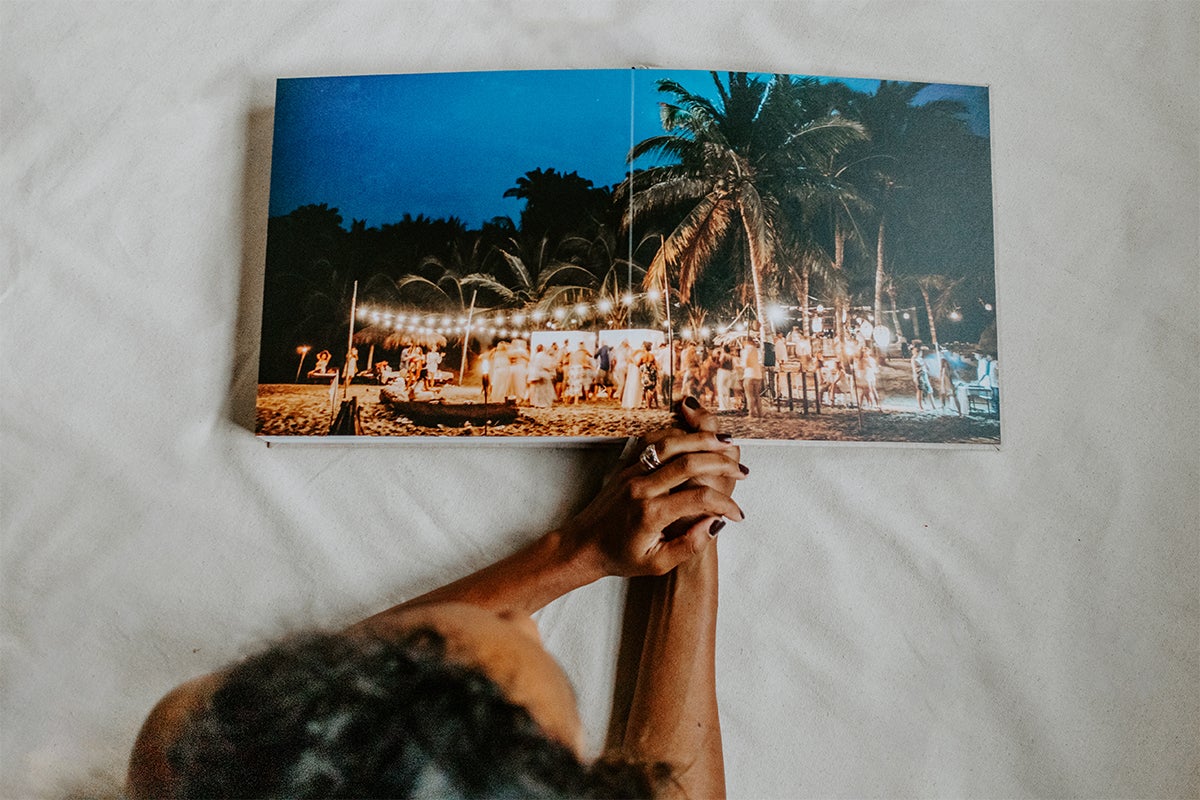
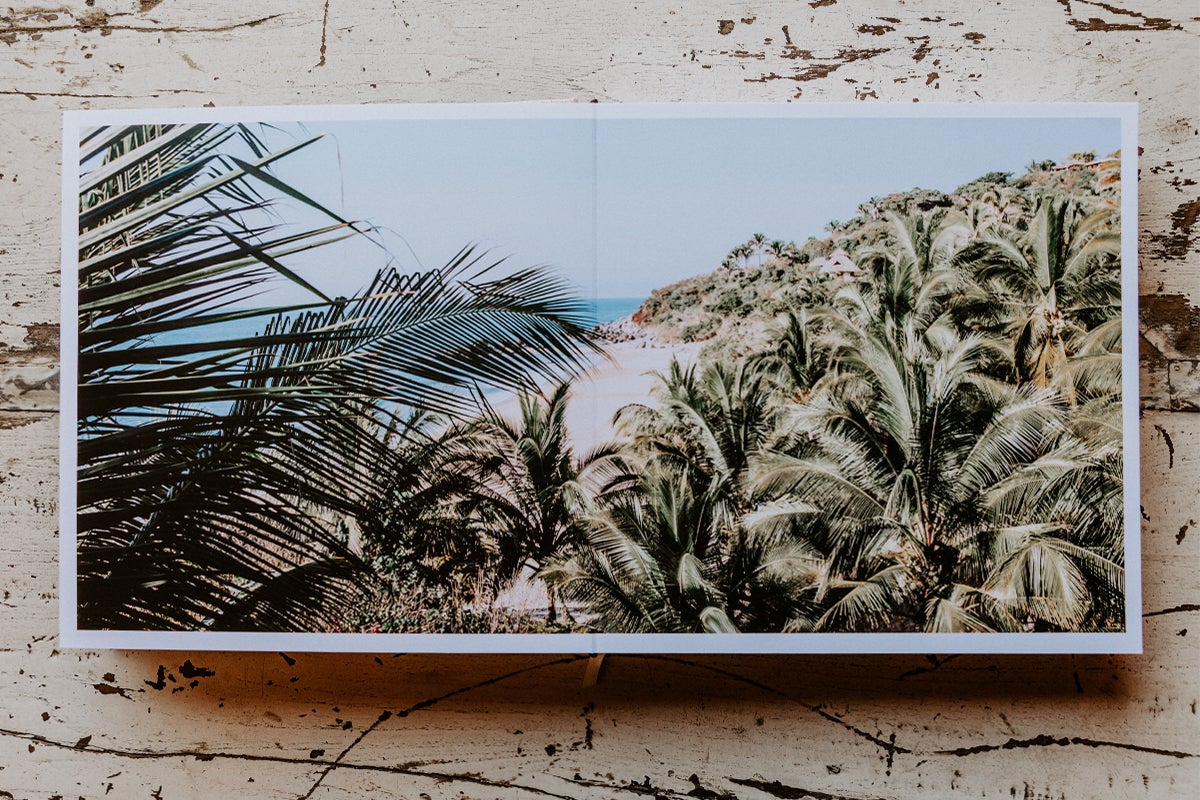
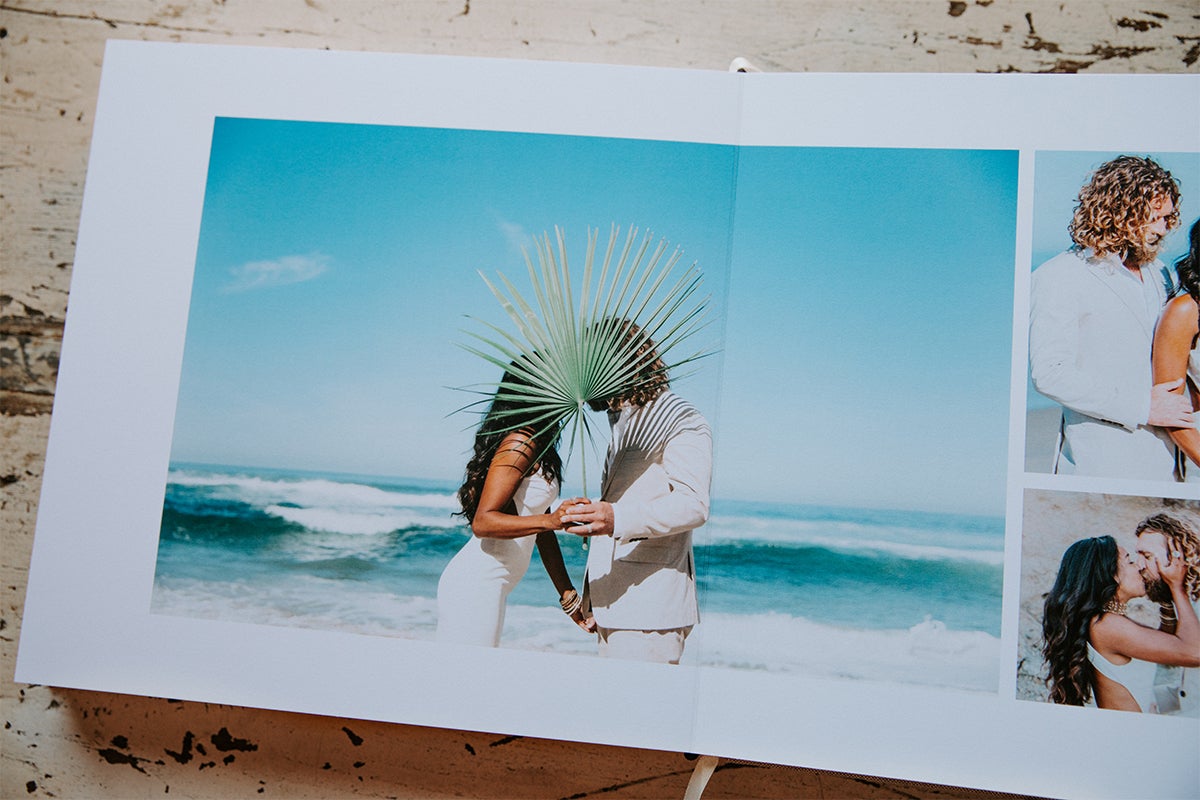
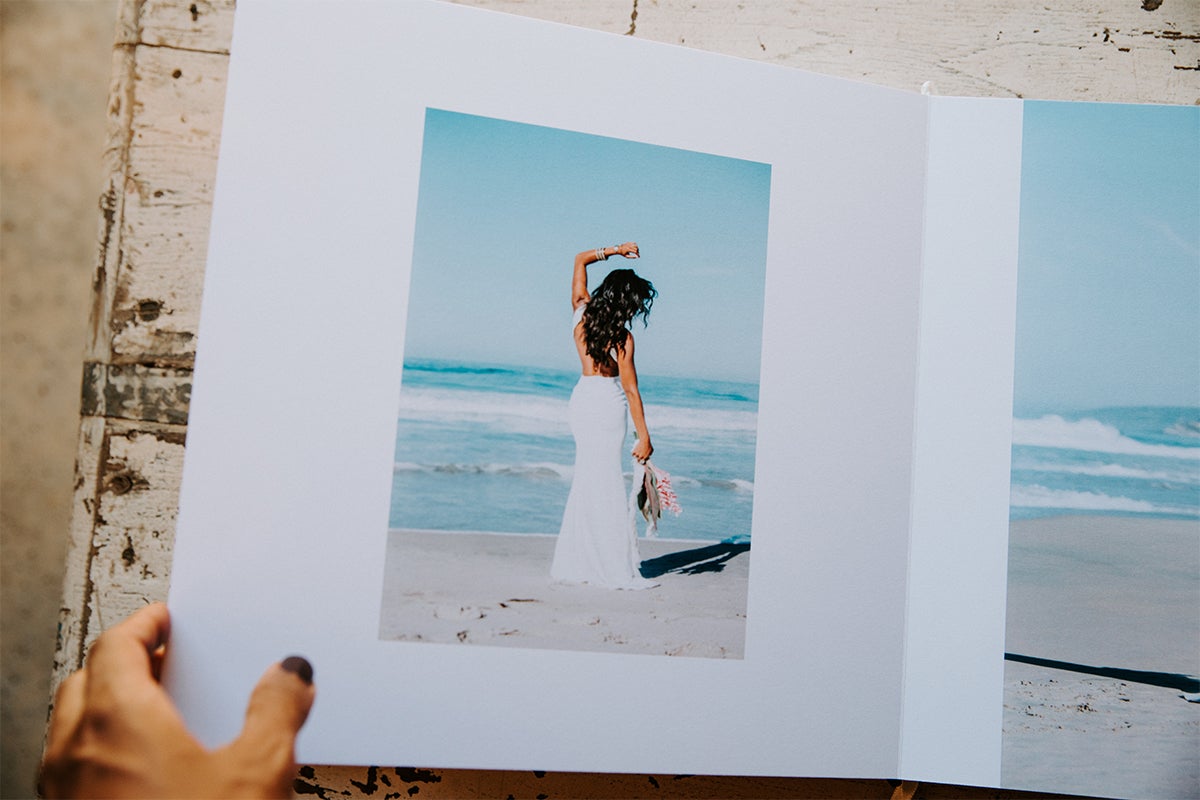
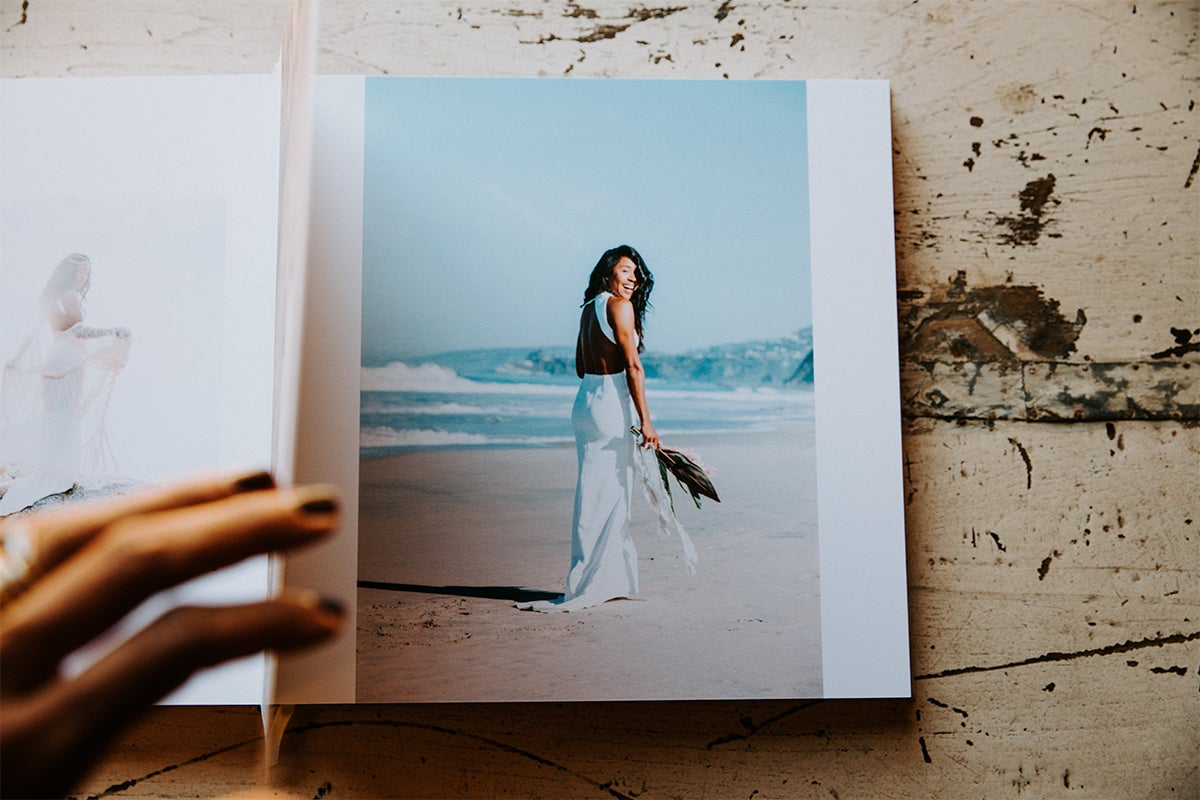
Two-page and full-page spreads may feel like a waste of real estate when you are struggling to get all of your favorite images in, but nothing beats opening an album and seeing the most beautiful images in their full-sized glory! Trust. For my album, I chose my favorite portrait of the two of us together and large landscapes of the beach we were married on. I wanted the images of the vibe to play a feature role in the photo book layout.
Tip 06
Piece the process out.
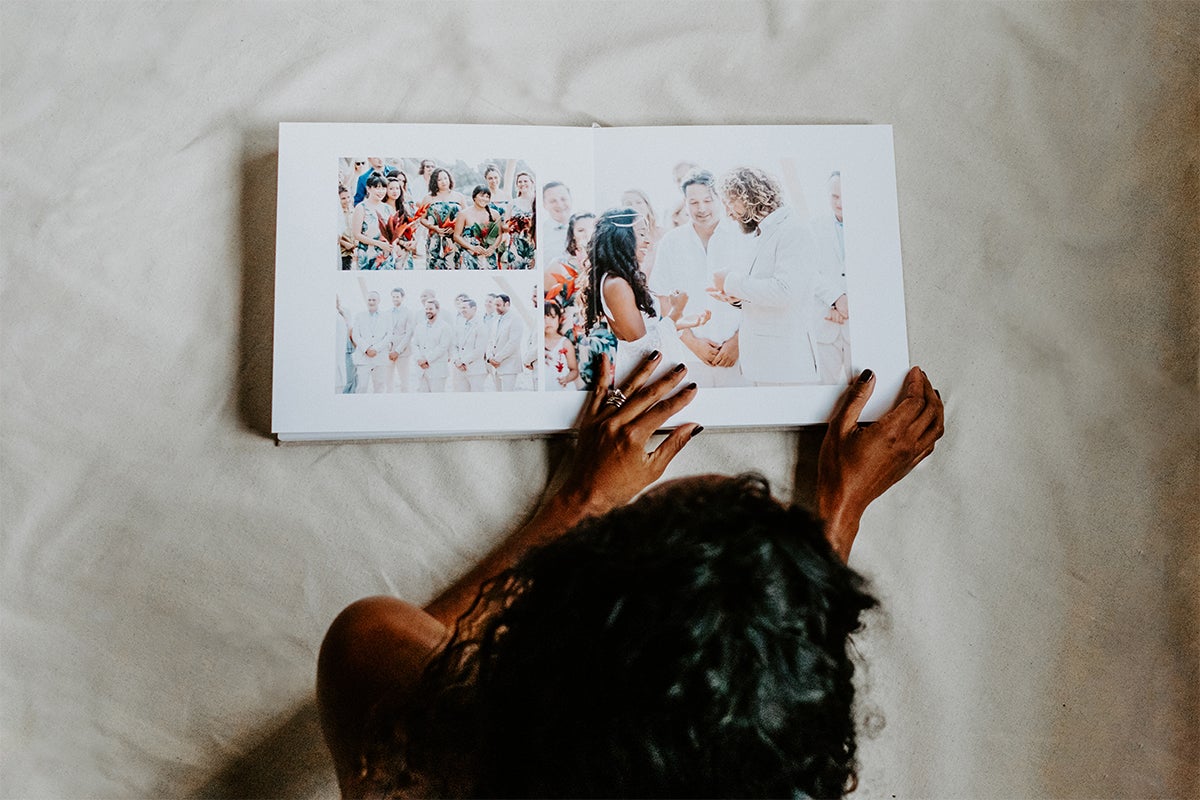
Take breaks and set project goals for yourself. Example: Today I’ll make selections. Tomorrow I’ll narrow them down. This weekend I’ll design the ceremony section. Listen to your favorite podcast and have some of your favorite coffee. Make it easy for you to sit down and get those little goals done. Like all things that you have procrastinated, it’s not gonna be as bad as you imagined — especially if you make it fun for yourself! Set a date and stick with it. You’ve got this!
Tip 07
Don't forget the little details.
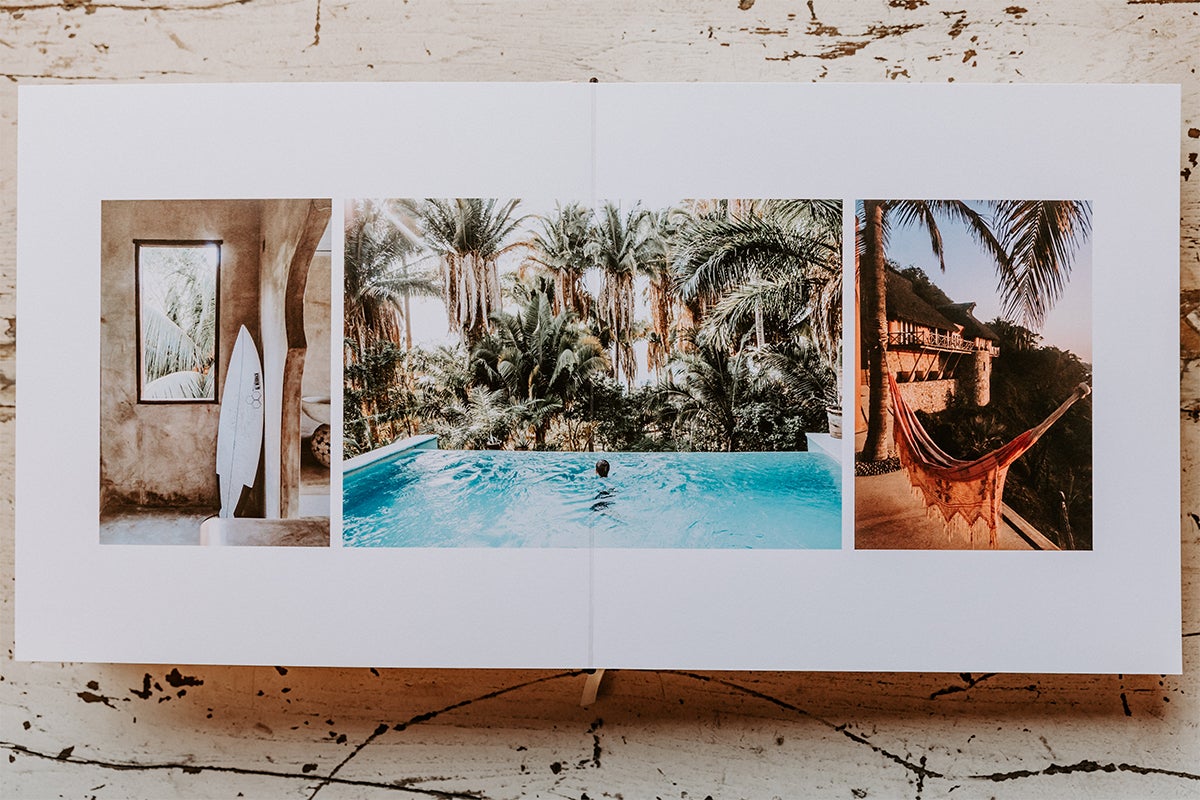
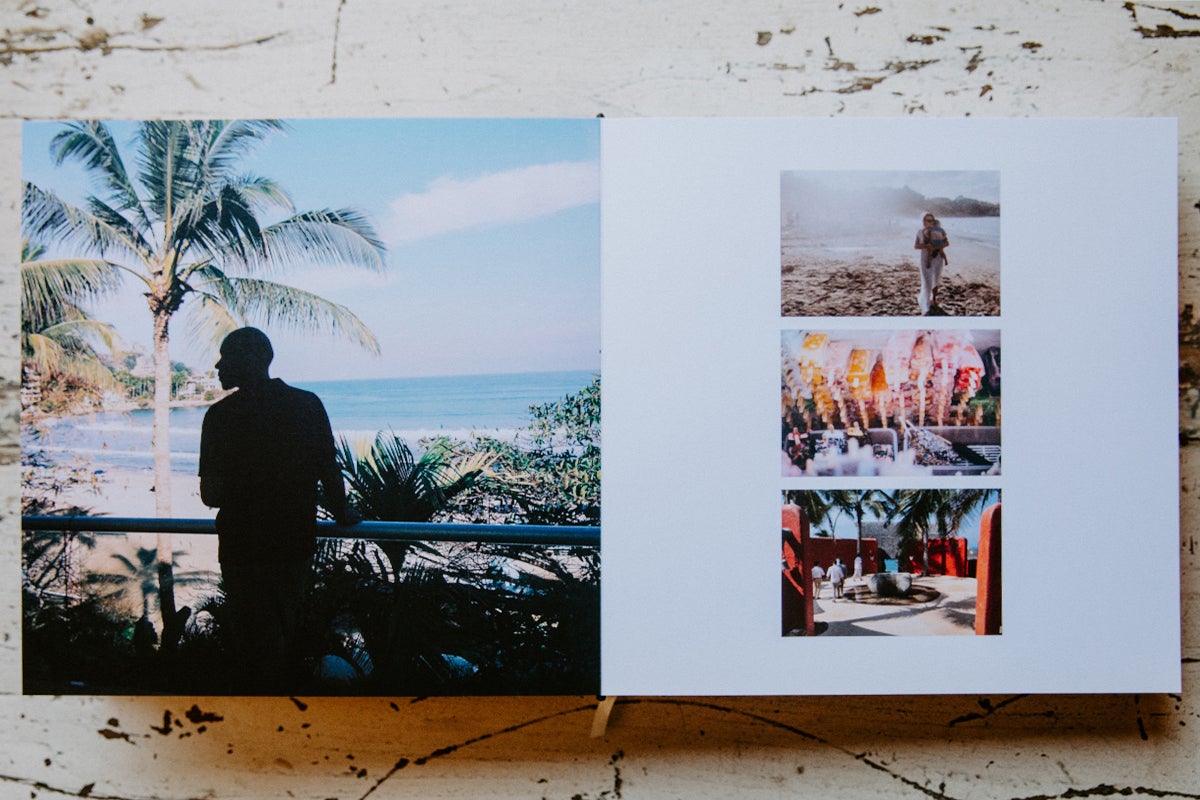
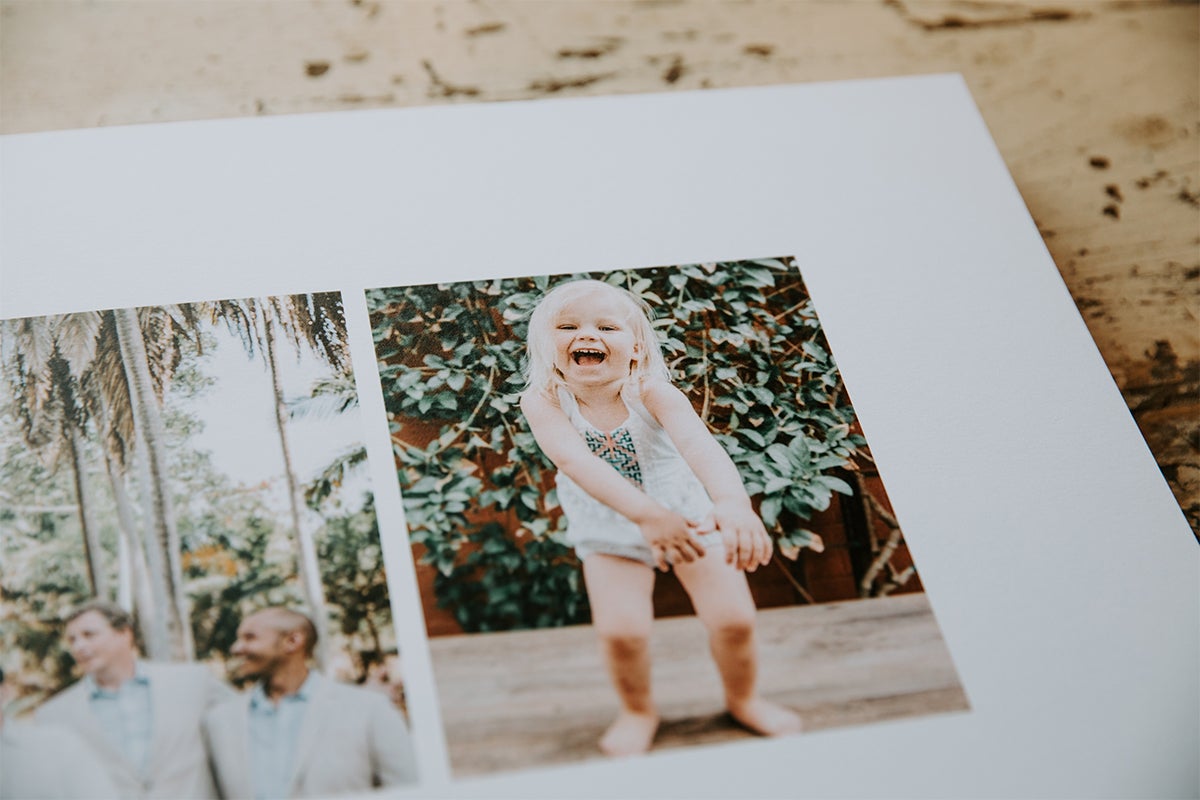
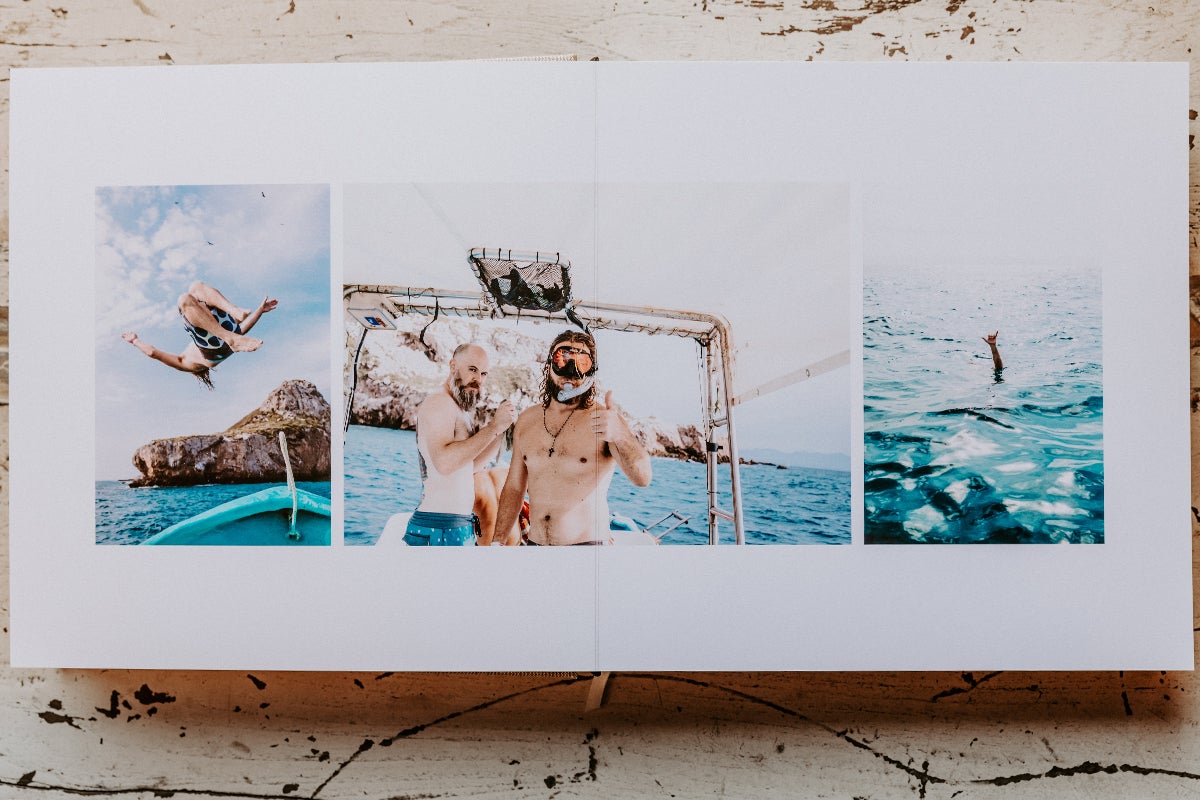
Good storytelling includes a mix of establishing shots and tiny details, along with candids of people that you love and the occasional posed image. Be sure that your selections have a good mix of all sorts of elements and you will have a really dynamic album. If you're not quite sure what the right mix is, here are some wedding album ideas that can help you cover all of your bases — from big to small.
Tip 08
This is for you.
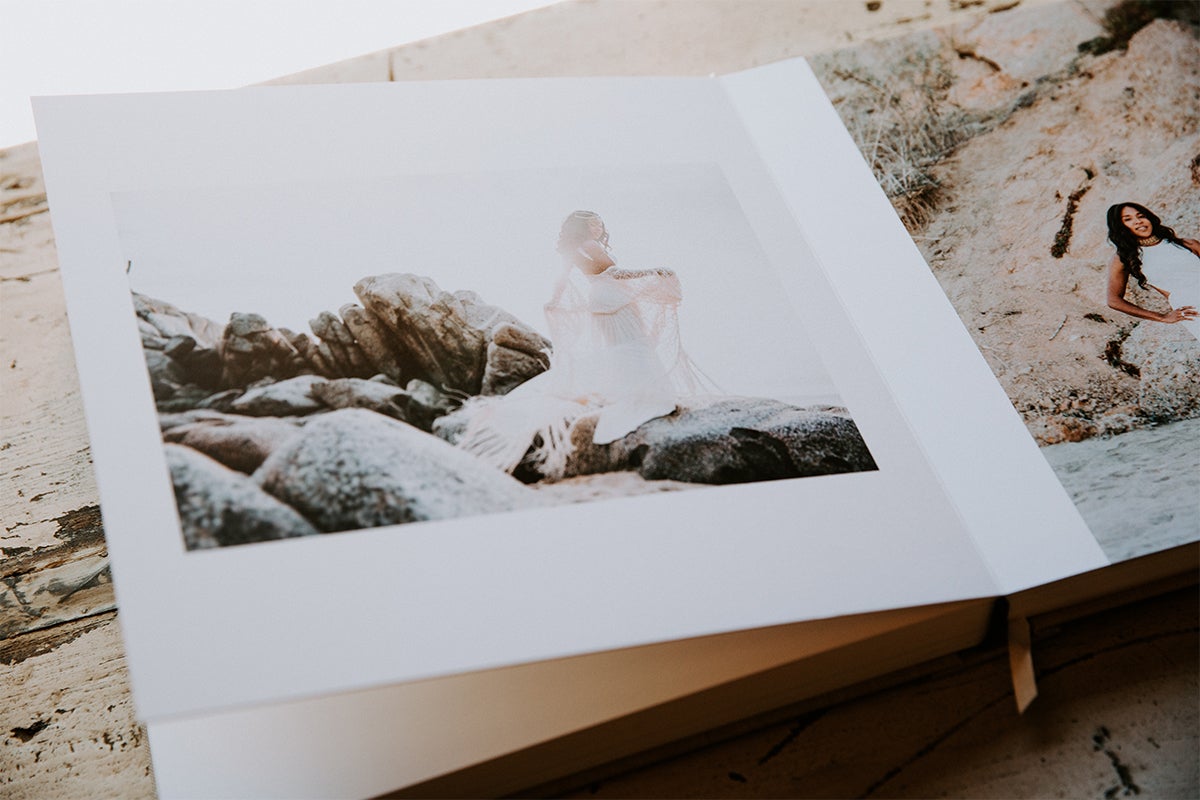
This isn’t really a place for obligations. Remember that you don’t have to include any photos for anyone else outside of you and your partner. You can always make parent albums or print gifts for friends. If you do end up creating additional albums to gift others, save yourself time and headache by using the "duplicate" button in the "my orders" section of your account. By swapping out a handful of photos in the new copy, it's easy to make their album feel truly personal with little to no extra effort.
Tip 09
Get an extra set of eyes.
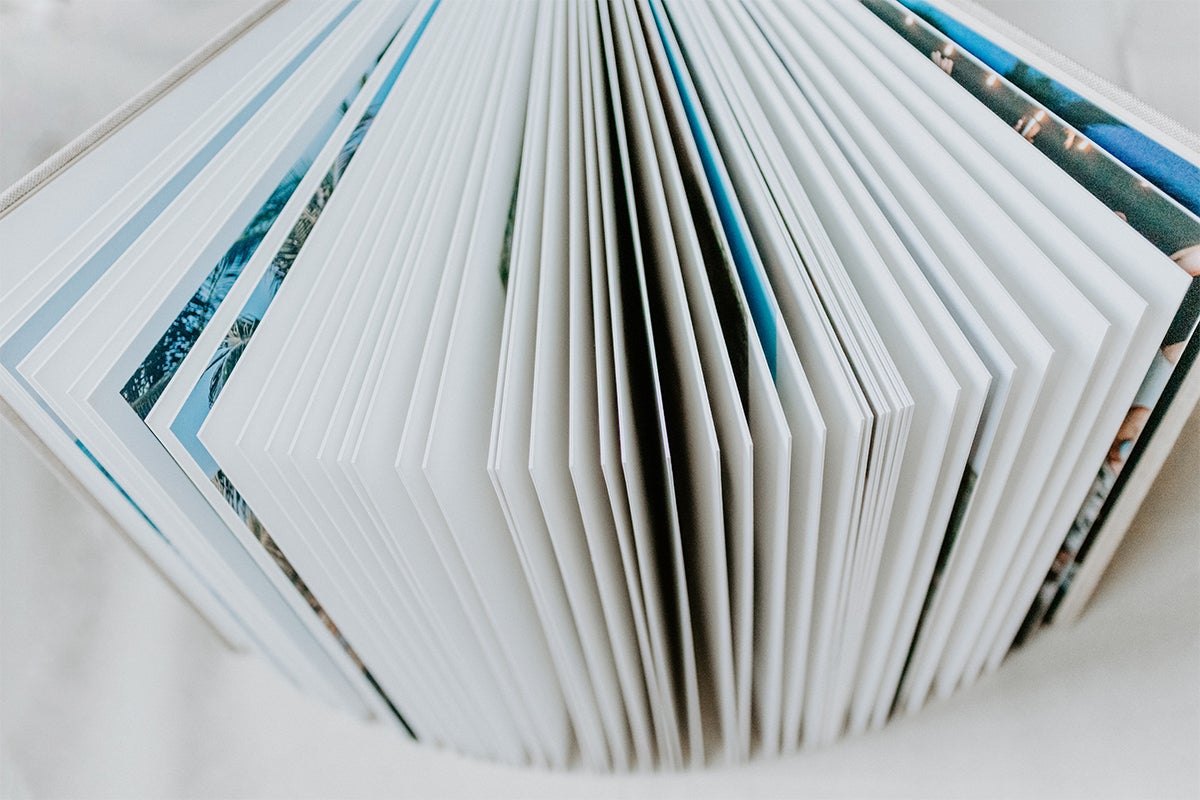
As you get close to the finished product, flip through the book with your partner and ask for eyes on the book. Having someone who is removed from the project but close to the day will give you reminders of what may be left out or help flag images that require swapping. (Watch for images that may have accidentally been added twice!)
Tip 10
Your photographer is (still) here to help.
Don’t be afraid to reach back out to your photographer and ask for touch-up Photoshopping on any large images. You may want to clean up skin, remove distractions from the backgrounds, etc. Often this can be a quick fix for your photographer to relay back to you at no charge or a nominal hourly rate.
Tip 11
Most importantly... start!
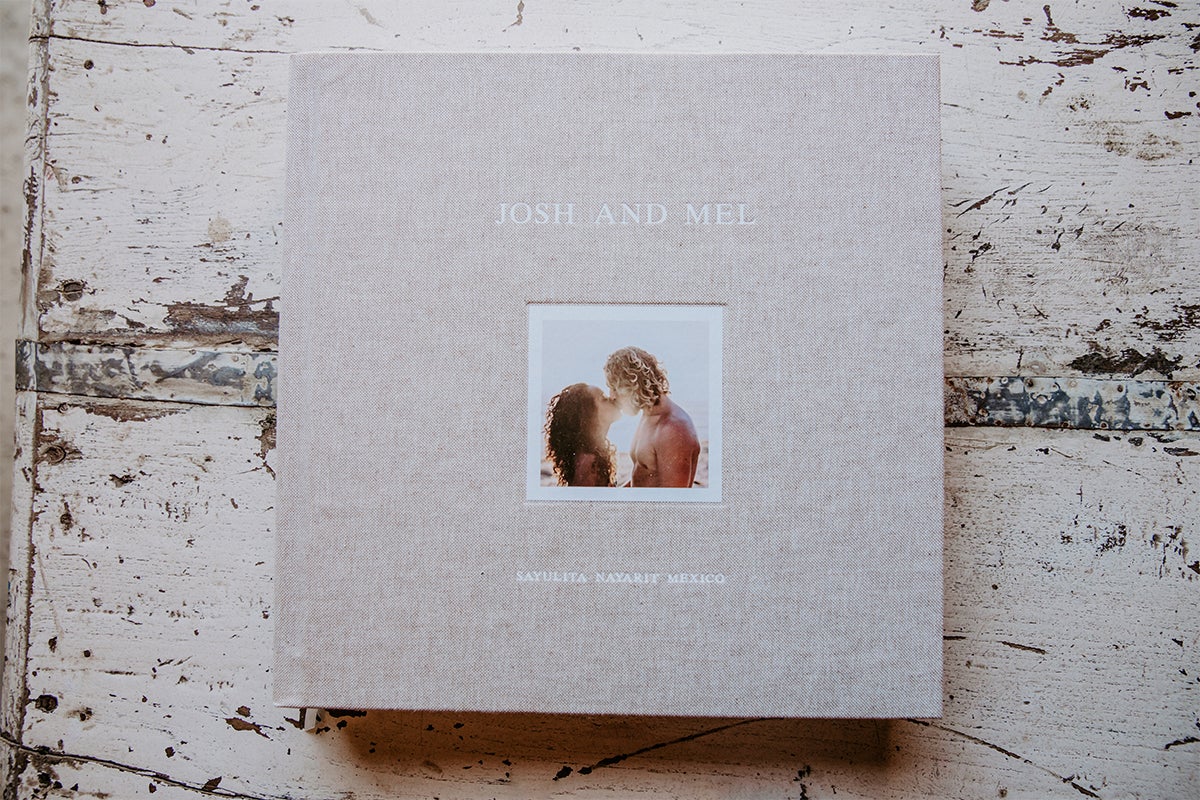
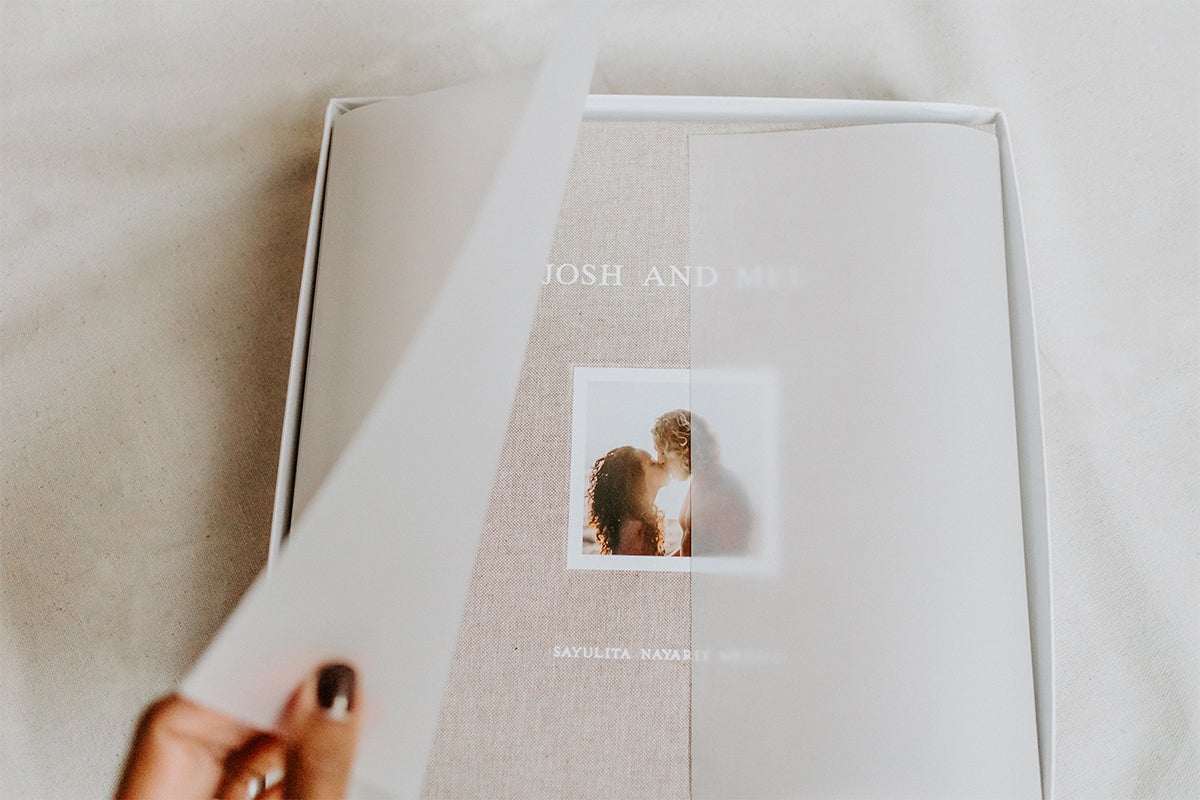
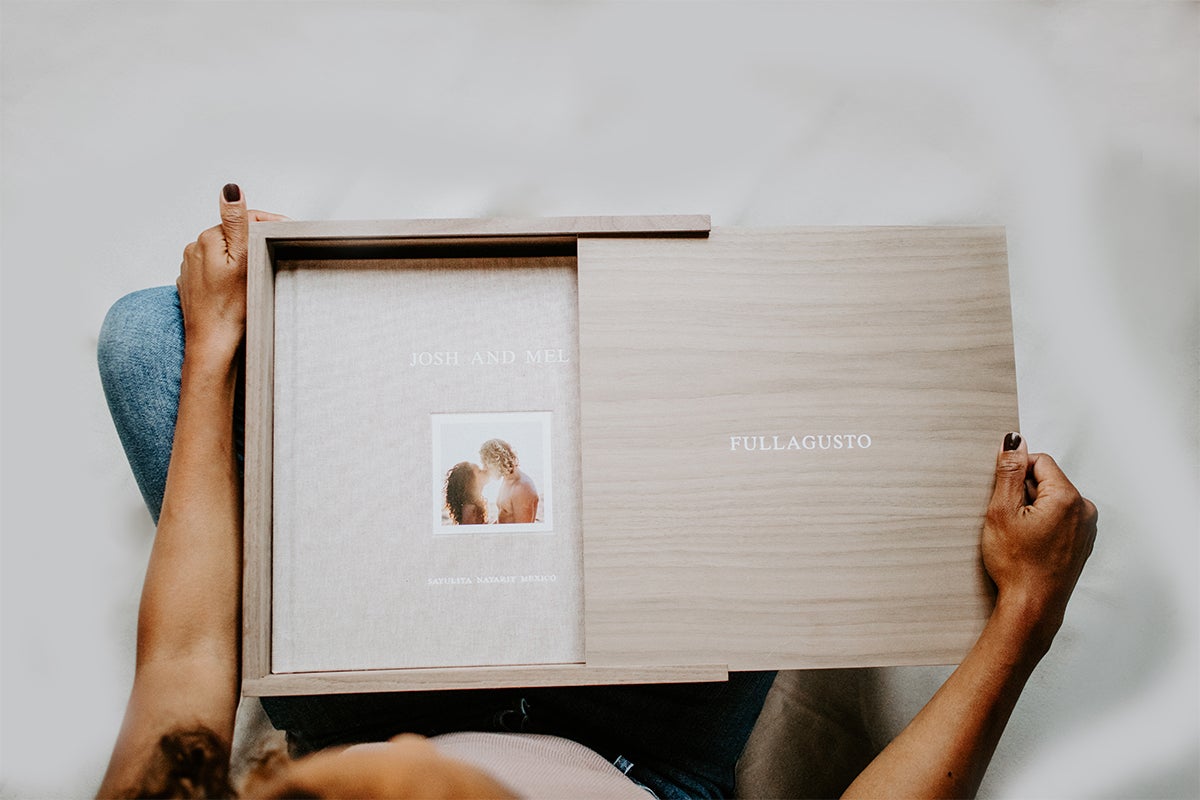
Yes you can have a wedding book! Just do it.. okay? It’s never too late. As a wedding photographer, I preach all day about the importance of making your wedding album within the first year of getting married. And guess what ya’ll…? GUILTY of my own assertions! Deciding to make this album five years after my own wedding and receiving the box on our fifth wedding anniversary feels like a huge, beautiful reminder of the precious time we have on earth with one another. Even more than before, I cherish the artifact of this book.
While creating our album, I took note of the people that filled the pages. We have since lost the lives of two of our dearest friends unexpectedly. Two other friends have beaten cancer with one fighting still. The kids that were in attendance have doubled in size. Time marches on and the days following the big day are uncharted and unpredictable.
This week of our wedding has remained such a special time — I will never take the carefree nature of those days, and the feeling I had being surrounded by all of our nearest and dearest, for granted. So start now. Set a date of completion and happy album making. If you have any questions I’m here to help. Just shoot me a DM (@melissagaylephoto).
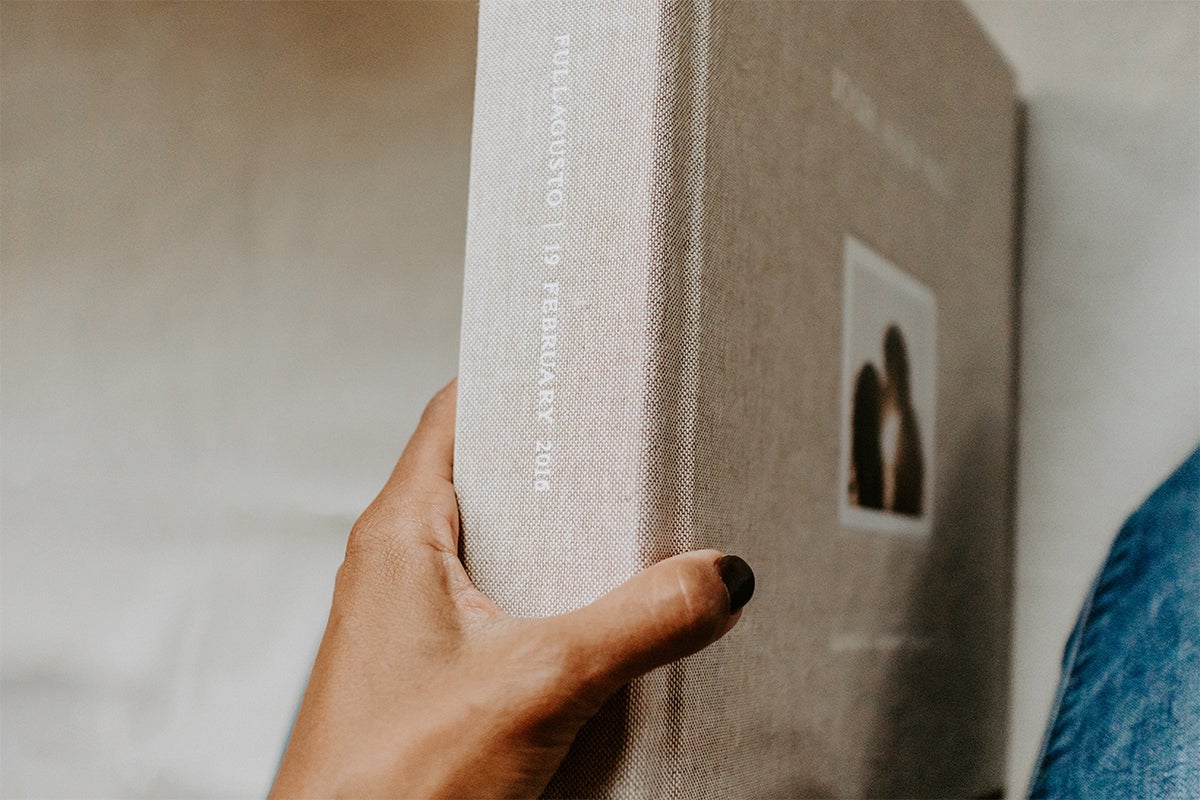
Receiving the box on our fifth wedding anniversary feels like a huge, beautiful reminder of the precious time we have on earth with one another.
Ready to start your own album?
There's no time like the present.
About the Author

A firm believer that having a roof over one's head is overrated, Melissa Gayle is an ambassador for female explorers who agree that rising before dawn is the good stuff in life. As a wedding photographer, she loves adventurous clients who let their hair down, prefer to go barefoot on the dance floor, and aren’t afraid to get a little dirty in the most expensive dress they have ever boughten.

