Tip 01
Use What You Have

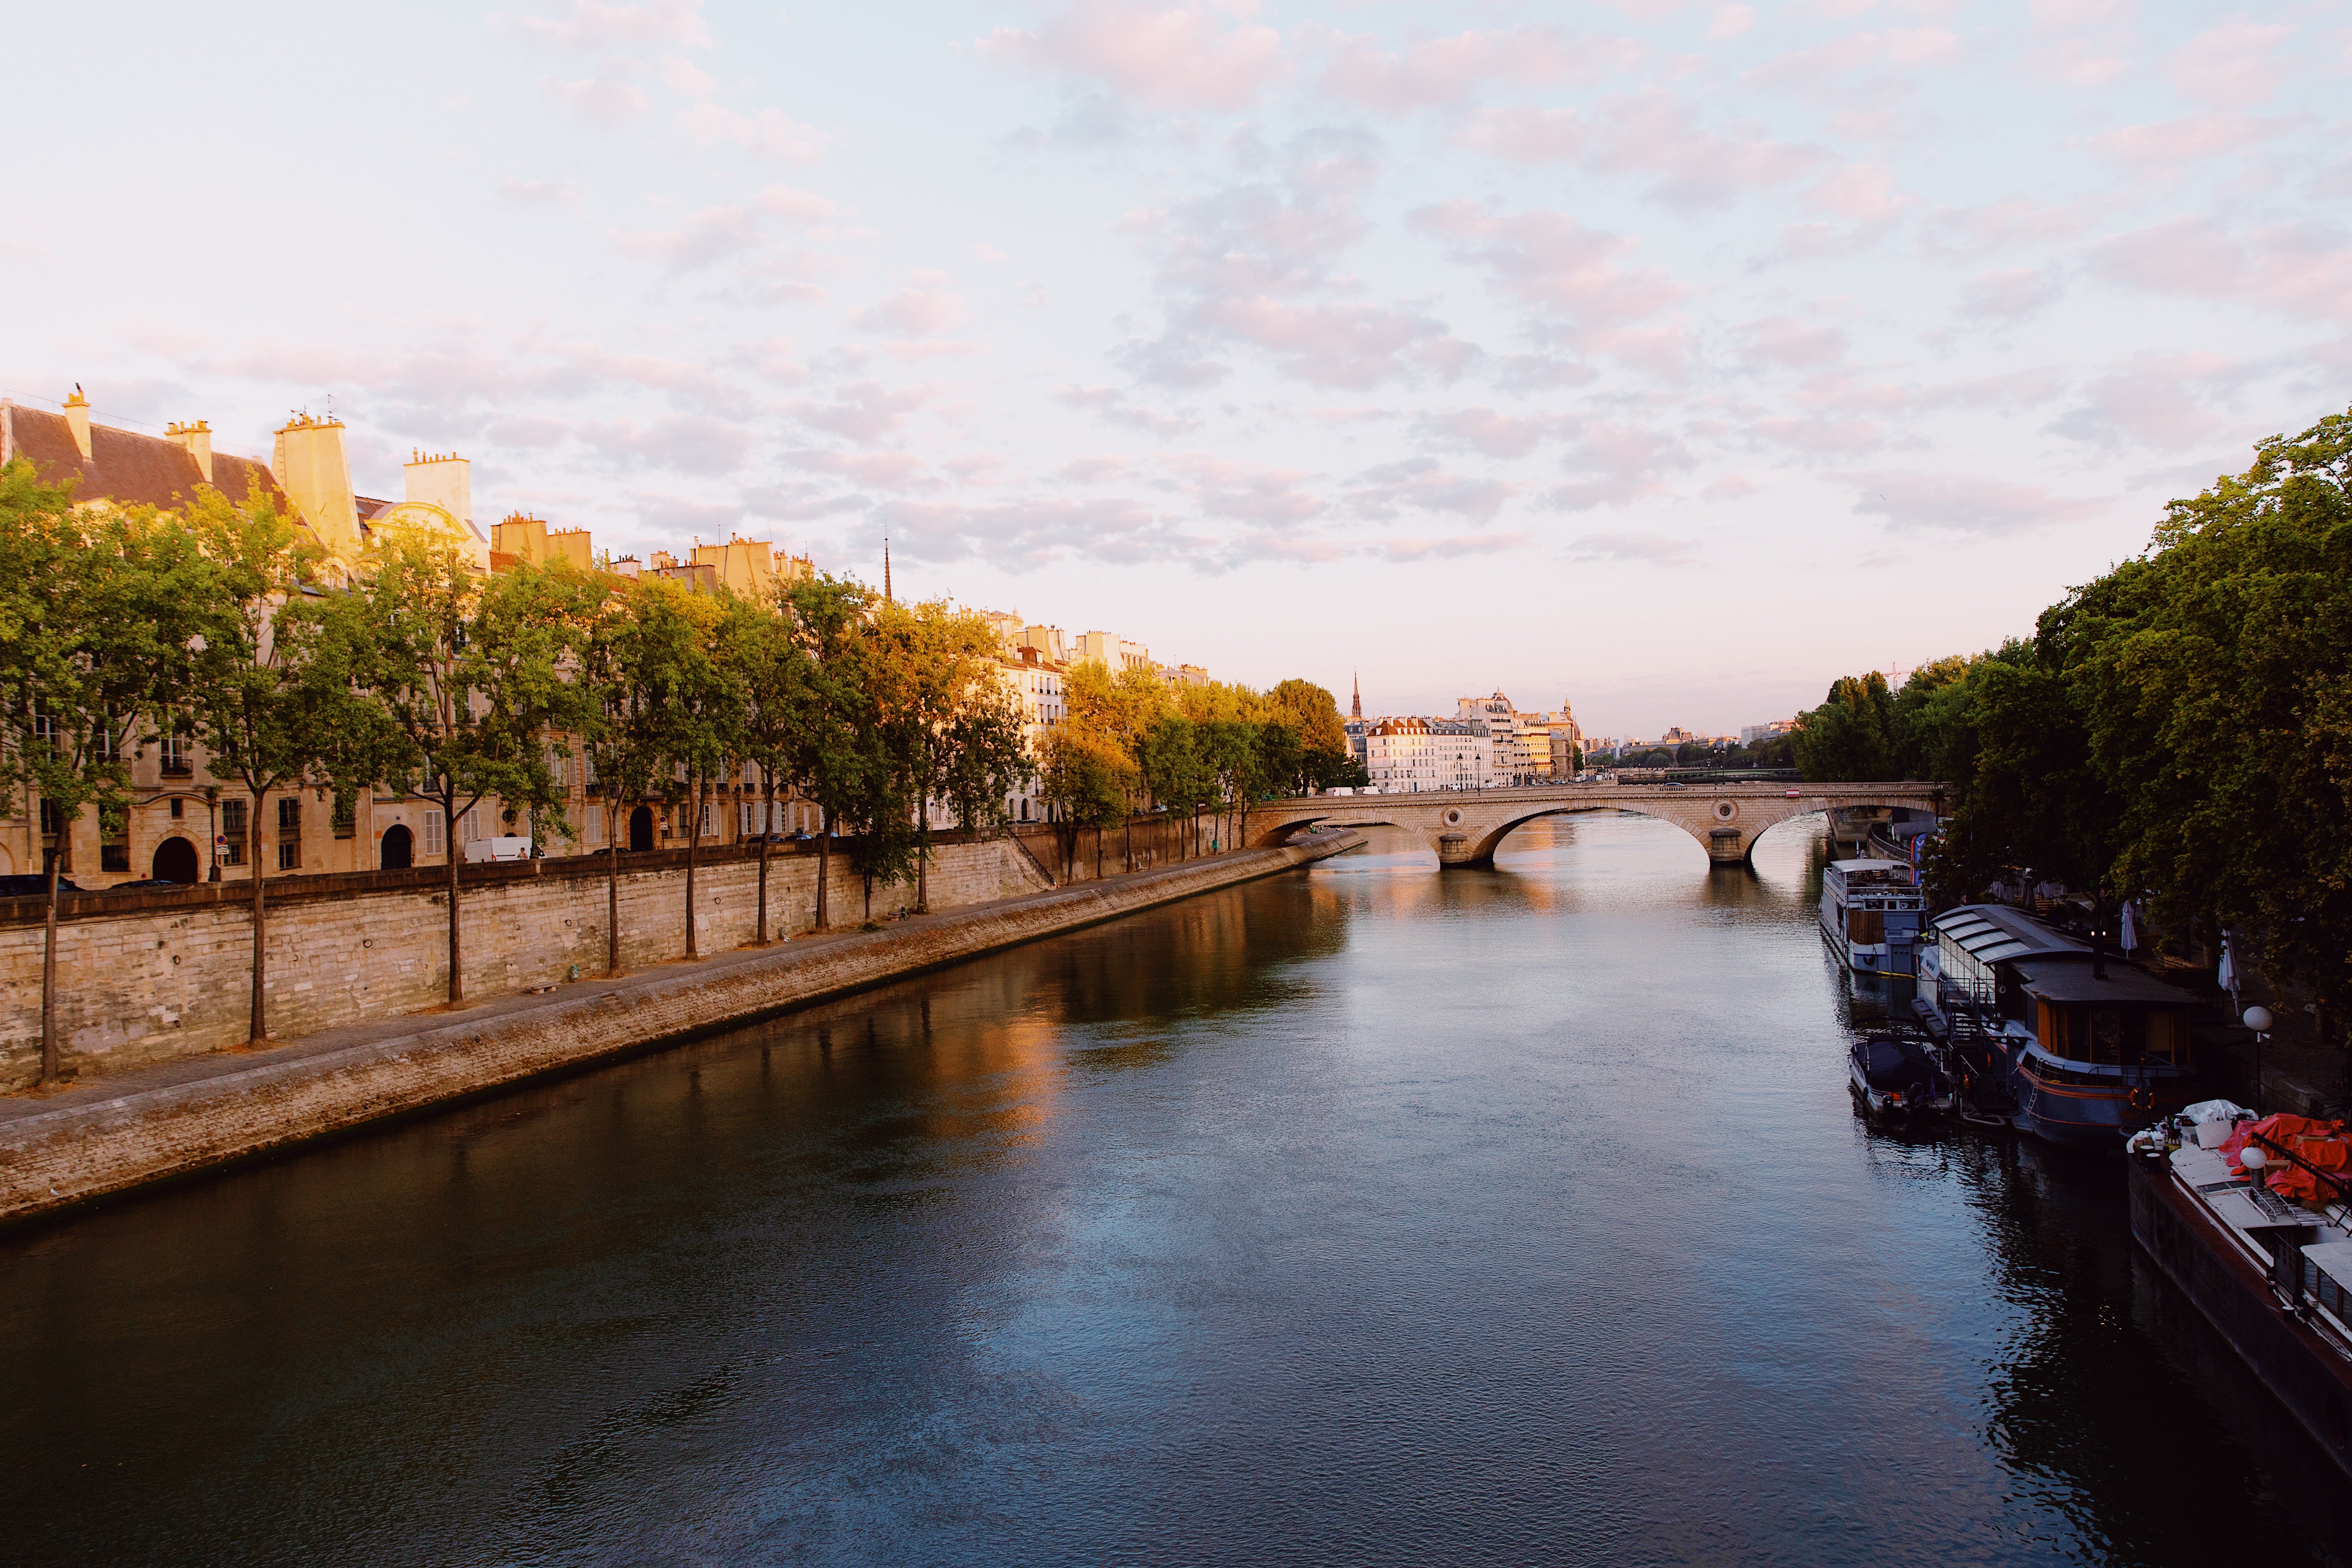
People often ask what I shoot with, and my advice every time is "the best camera is the one you have with you." While I use a DSLR for assignments and shoots, my iPhone is often the most unobtrusive way of capturing the world around me when traveling. Sometimes, the simpler — the better!
Tip 02
Create A Story
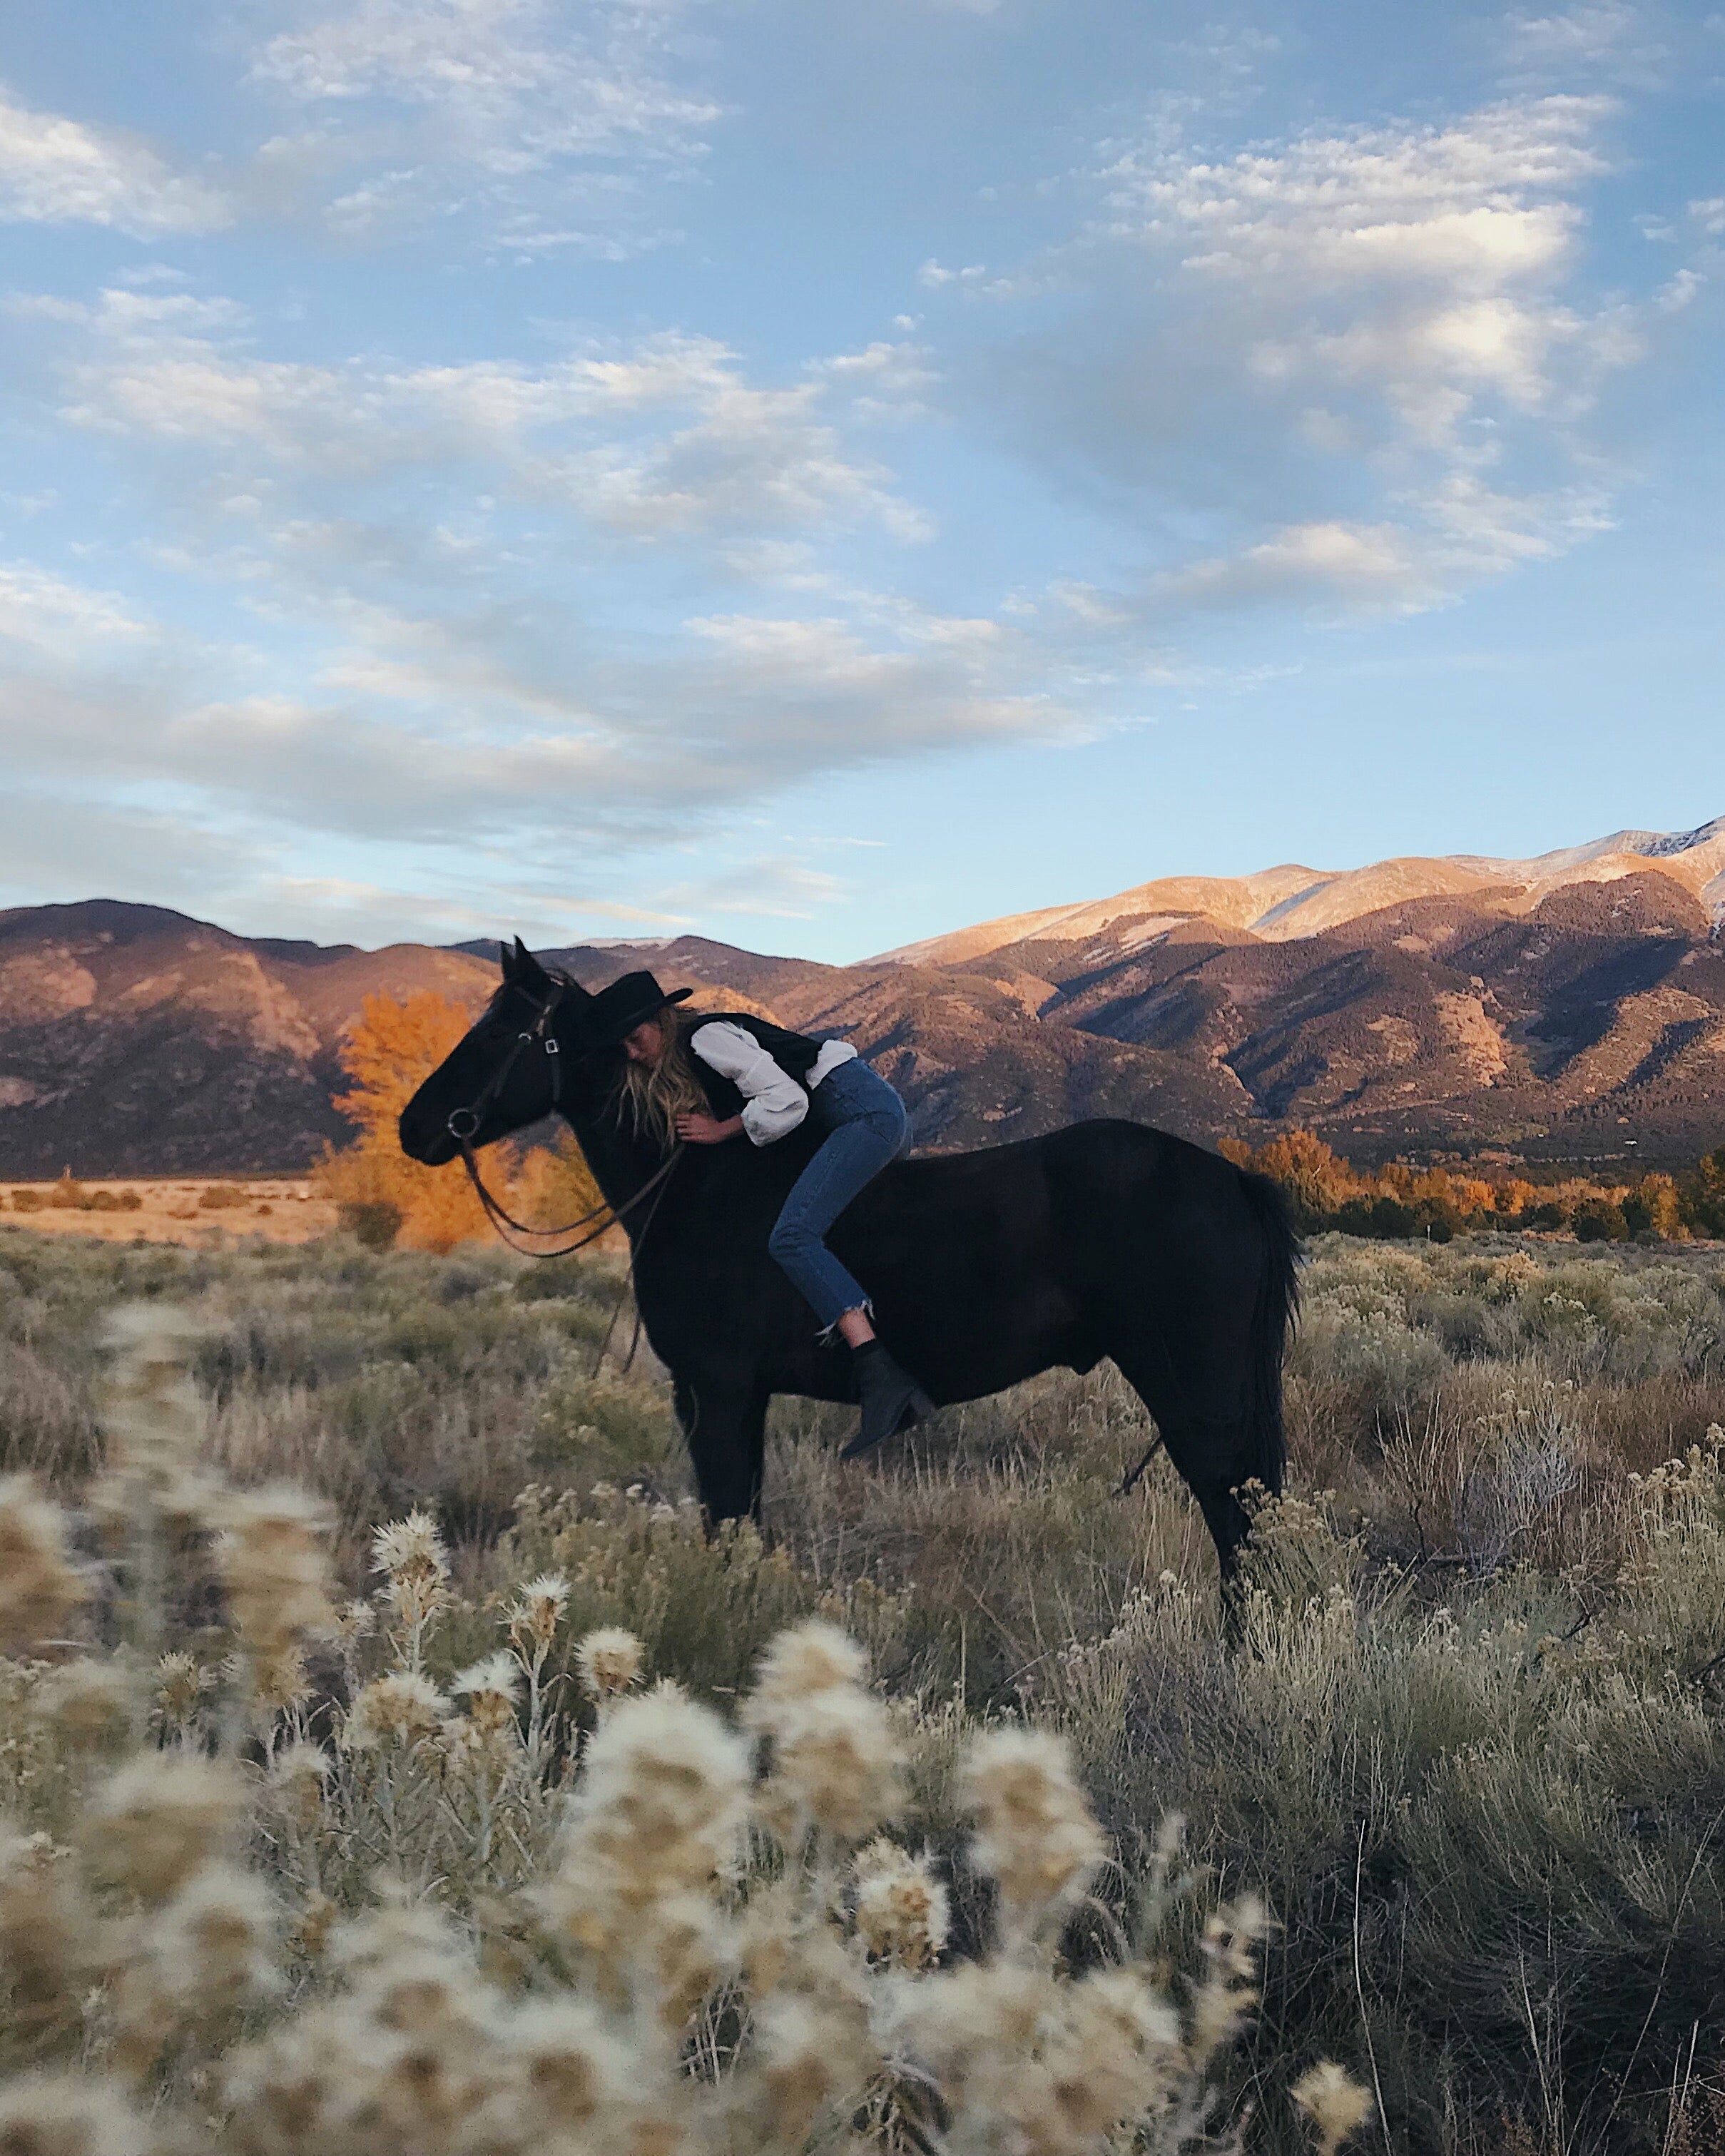
Ask yourself, what’s the story you want to tell? Think beyond capturing just one image. A good photo story is a series of images that communicate a concept or idea. Experiment with capturing a series: first establish a shot that shows the situation or environment, then focus on the details. Does your story have a human element? If so, play around with capturing portraits and candid reportage style.
Tip 03
Maximize Your Tools

Maximize the tools that are available to you while you're shooting. Some of my favorite tips? Clean your phone lens before taking a photo. Tap and hold on your phone screen to lock in focus. Manually increase or decrease exposure by moving the sun slider up or down. Use portrait mode for people pictures or from airplane windows.
Tip 04
Look For Light
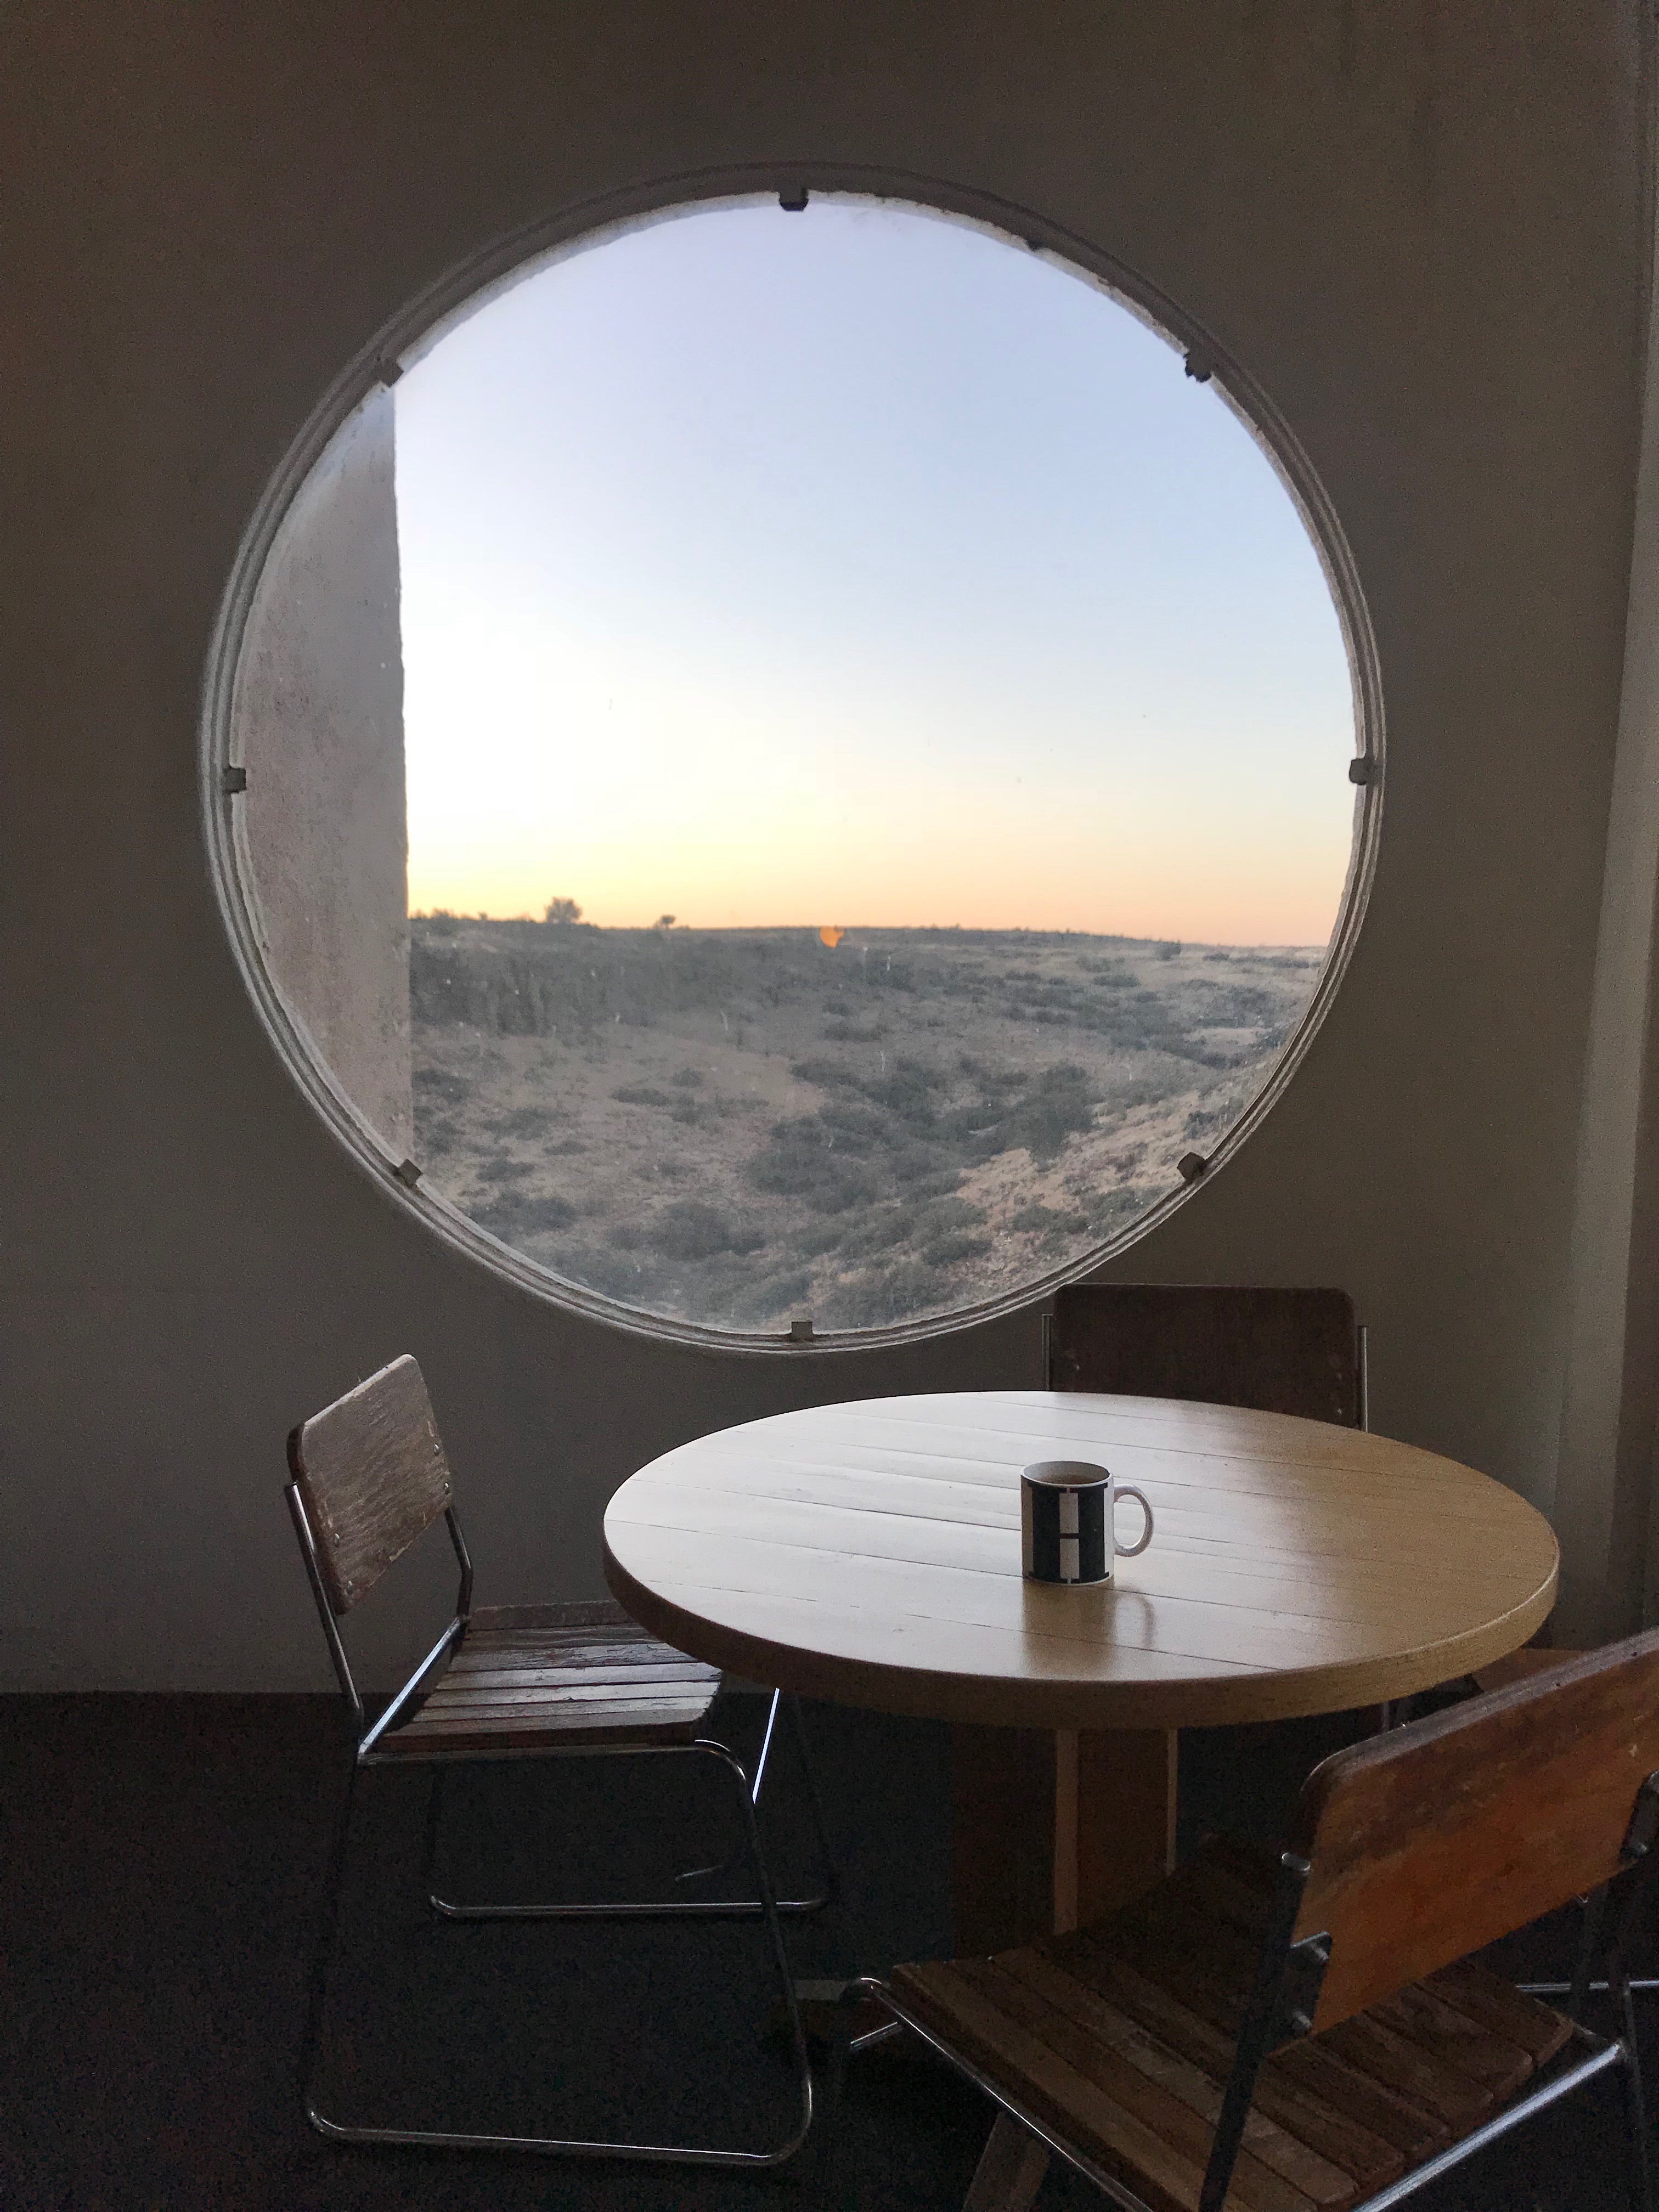
A little homework to find the light: set your phone to front camera mode, as if to take a selfie. Now find a window. First take a selfie with your back to window. Now turn around and take a selfie facing the window. Now take a picture with the window either to your left or right. There's a crazy difference, right? This is a basic lesson of knowing how to light your subject properly. The first photo, with the window behind you, is known as ‘backlit,’ and while backlighting can be a beautiful technique at sunrise or sunset, it’s generally terrible at midday on an iPhone.
Tip 05
Set An Alarm
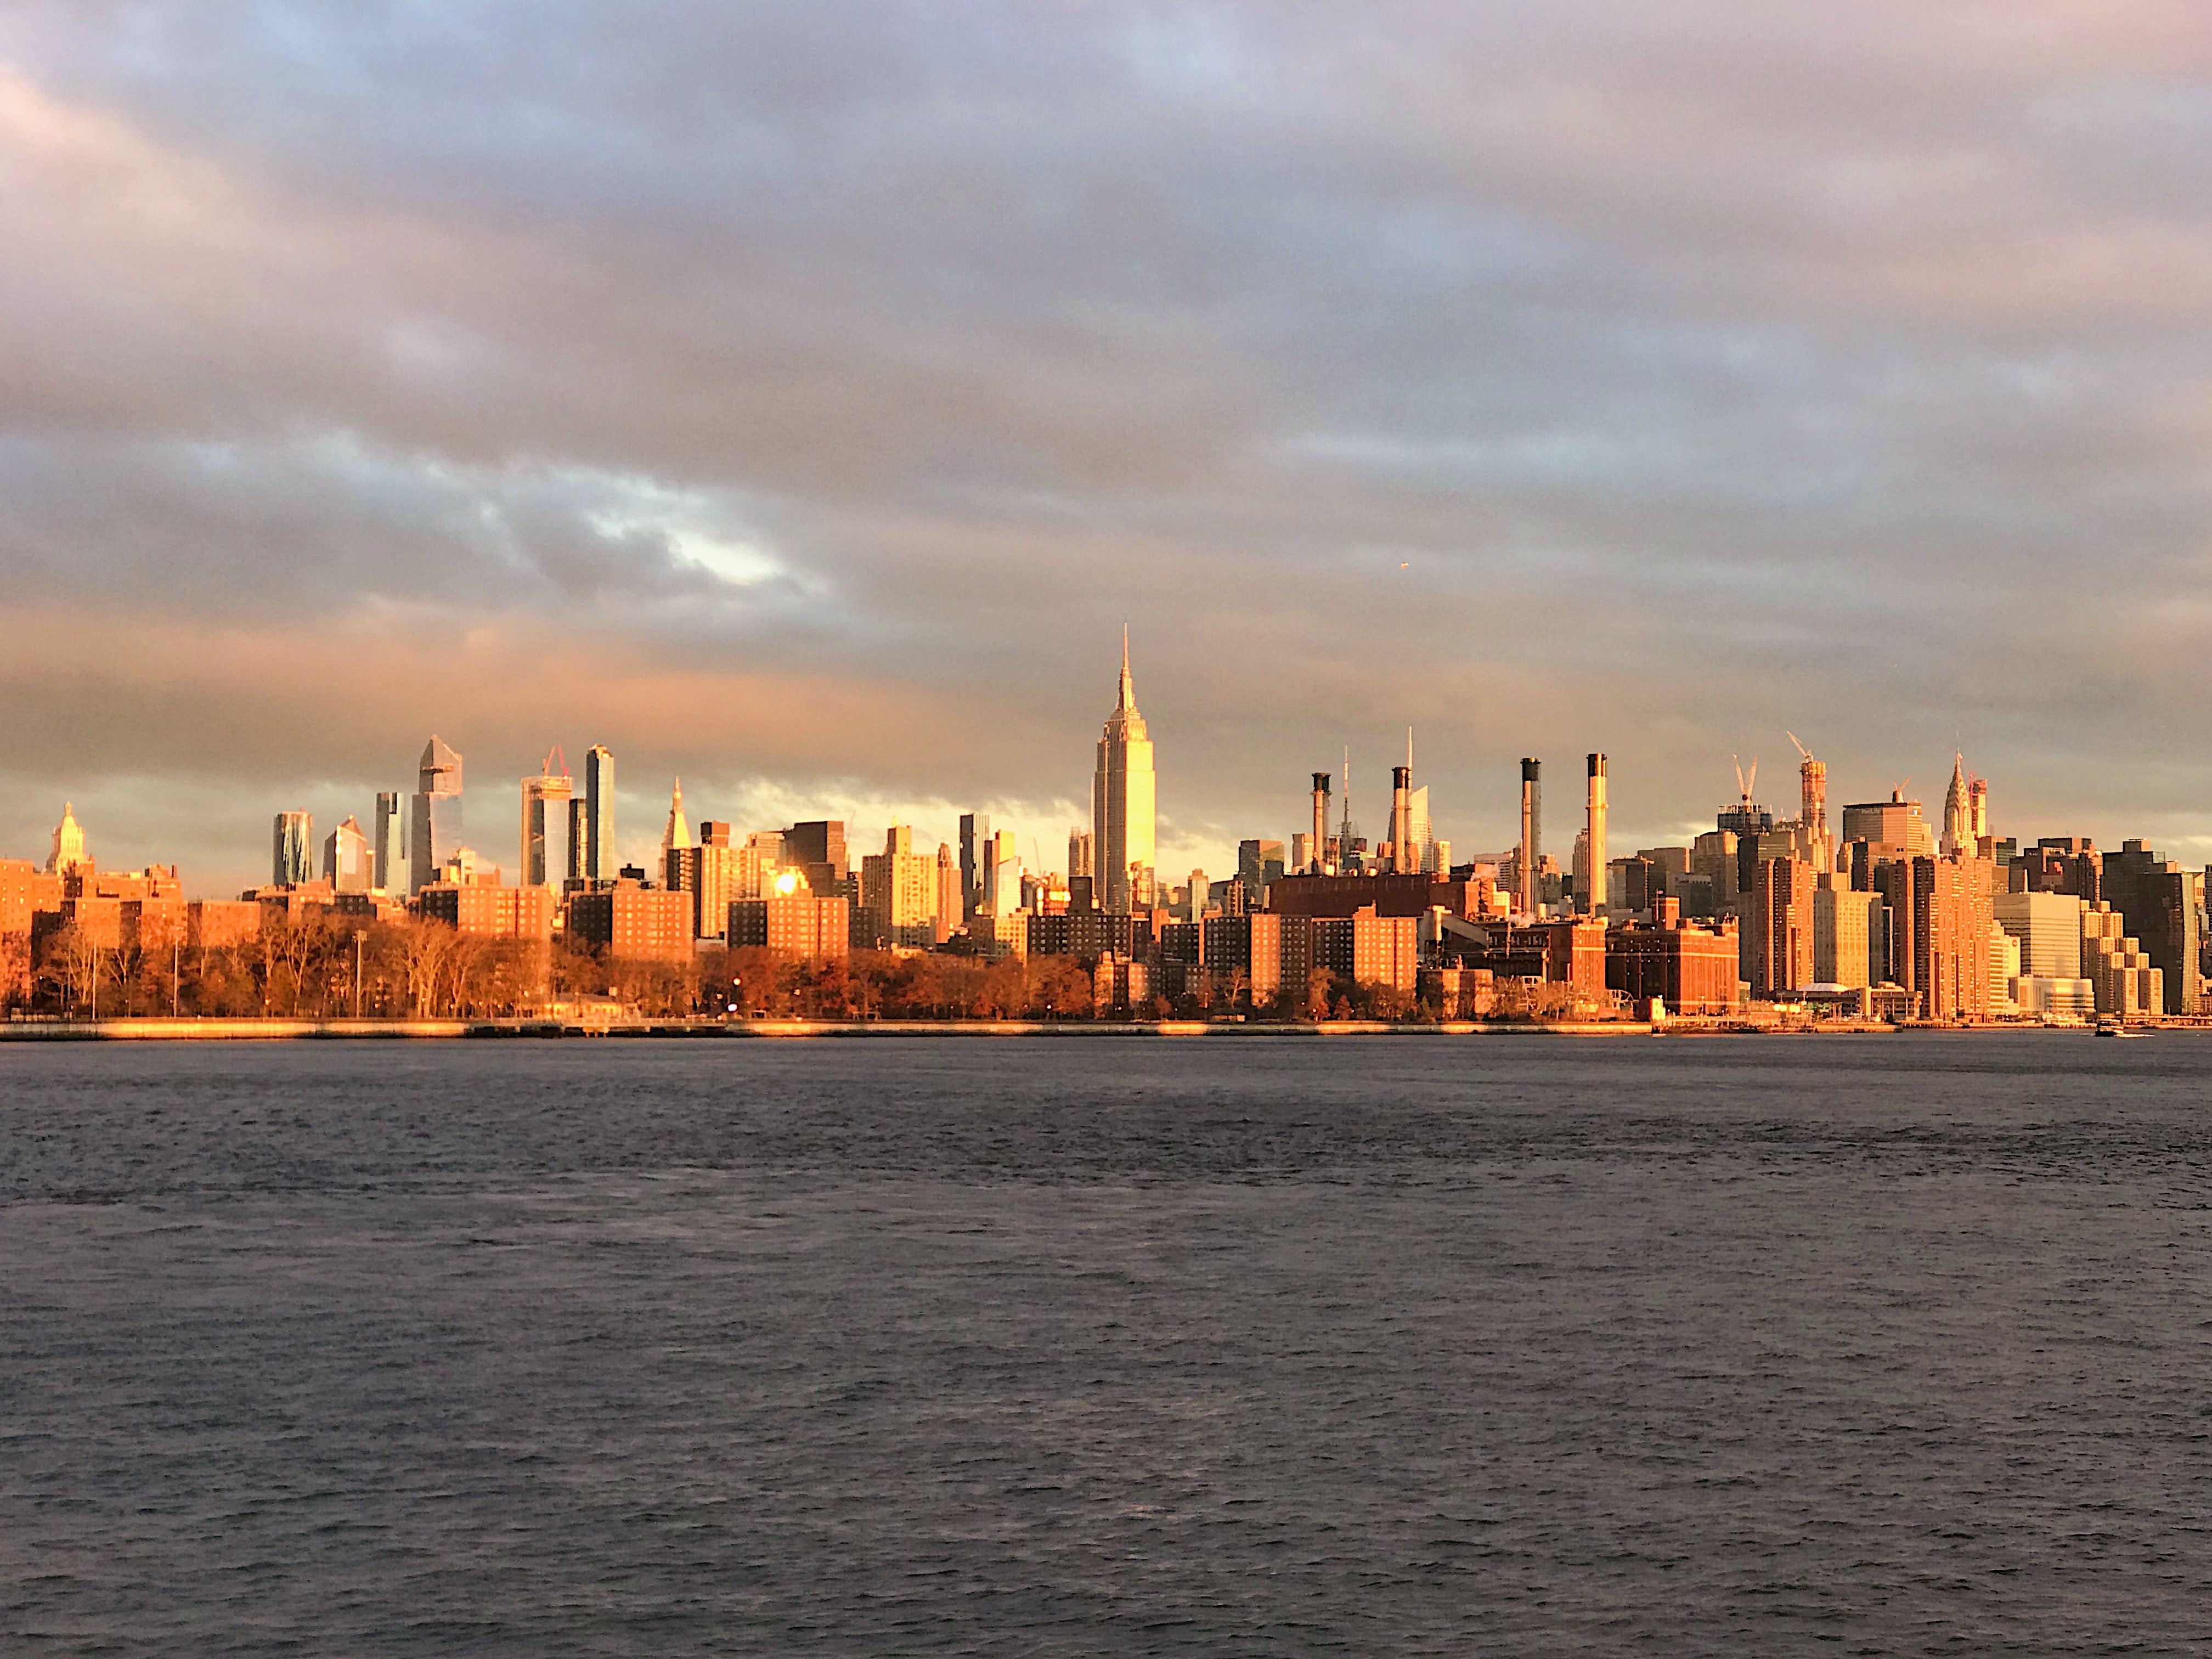
I find iPhones have an amazing capability to balance exposure and colors at sunrise and sunset, sometimes in a way that my DSLR just cannot reproduce. So set your alarm or forgo cocktail hour, and get out there and shoot.
Tip 06
Make A Composition

Consider the basics of composition including the rule of thirds principle, which is essentially breaking a scene down into thirds so that you have nine parts. By placing points of interest in the intersections or along these horizontal and vertical lines, your photo becomes more balanced. Use the grid setting to compose using this rule. (Also worth remembering: rules are made to be broken, especially when it comes to photography!)
Tip 07
Crop It
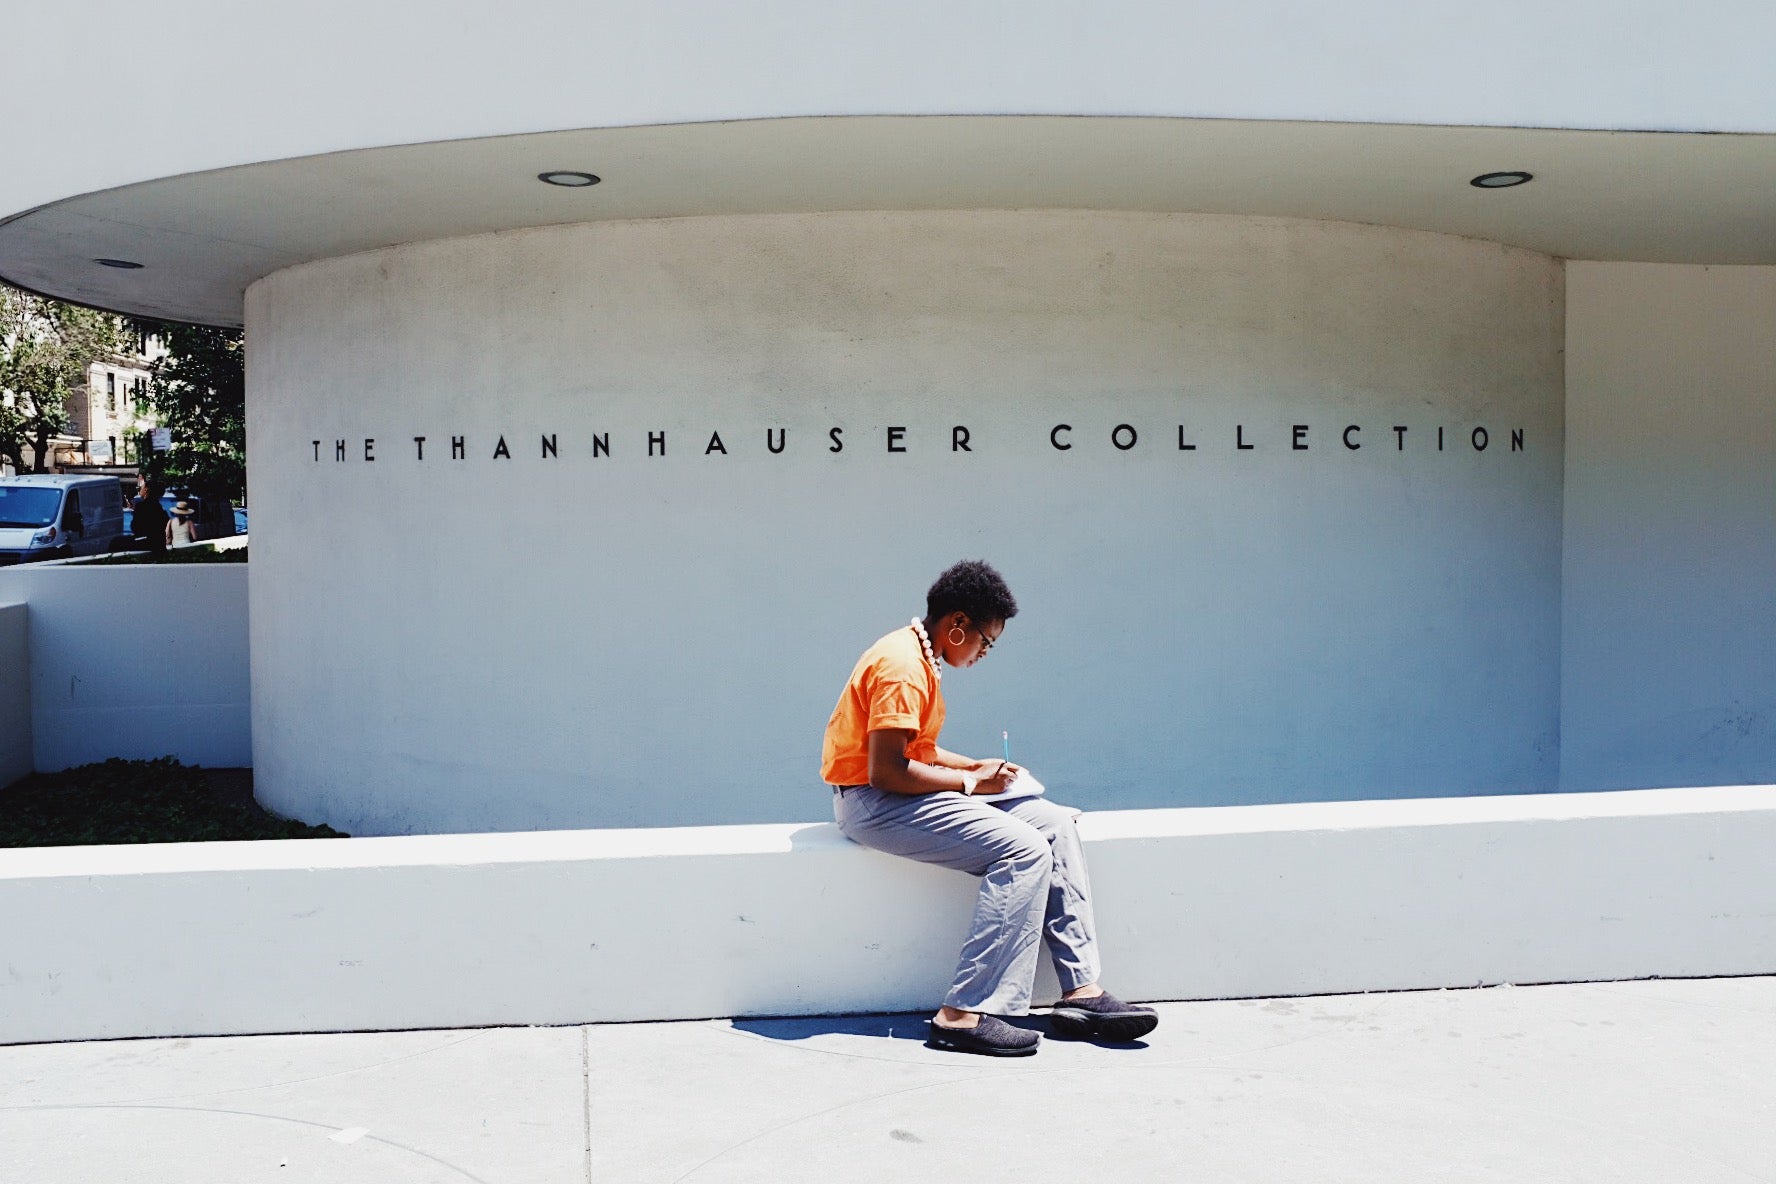
The right crop makes a picture. Play around with cropping your images to isolate your subject in the frame — your eye will immediately go straight to the person and distractions will be eliminated.
Tip 08
Make Movement

Bring life to your photographs with movement and blur. I love to shoot during twilight, which is the hour before and after sunrise when the light is low. To add blur, simply move your phone quickly as you take a photo. This works nicely when your subject matter contains lights, or a human element.
Tip 09
Make A Style Yours
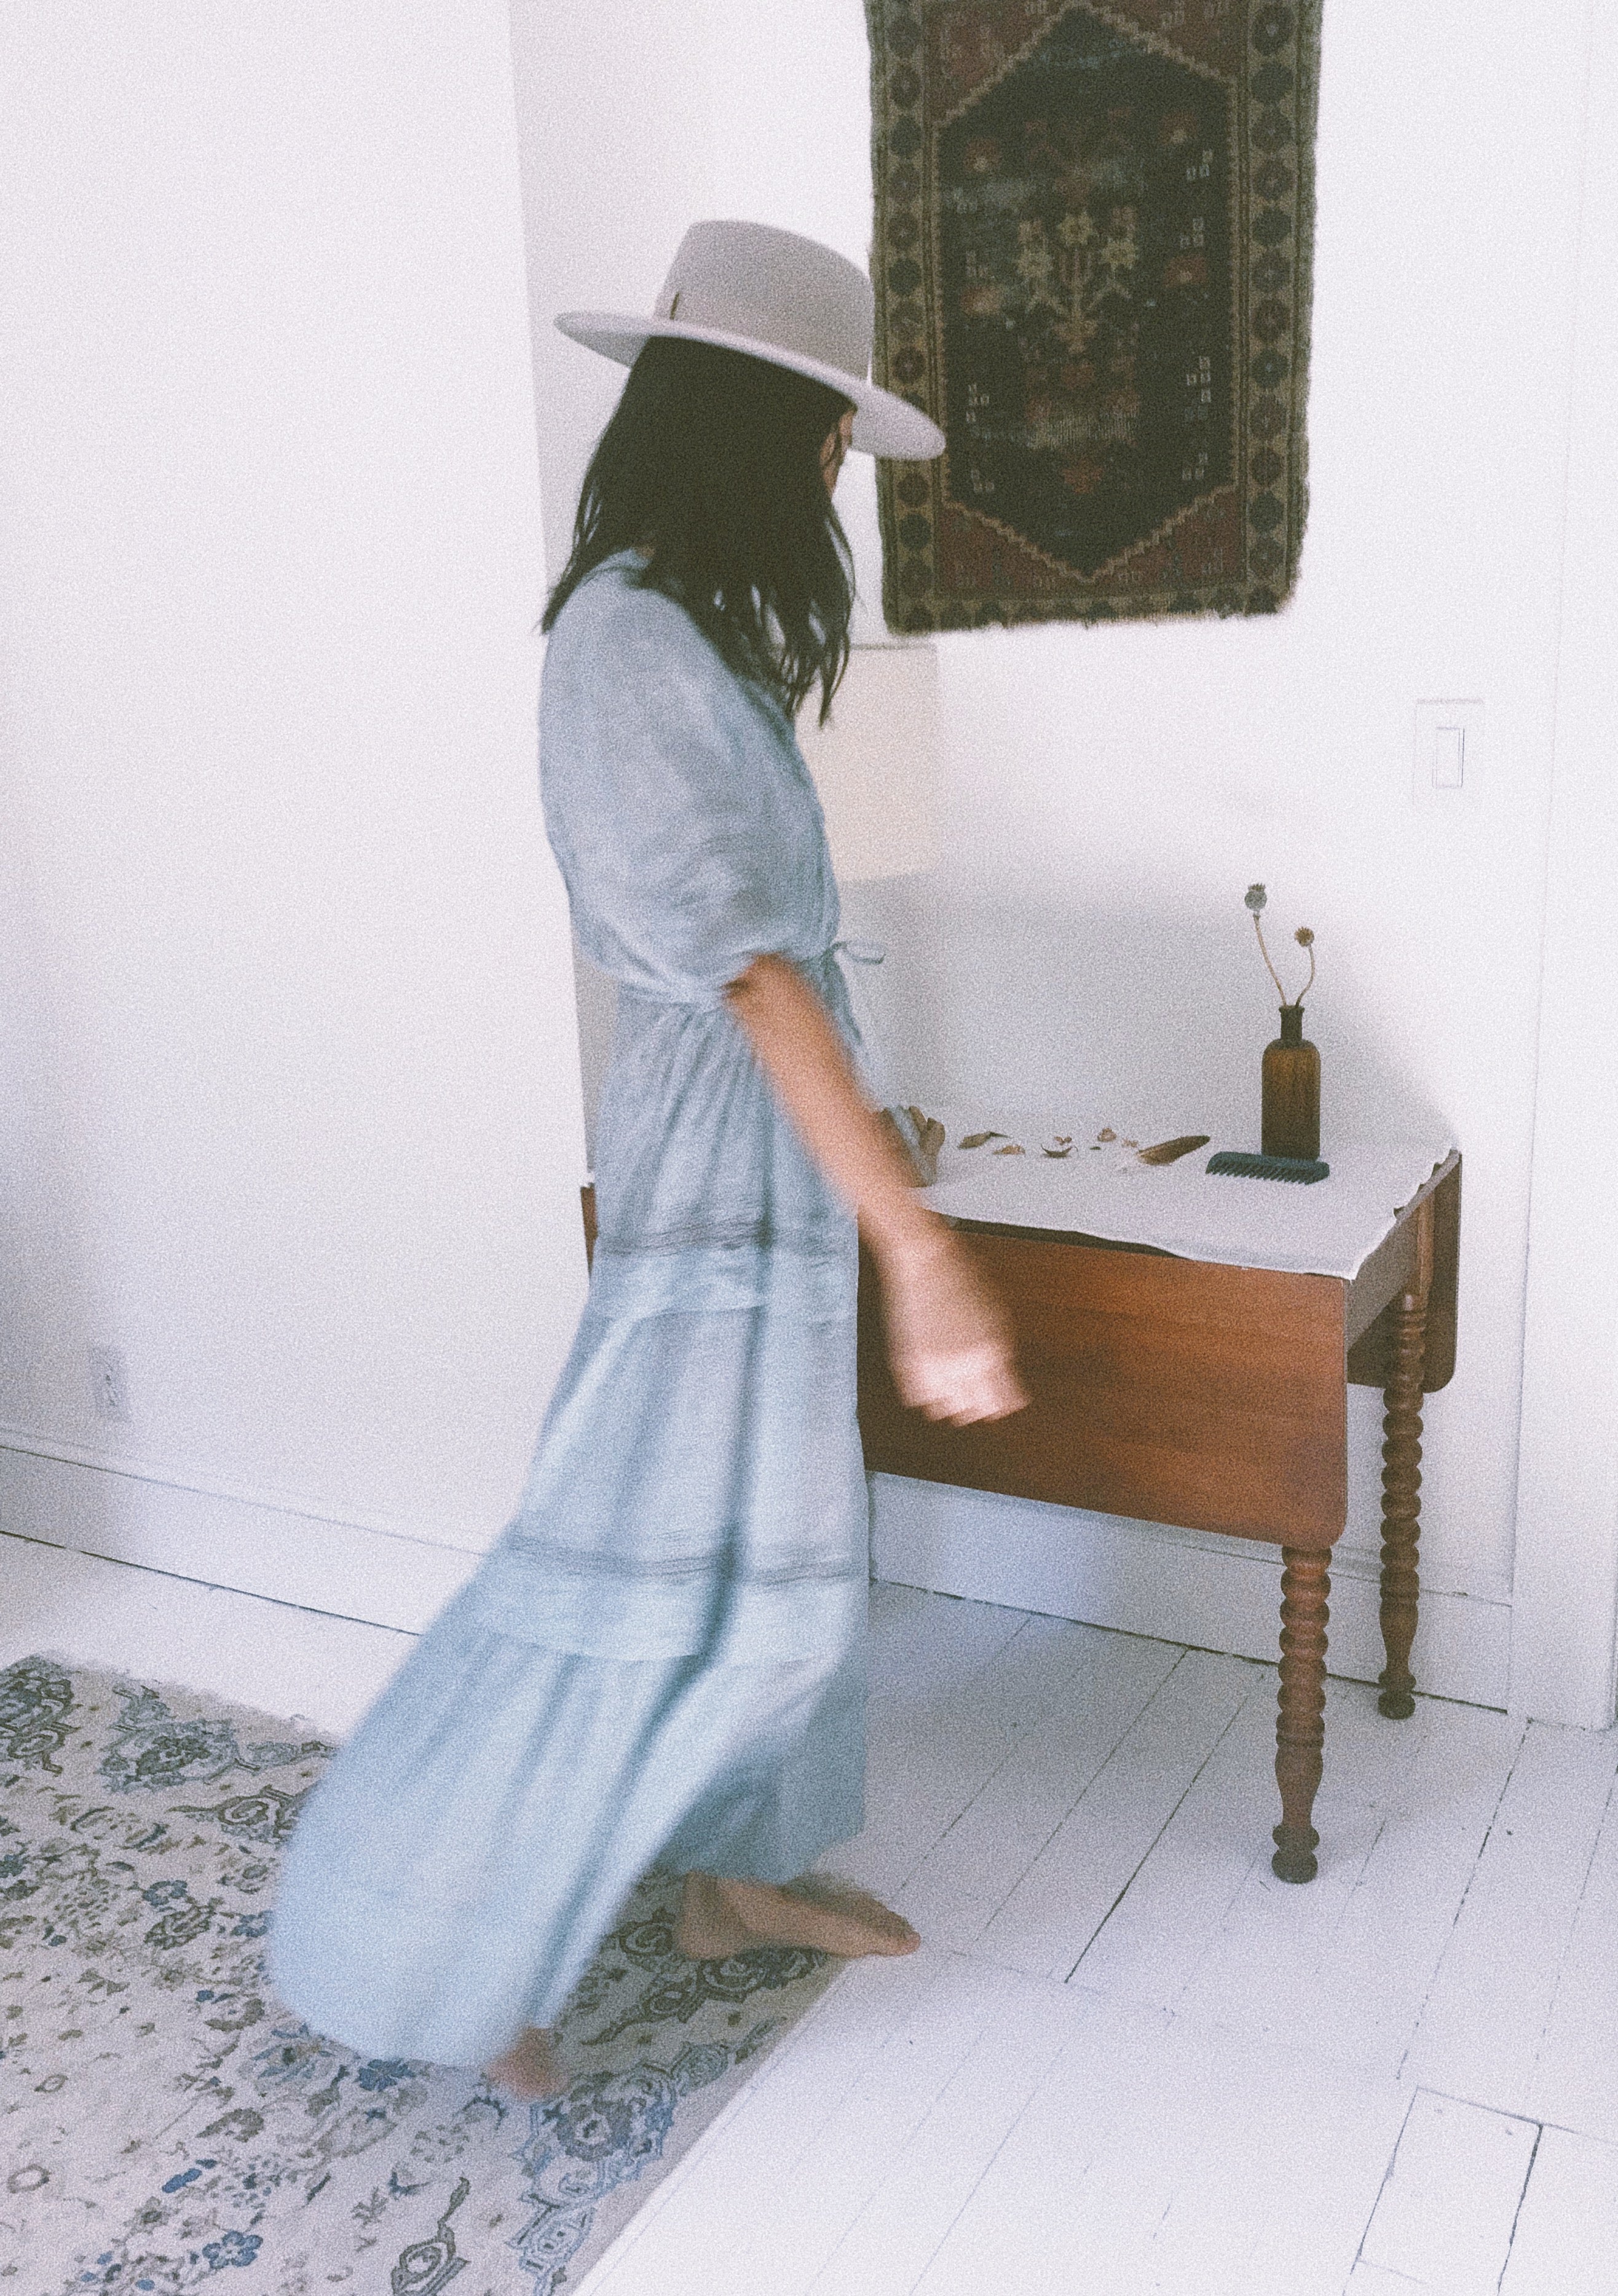
Learn your editing style, because it can bring a picture to life. I favor the VSCO app (AV4 is my go-to treatment style), and I like to up the grain for a film emulation. I also sharpen and add clarity to each image. Then I like to use Instagram’s native tools, and my edits usually include lux, brightening, and sharpening.
Tip 10
Give Space

Lastly, I like to add white borders to my images on both Instagram and Stories because I like how they allow each image breathe a little — almost like prints on a wall. My go-to apps for this are Squareready and InShot.
