Tip 01
Align With The Grid

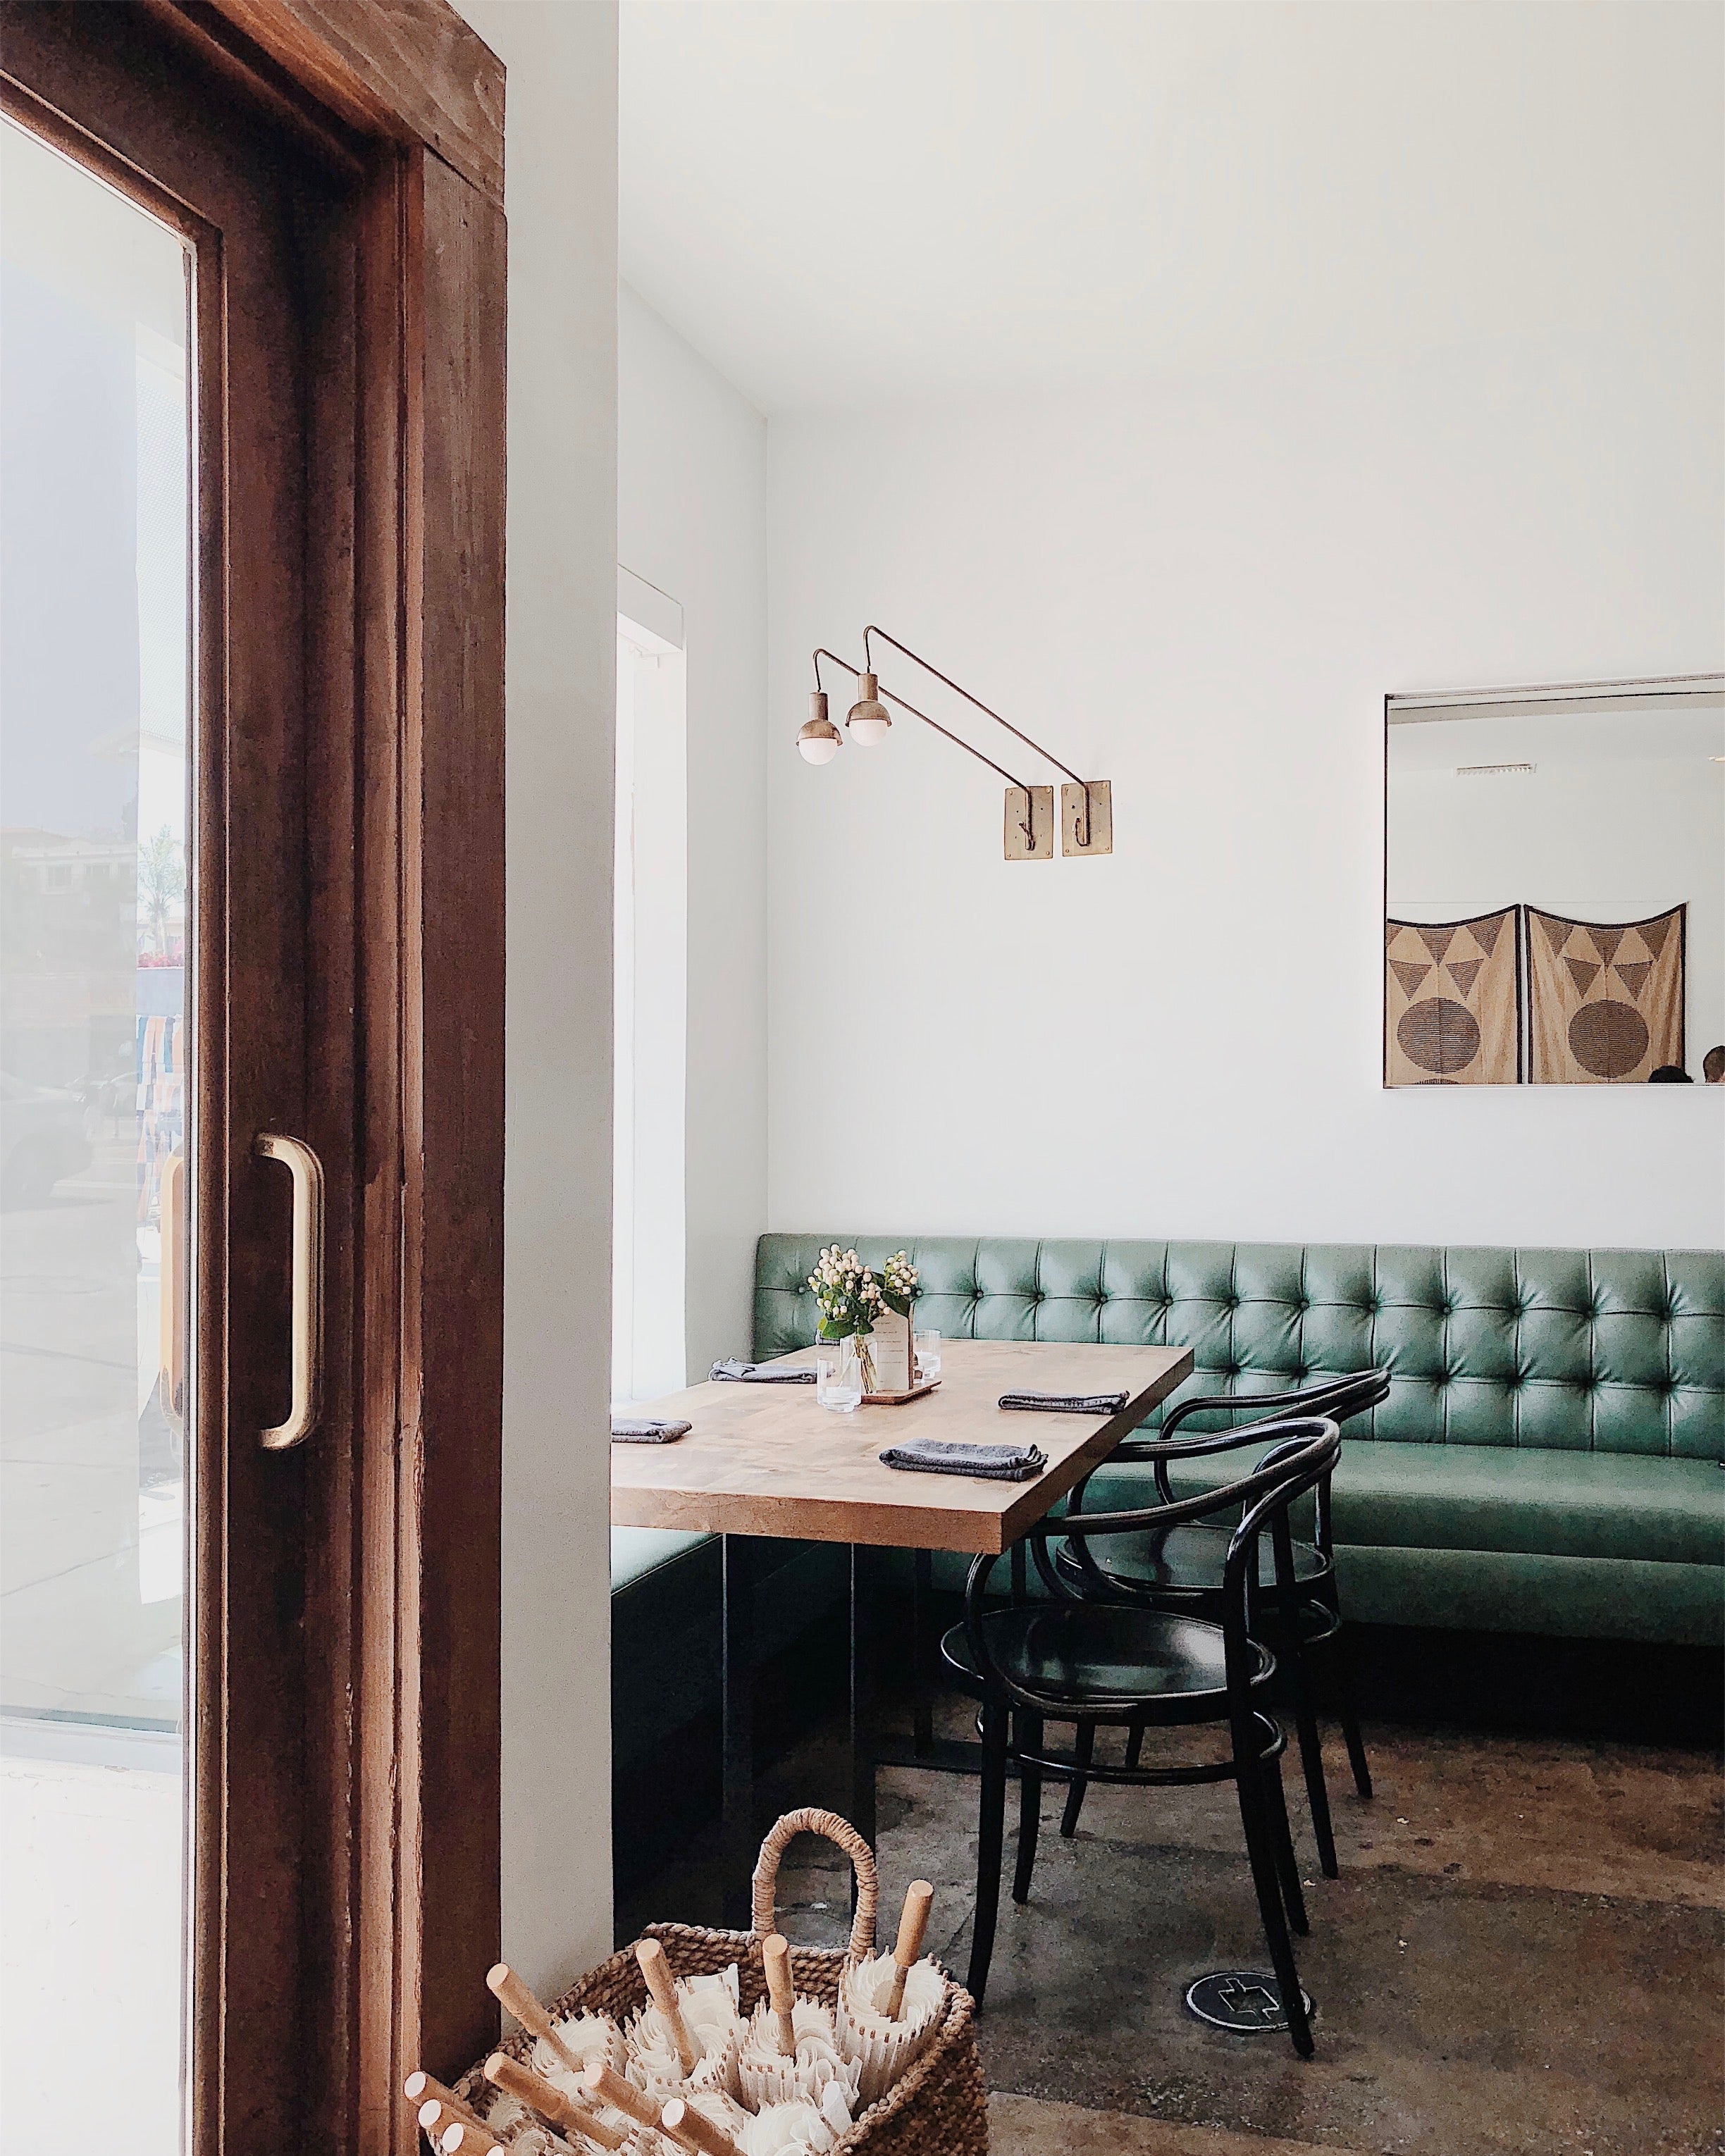
Use the grid on your iPhone (settings > camera > grid > toggle it on) to align the vertical lines of interior walls with the camera’s vertical lines.
Try thinking like an architect: everything is laid out in a straight, precise, and parallel grid, so if it matches up — your photo will be aligned.
— @nathanmmueller
02
Display Details

I make sure to pay attention to detail. Because we’re all snapping on our iPhones constantly, it feels less important to spend time composing a photo — the reality is just the opposite. Noticing how level the horizon is, how the light is hitting your subject, or how the image is being framed is a big deal. The tiniest details take a phone photo from being good to great...always look for that little something.
— @reema_desai
03
Create Space
.jpg)
Frame your subject so that you create blank space in the photo — this will create balance and harmony, and it gives the eye room to focus in on the subject. If you're having trouble creating space, just remember the rule of thirds (practice keeping your subject in 1/3 of the photo and blank space as the rest). Less is more is definitely the golden rule!
— @andreannu
04
Add Angles
+(1).jpg)
One of my favorite aspects of iPhone photography is how easy it is to capture different lighting situations and angles. Use your camera to explore many perspectives, like overhead, straight on, close up, and far away. Also, if you're shooting inside, try finding a sun patch, dark corner, or spot by the window, and see what light shows your subject best and creates the feeling you want to convey in your image.
— @jennyaconnors
05
Look for Layers
.jpg)
Incorporating layers is the easiest way to introduce depth to your photos. The quickest way to accomplish this is to have an element in the foreground that will contrast with the background. Tap on the brightest part of your image to force your phone to reset its autoexposure to a lower level. This will lead to more balance between your layers. Once you find the right setting, snap the photo, and then take it to an editing app to clean up the shadows and highlights.
— @eslee
06
Patience, please

Take your time — when capturing with your iPhone, don't be afraid to wait around for just the right moment. I like to wait for a passerby or car to cross the scene for a more dynamic photo. Using burst mode (by holding down your shutter button continually) will help ensure you get the perfect shot.
— @briancason
07
Tap to Expose
.jpg)
I try to capture moments that not only have good composition, but also great lighting. I try to get the right exposure by playing with the focus — tapping on different points of the shot to see how it affects the exposure of certain parts. It’s always better to correct a darker image with an editing app than to overexpose it and have a shot that’s burnt.
— @luismartinmendoza
08
Shape With Shadows
Edit+2.jpg)
When taking a photo, I often look for interesting shapes that are made by shadows. The contrast found in the light and dark adds dimension and richness to photos. Train your eye to follow shadows (look for those leading lines!), and your photos will stand out.
— @anyeske
Follow Along with Our Contributors
@nathanmmueller / @reema_desai / @andreannu/ @eslee / @anyeske / @jennyaconnors / @briancason / @luismartinmendoza
+2.jpg)


