


the essential guide to
Holiday
cards
behind the design
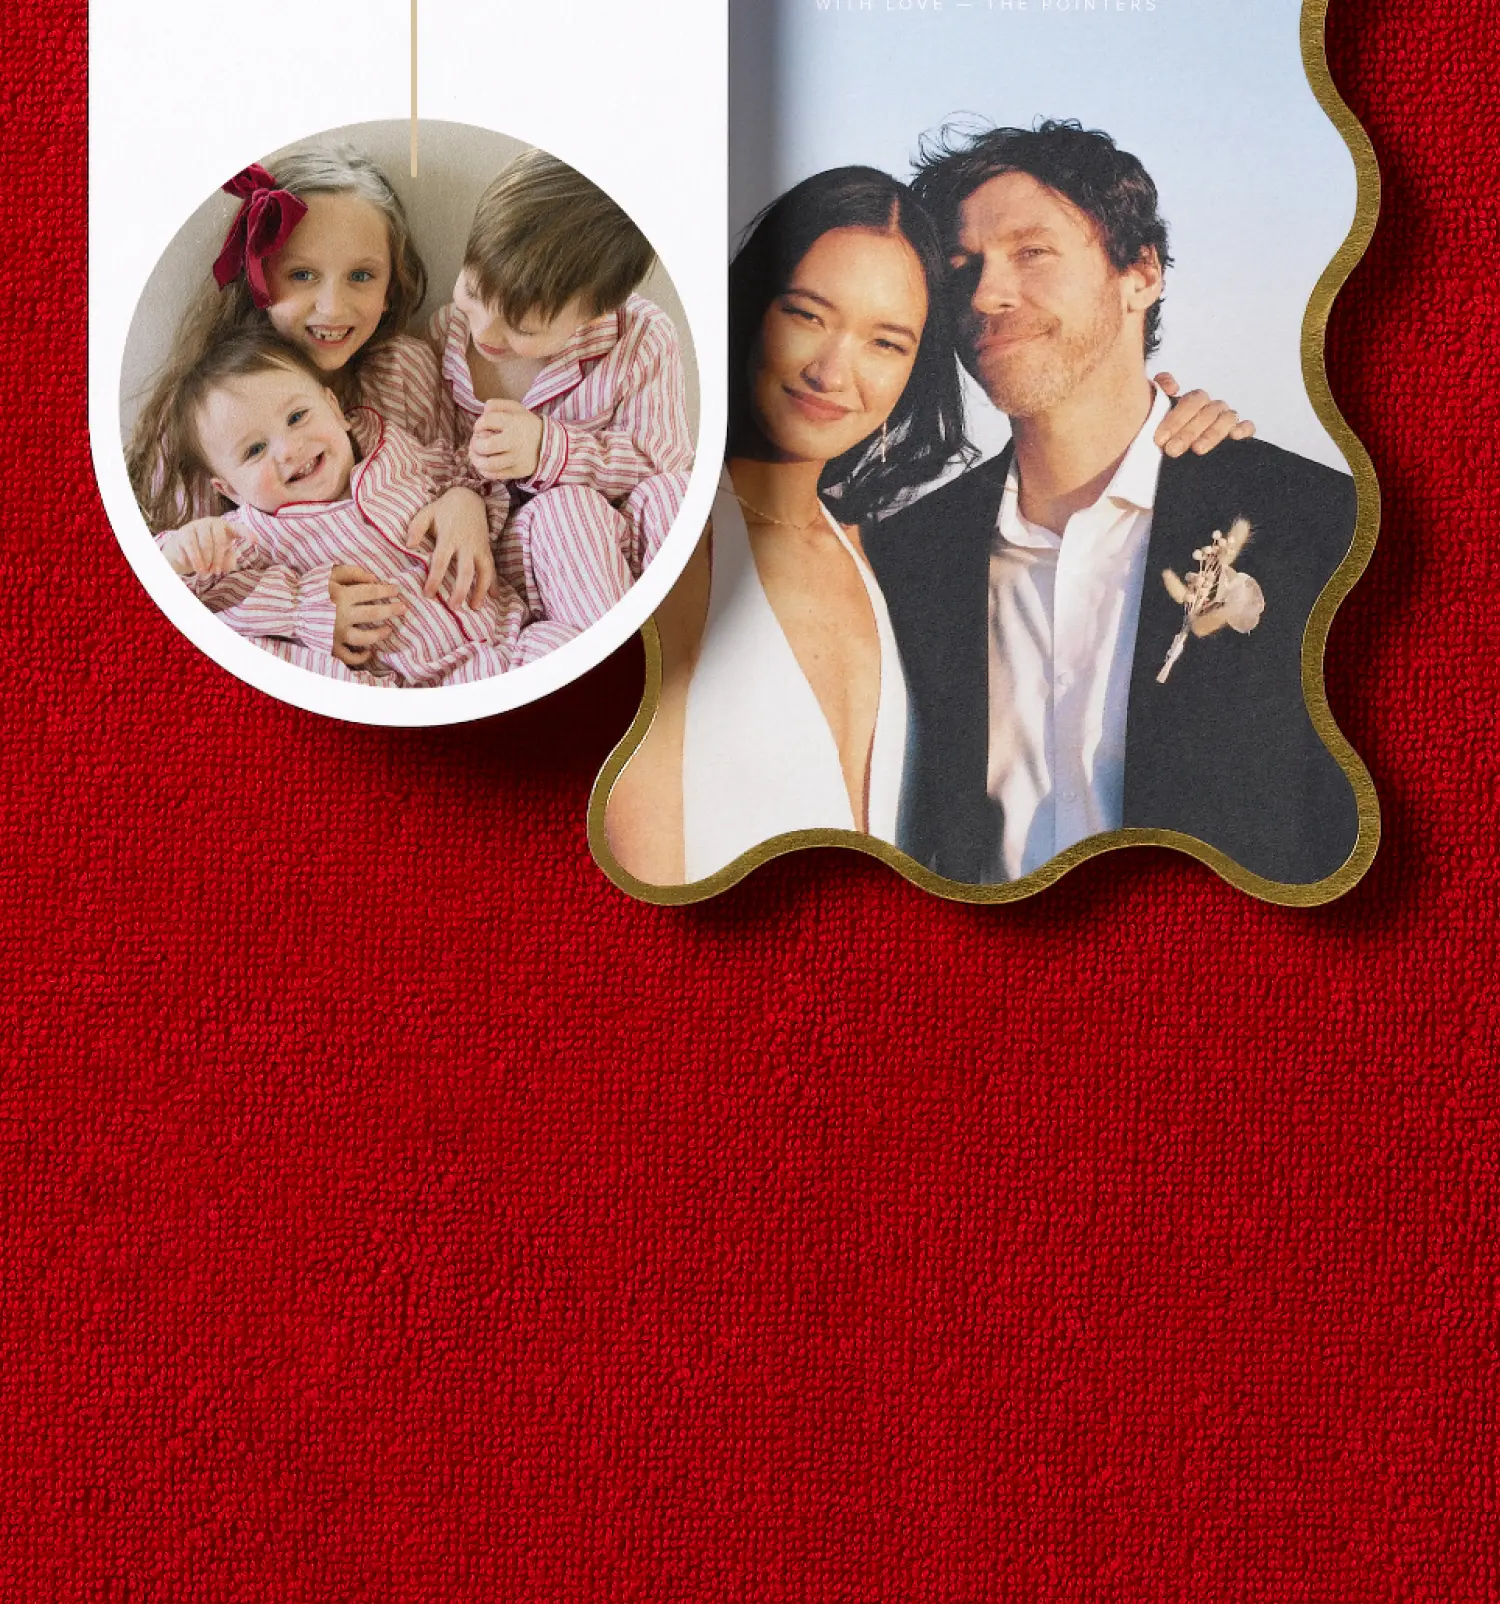
card shapes
Printing Styles
paper types
envelope addressing
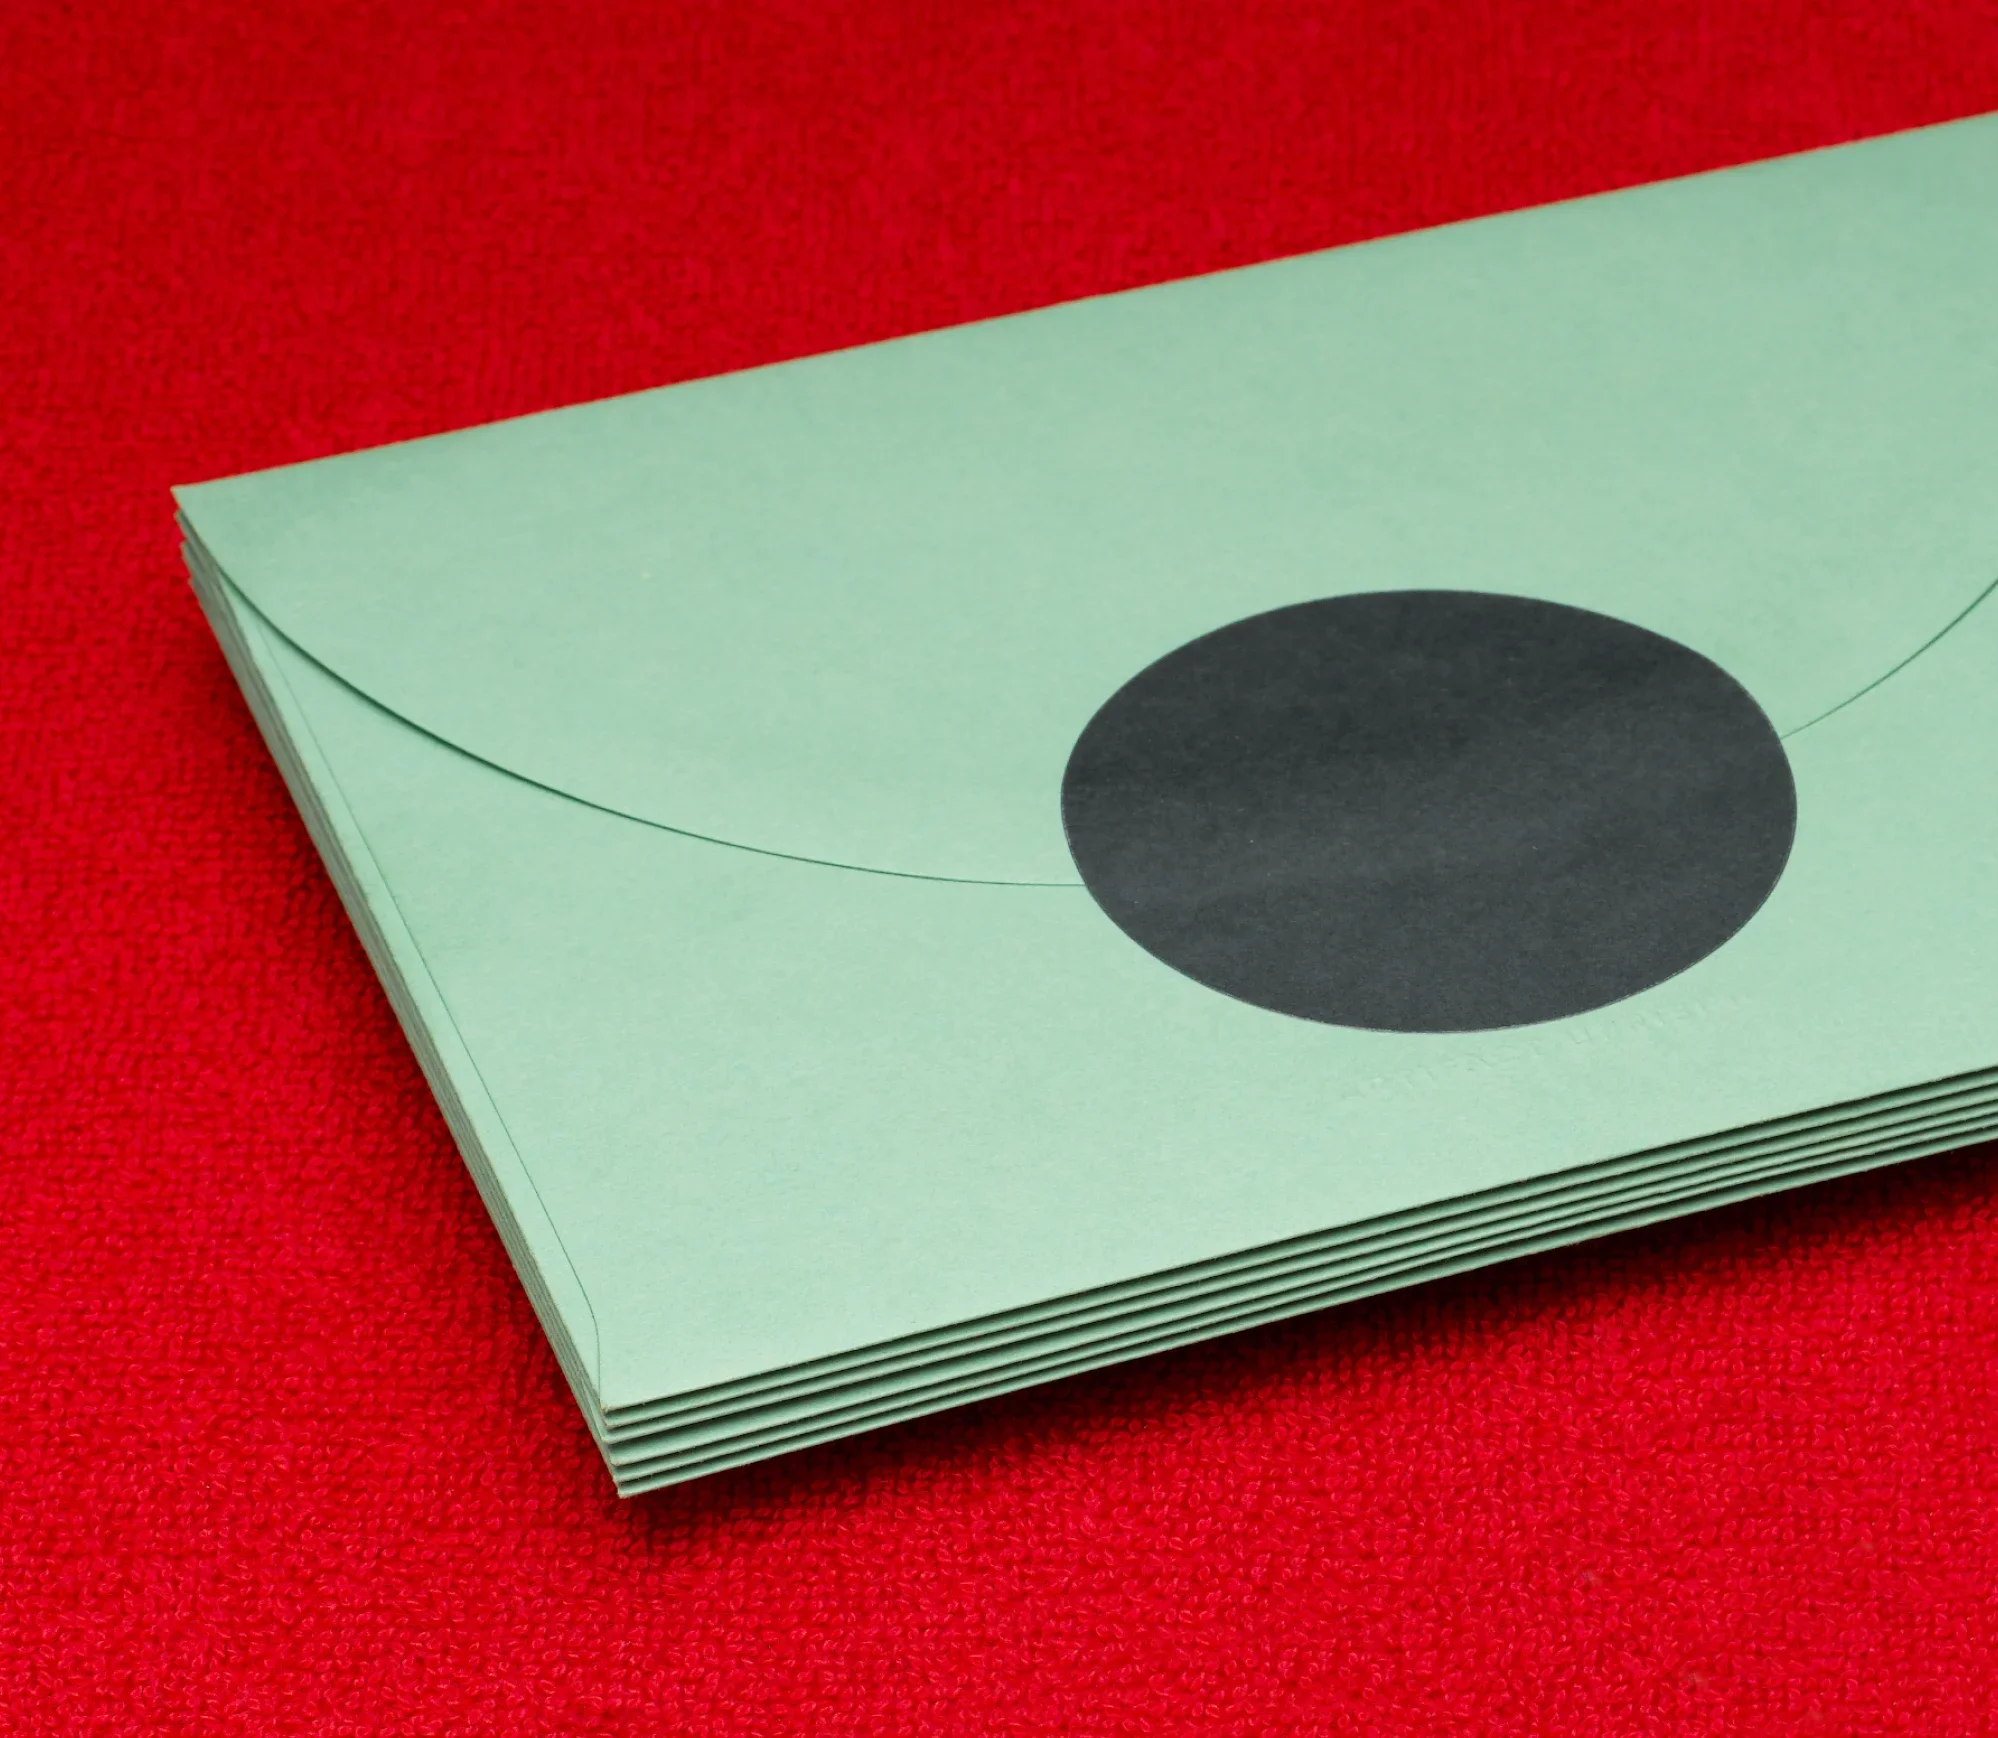
Festive Finishes
new cards


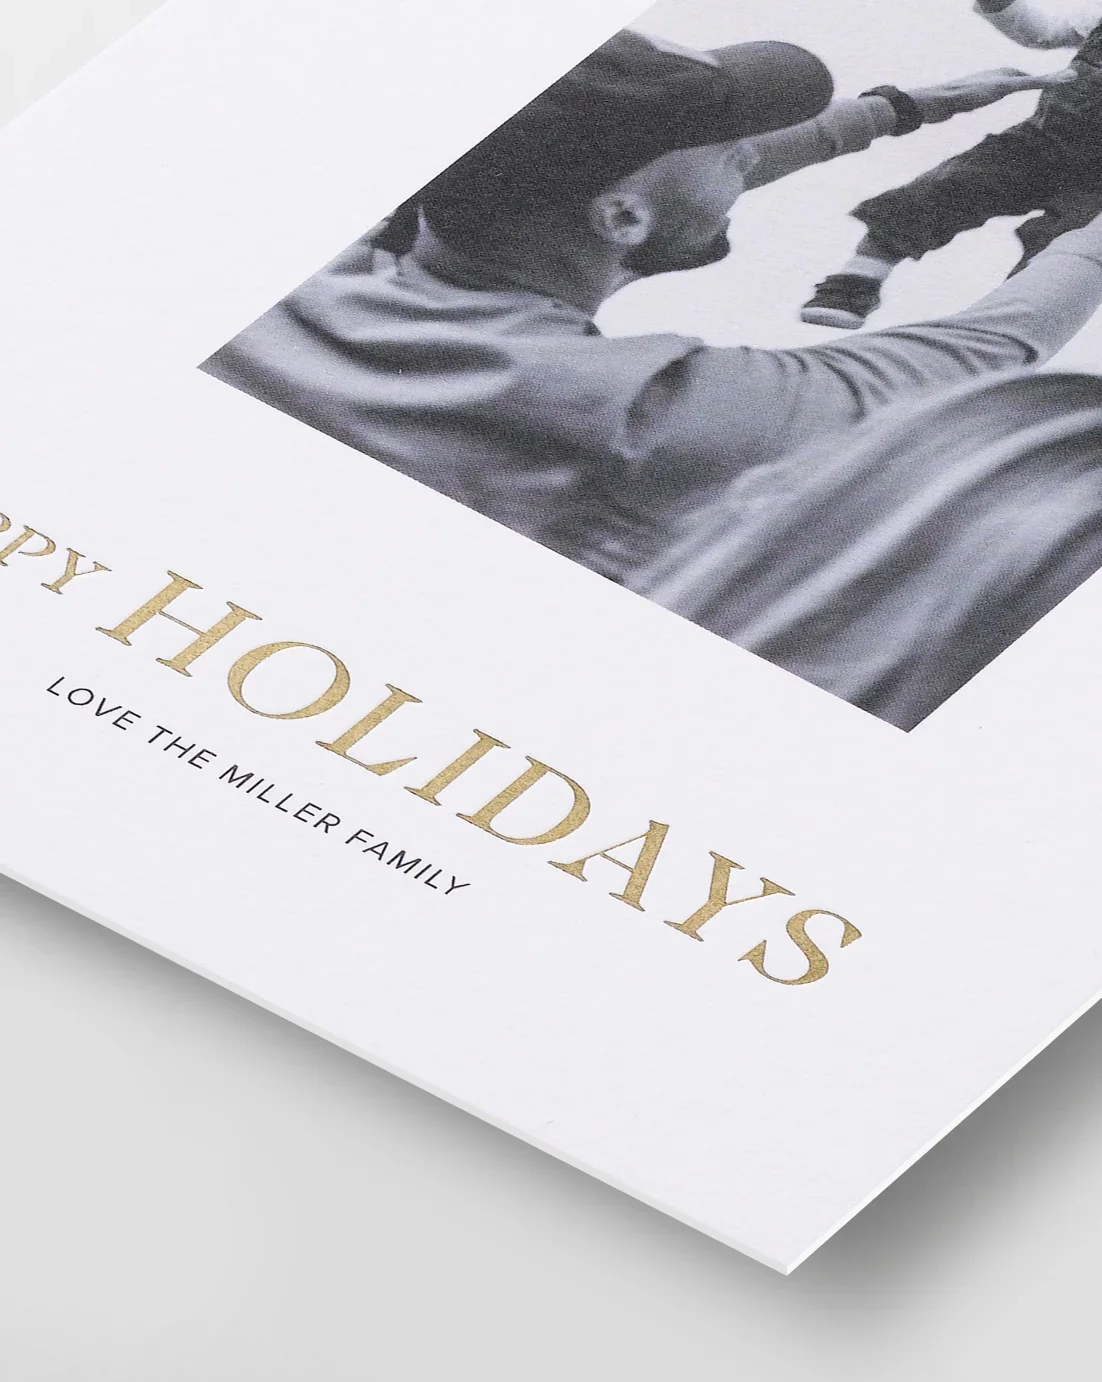
Beauty in the details
Behind the Design
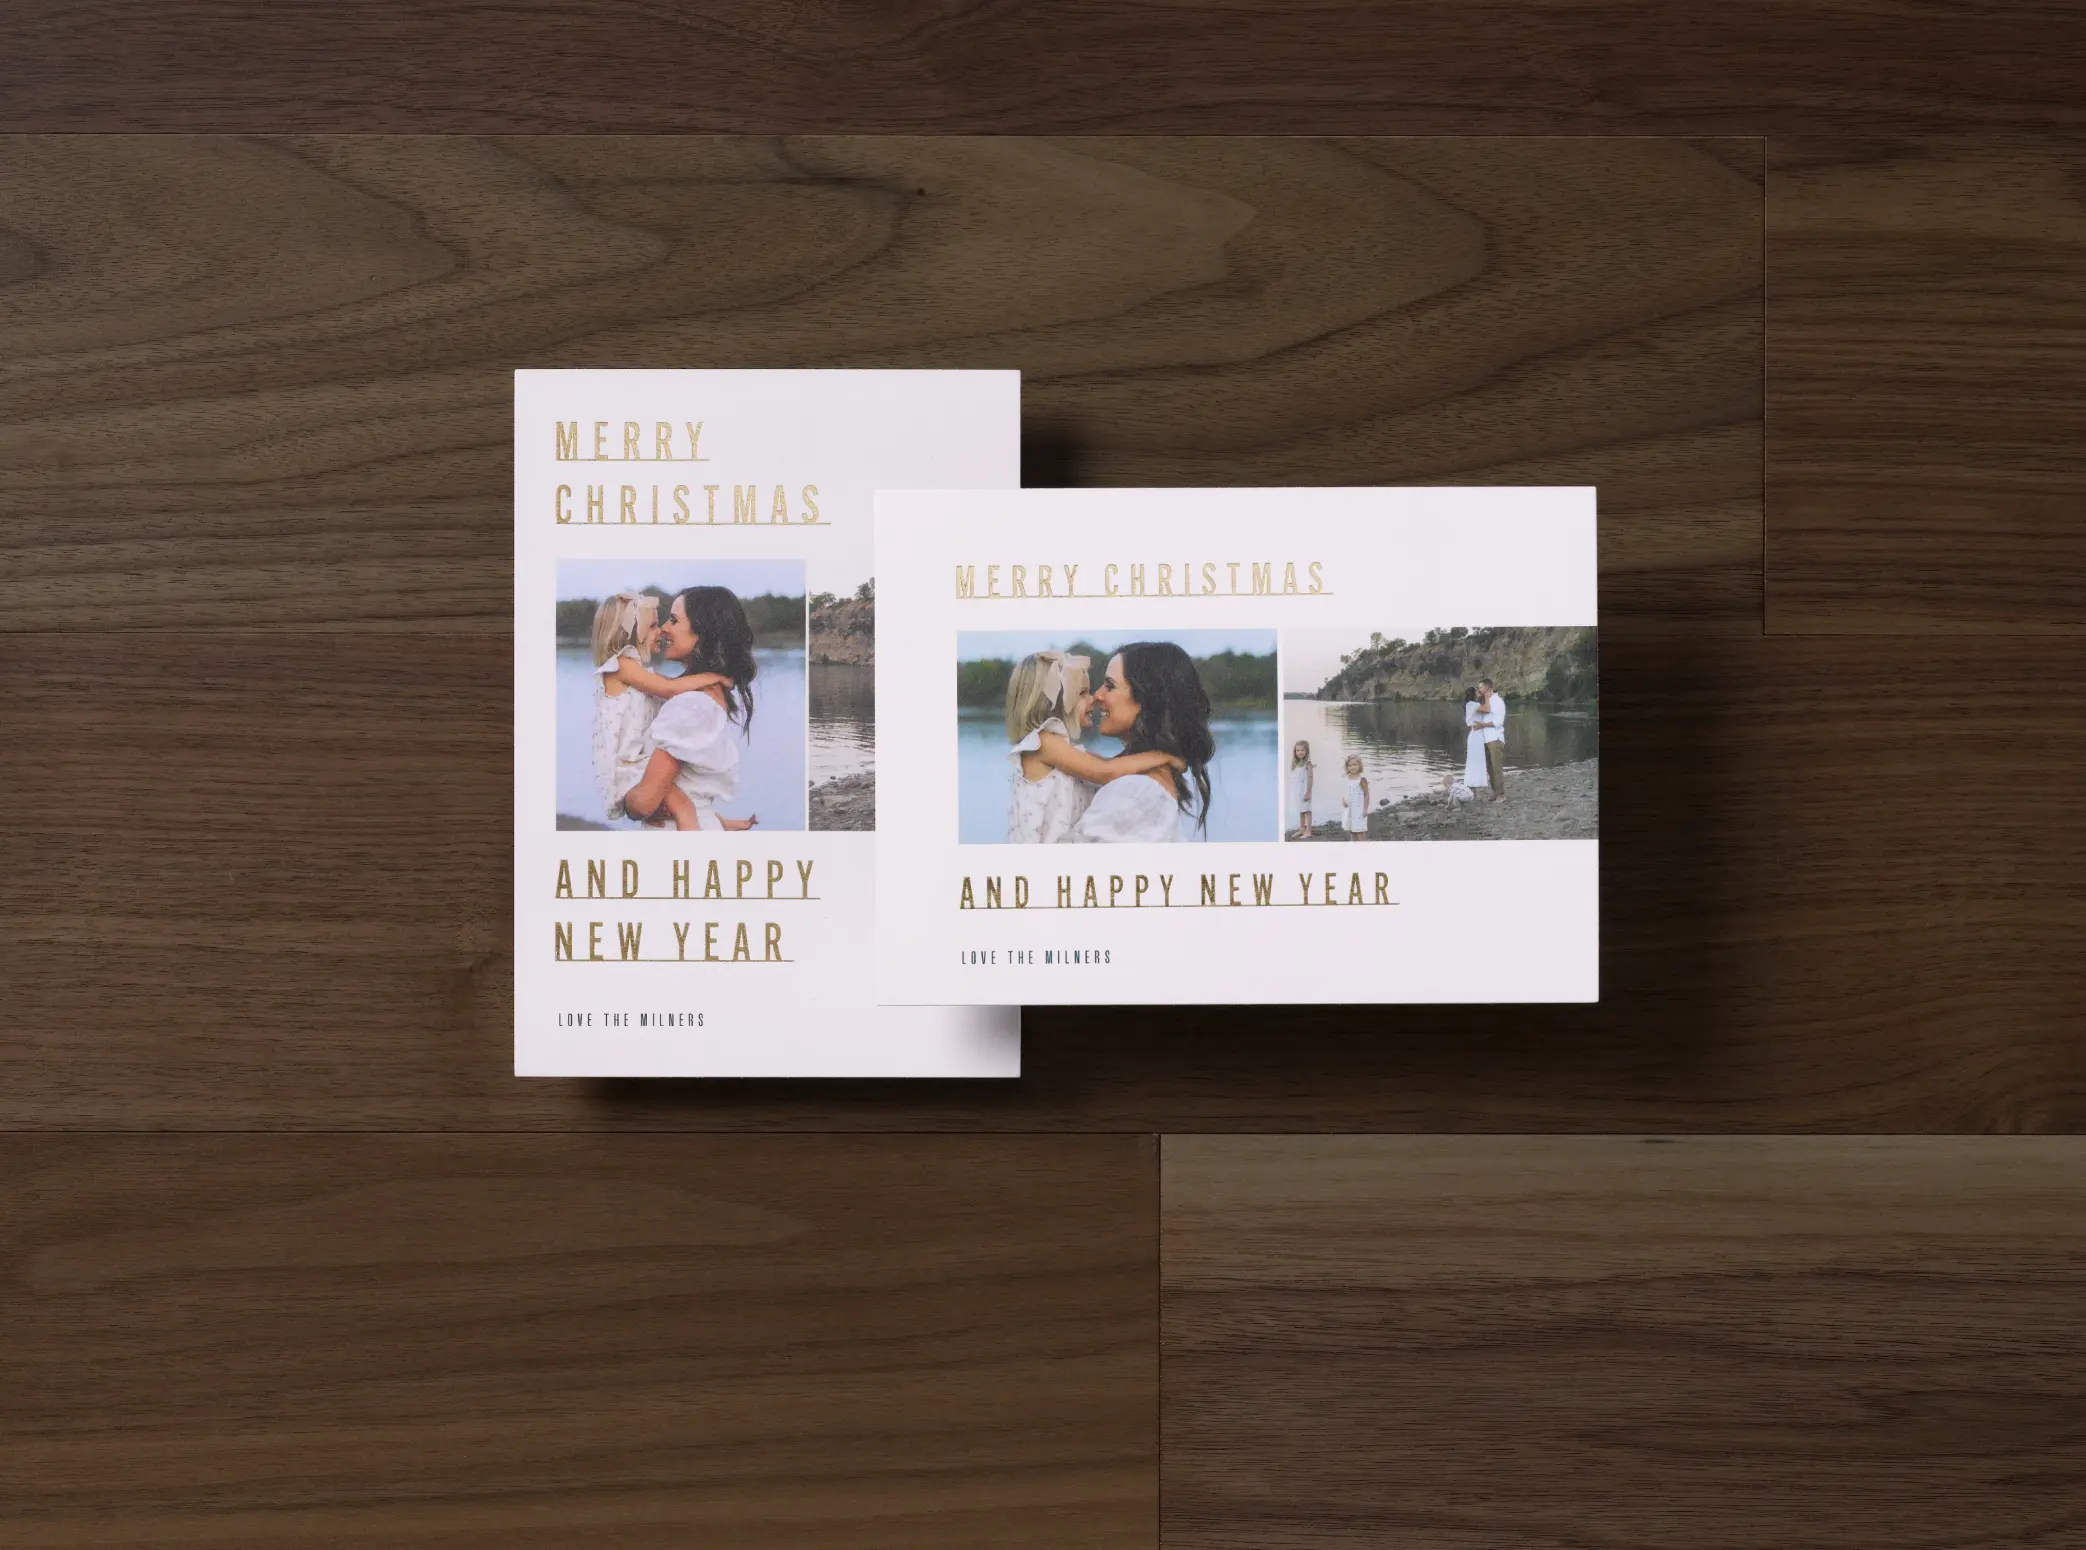
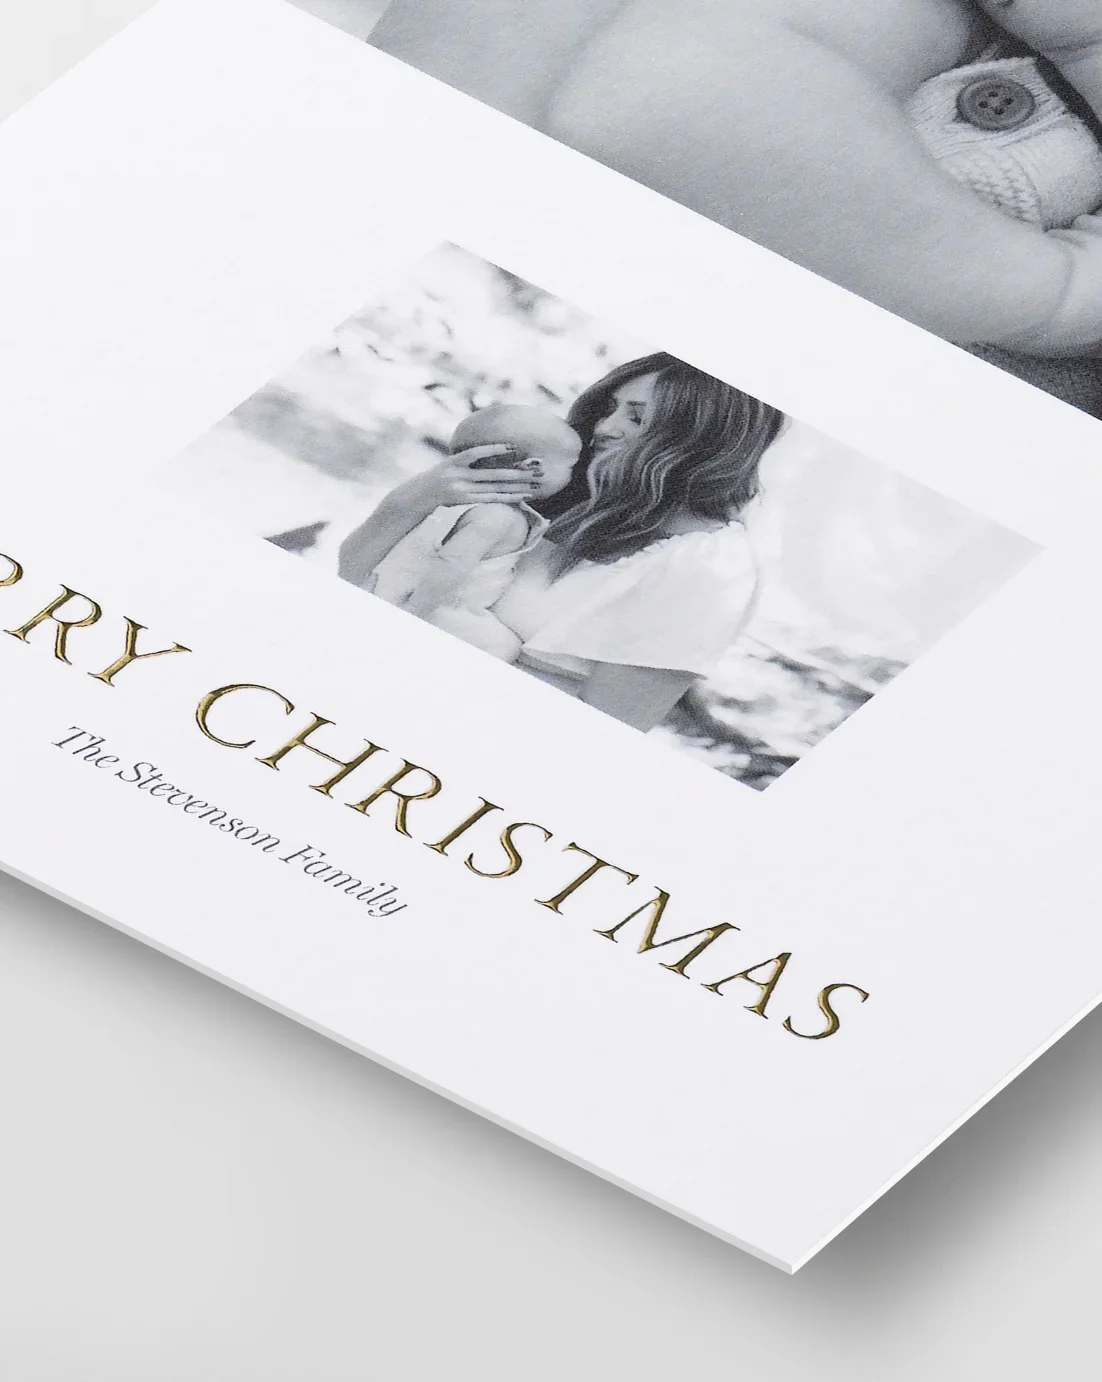
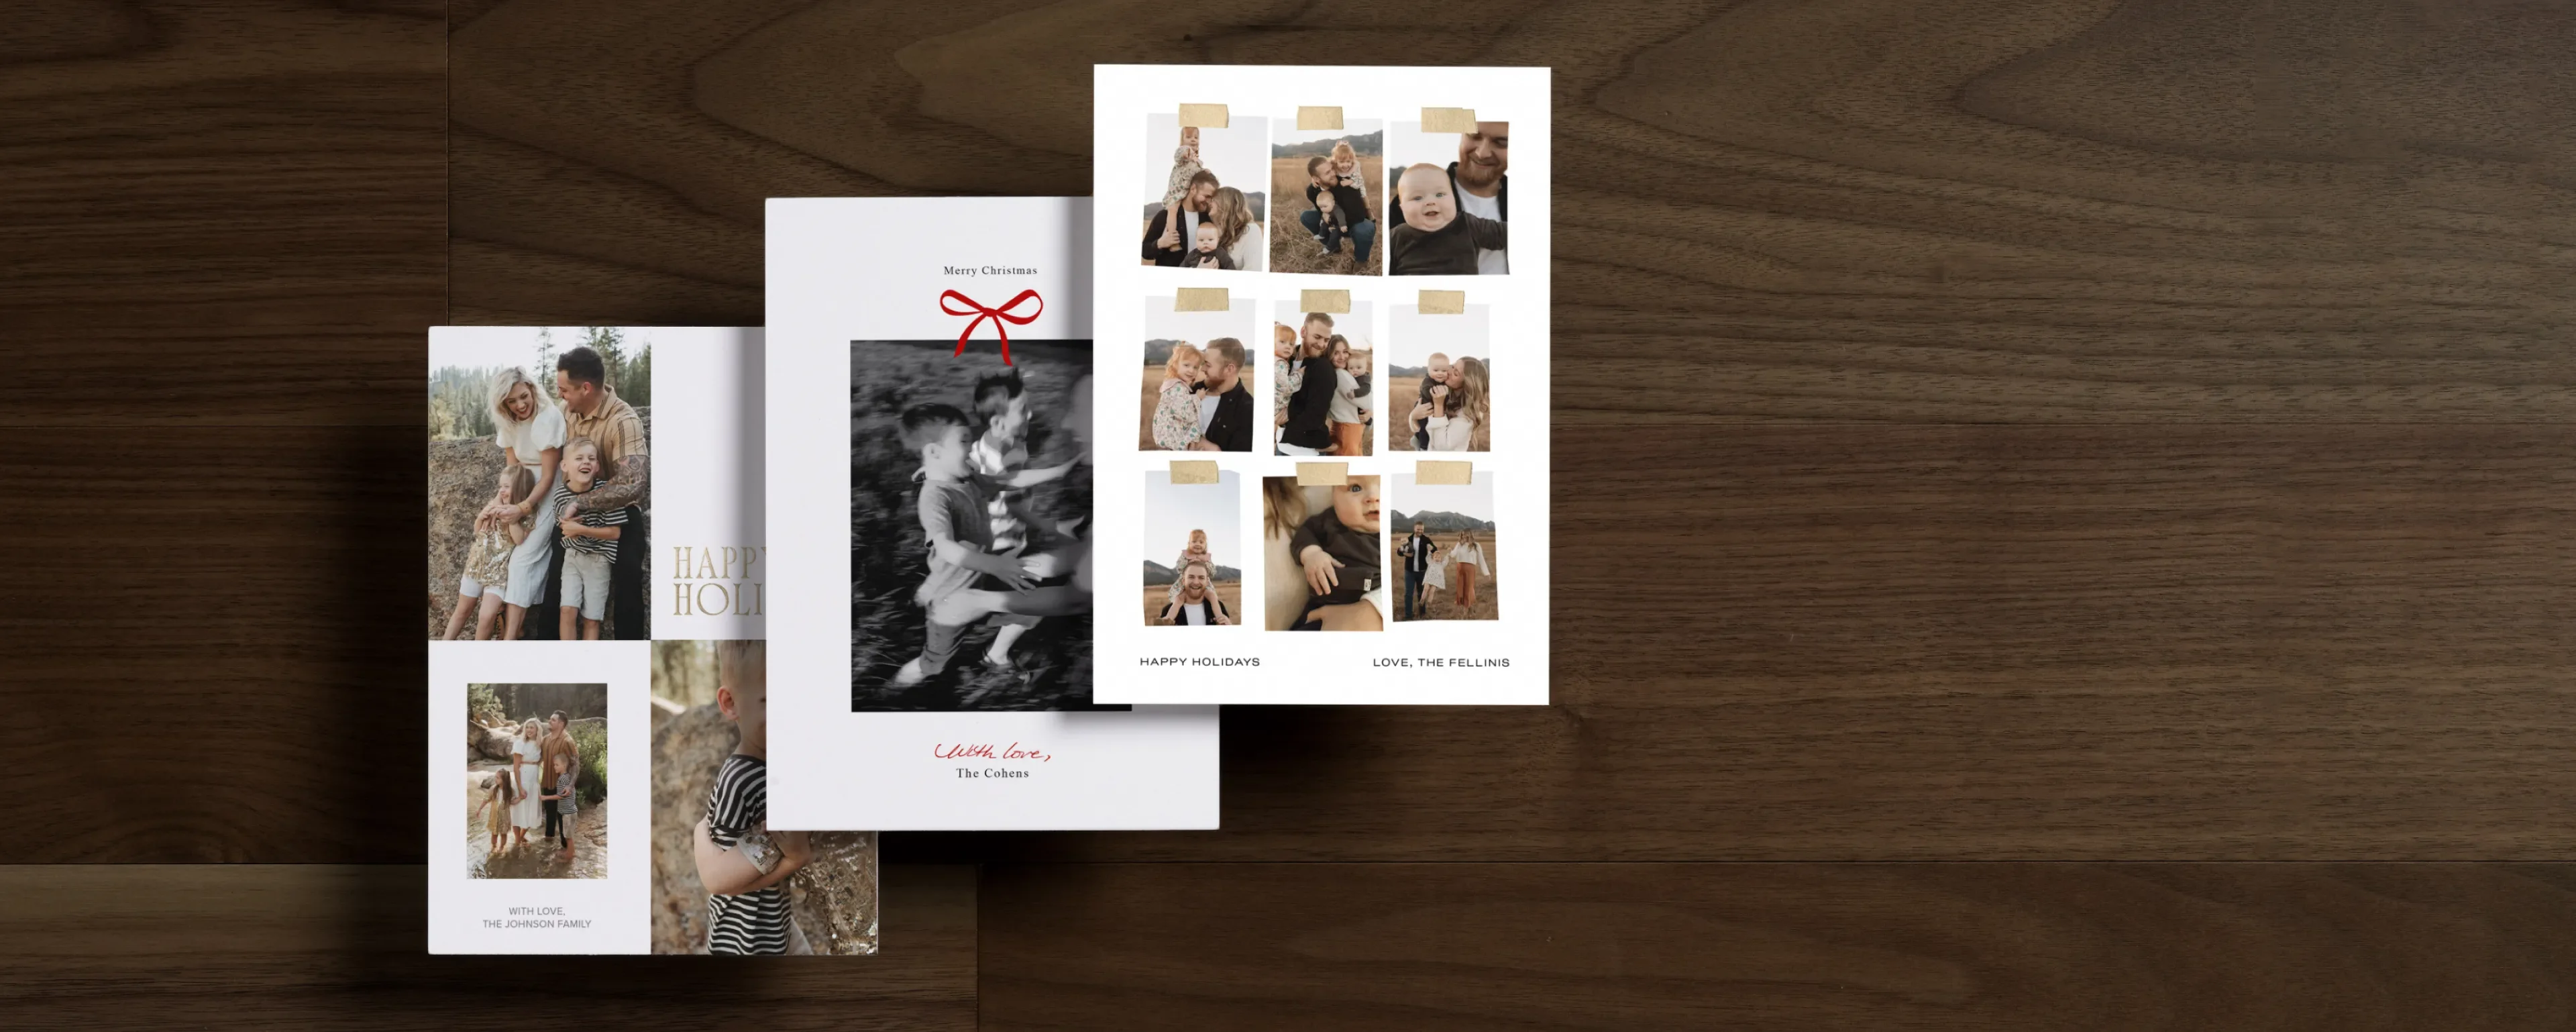
Our holiday cards strike the perfect balance between unique layouts,
beautiful typography, and luxurious white space. Every element is
thoughtfully curated to capture the joy of this holiday season.
shop holiday cards
Card Shapes


Printing Styles
Shop all cards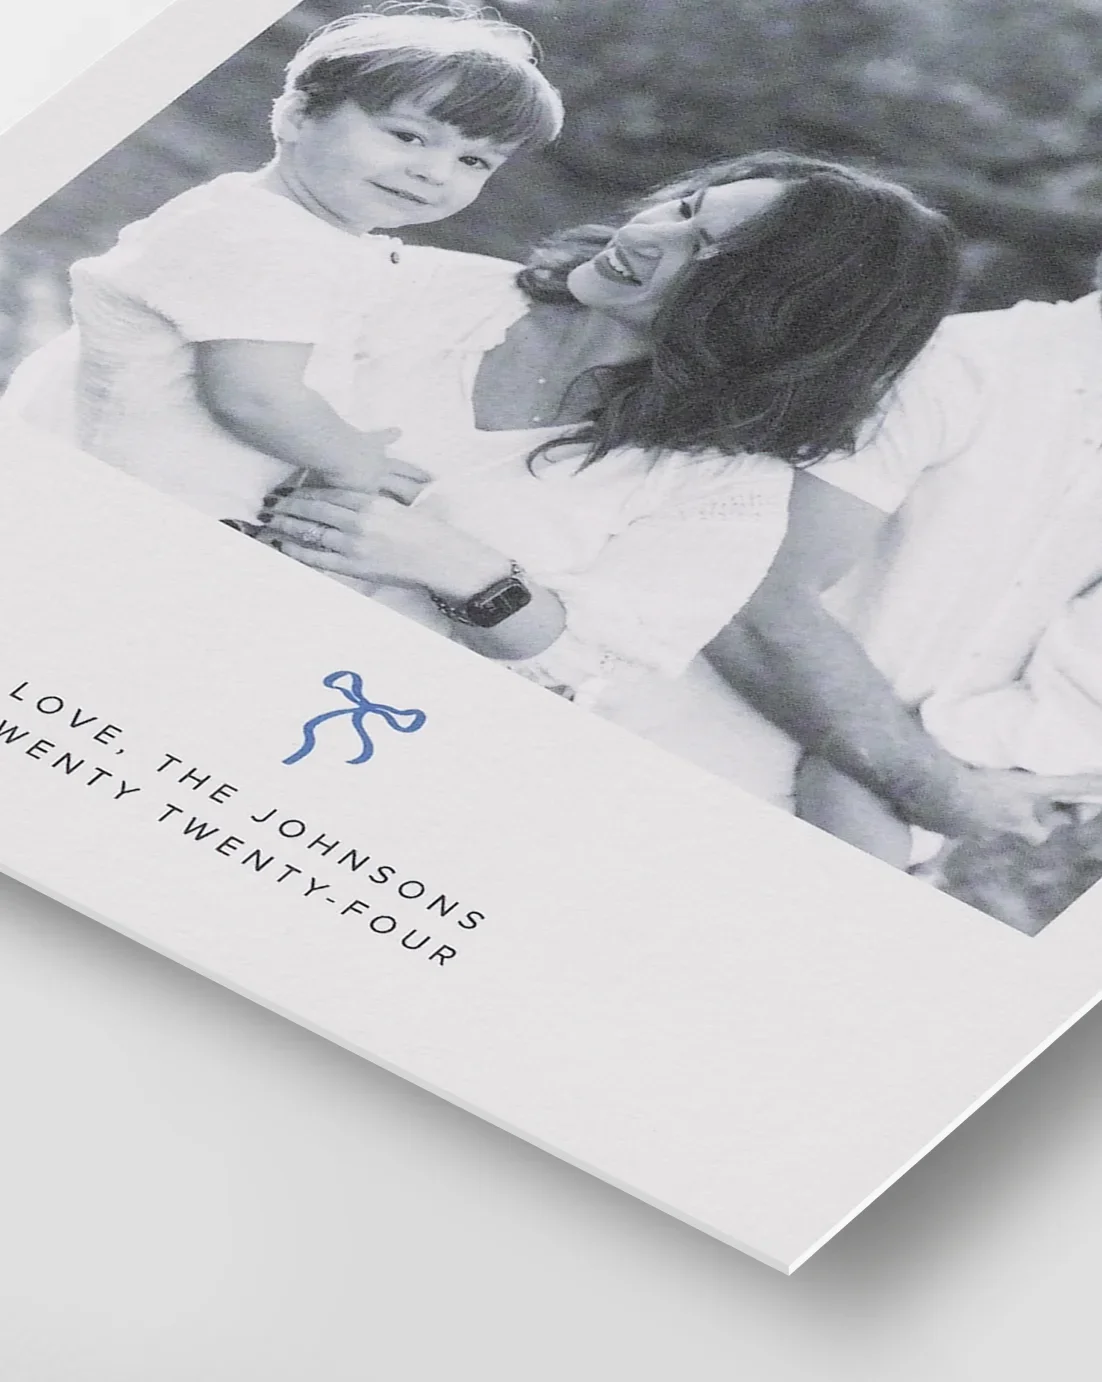
Standard
Uses high-quality inks to print photos
and text with vibrant, accurate color
and text with vibrant, accurate color
Shop NOW
Customizable Foil
Real foil adheres to text to bring a radiant,
slightly raised texture to your greeting
slightly raised texture to your greeting
Shop NOW
Foil-Stamped
Real foil is heat-pressed into the paper to create
a luminous, debossed greeting
a luminous, debossed greeting
Shop NOW


pearlescent
Premium paper with a shimmery finish
that will dazzle you and your recipients.
that will dazzle you and your recipients.
Classic recycled
100% recycled paper with display-worthy
weight and a matte, eggshell-textured finish.
weight and a matte, eggshell-textured finish.
Premium recycled
Our thickest paper, with heirloom quality
and our signature matte finish.
and our signature matte finish.


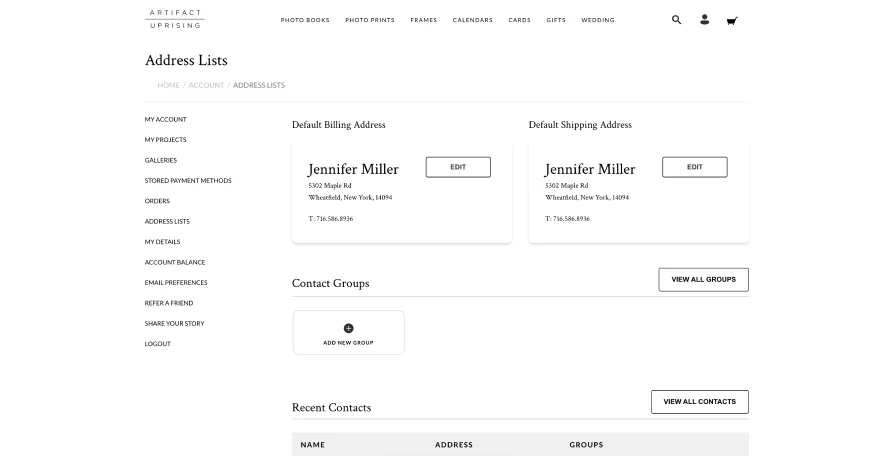
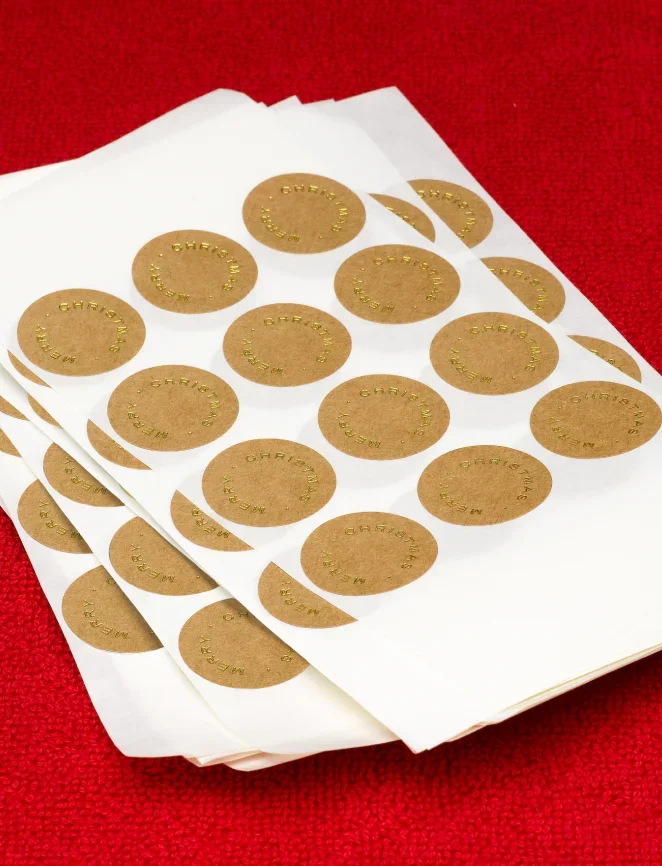
Let Us Address It
Easy for you, memorable for them. Add recipient and return addresses or
return address only.

how to add envelope addressing
step 01.
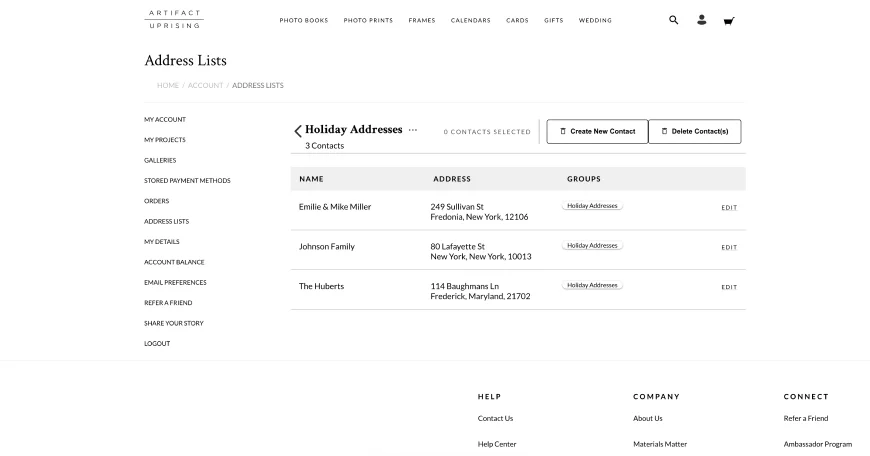
Go to the My Account page
and click on “Address Lists”
in the left side navigation.
and click on “Address Lists”
in the left side navigation.
step 02.
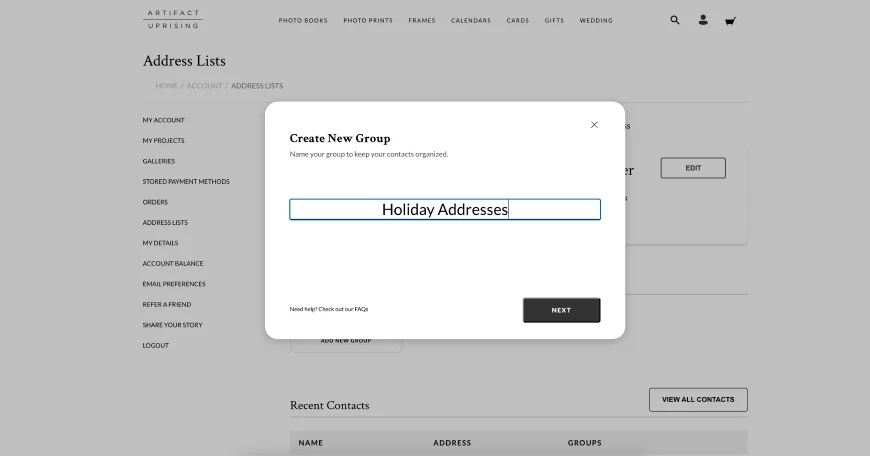
Under “Contact Groups,”
click on “add new group” and
create a name for the group.
click on “add new group” and
create a name for the group.
step 03.
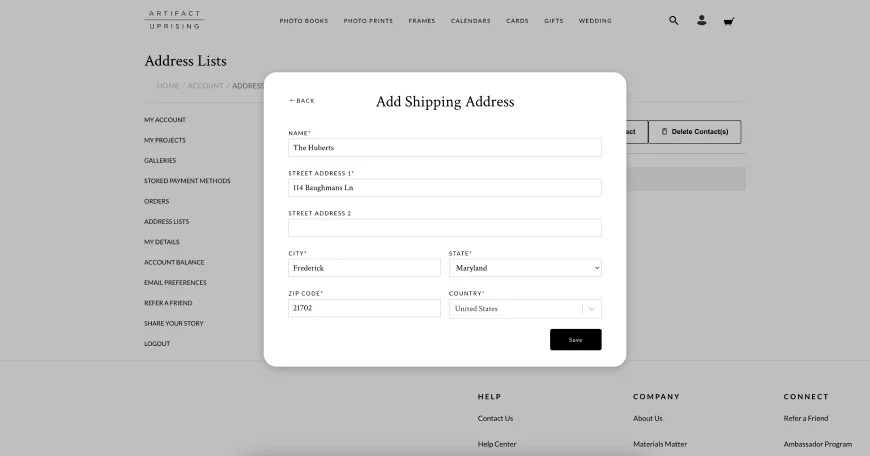
Use our .CSV template to upload
your contacts or add new
contacts manually into the
address module.
your contacts or add new
contacts manually into the
address module.
step 04.
Once all of your desired
recipients have been added
to the contact group, it is
time to choose your card.
recipients have been added
to the contact group, it is
time to choose your card.
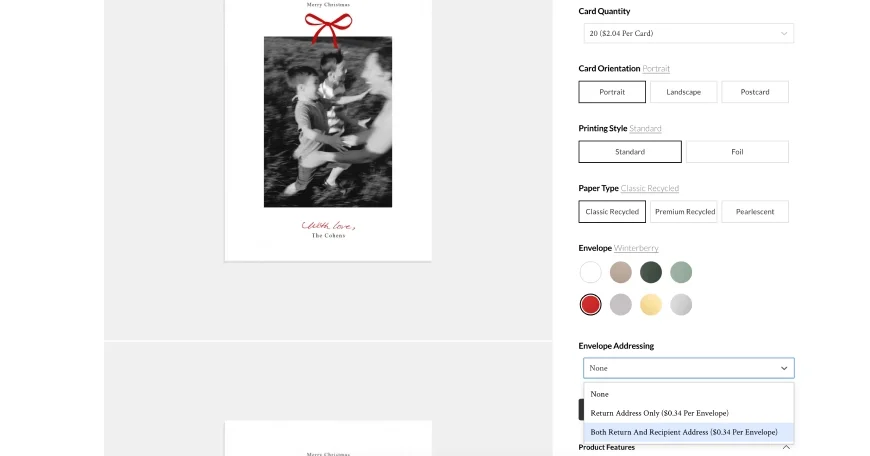
step 05.
Once you choose a holiday
card, select “Both Return And
Recipient Addresses” in the drop
down menu.
card, select “Both Return And
Recipient Addresses” in the drop
down menu.
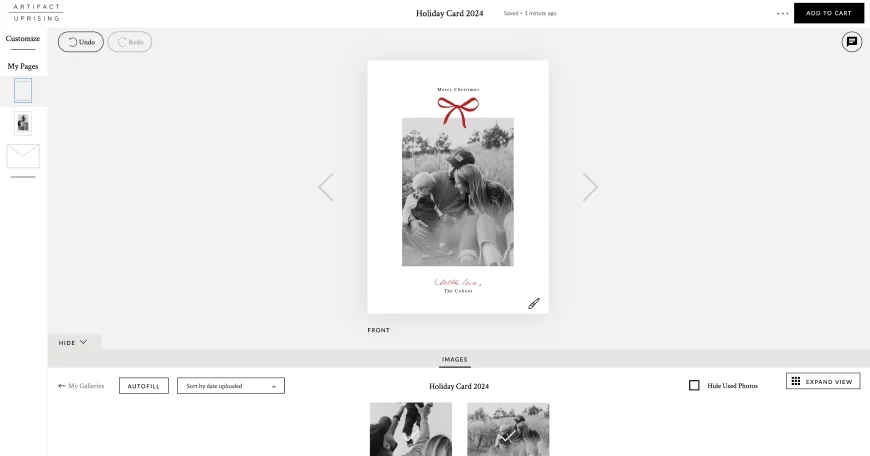
step 06.
After designing your card in the
editor, select the envelope icon
under “My Pages” in the left side
navigation.
editor, select the envelope icon
under “My Pages” in the left side
navigation.
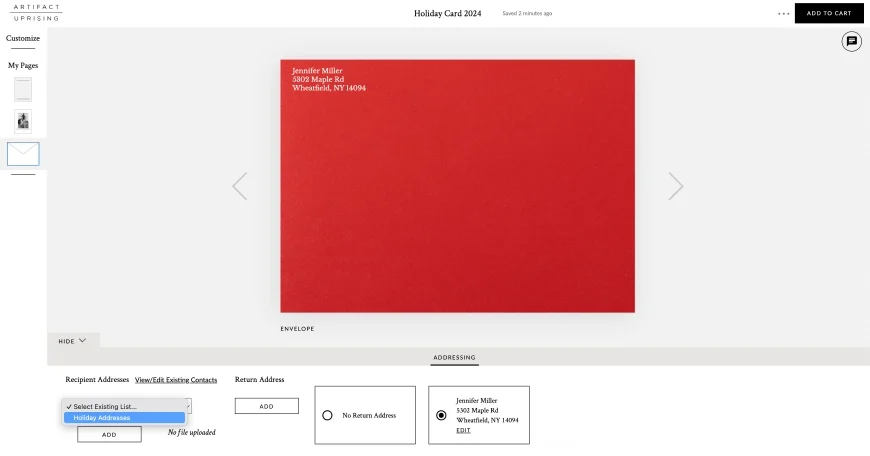
step 07.
In the “Addressing” drawer along
the bottom of the editor, click
“Select Existing List” and choose
the contact group you created.
the bottom of the editor, click
“Select Existing List” and choose
the contact group you created.
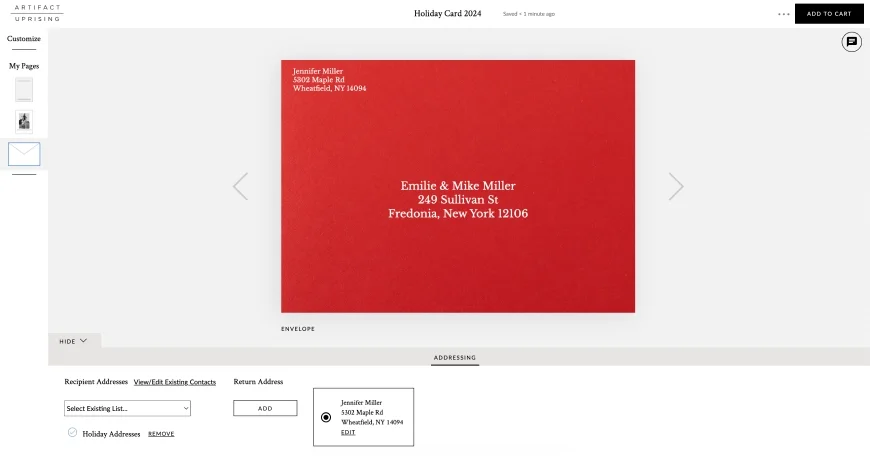
step 08.
You will see the first address
of your contact group added
to your preview. Now you’re
ready to add the card to your cart!
of your contact group added
to your preview. Now you’re
ready to add the card to your cart!
step 01.
Go to the My Account page
and click on “Address Lists”
in the left side navigation.
and click on “Address Lists”
in the left side navigation.
step 02.
Under “Contact Groups,”
click on “add new group” and
create a name for the group.
click on “add new group” and
create a name for the group.
step 03.
Use our .CSV template to upload
your contacts or add new
contacts manually into the
address module.
your contacts or add new
contacts manually into the
address module.
step 04.
Once all of your desired
recipients have been added
to the contact group, it is
time to choose your card.
recipients have been added
to the contact group, it is
time to choose your card.
step 05.
Once you choose a holiday
card, select “Both Return And
Recipient Addresses” in the drop
down menu.
card, select “Both Return And
Recipient Addresses” in the drop
down menu.
step 06.
After designing your card in the
editor, select the envelope icon
under “My Pages” in the left side
navigation.
editor, select the envelope icon
under “My Pages” in the left side
navigation.
step 07.
In the “Addressing” drawer along
the bottom of the editor, click
“Select Existing List” and choose
the contact group you created.
the bottom of the editor, click
“Select Existing List” and choose
the contact group you created.
step 08.
You will see the first address
of your contact group added
to your preview. Now you’re
ready to add the card to your cart!
of your contact group added
to your preview. Now you’re
ready to add the card to your cart!

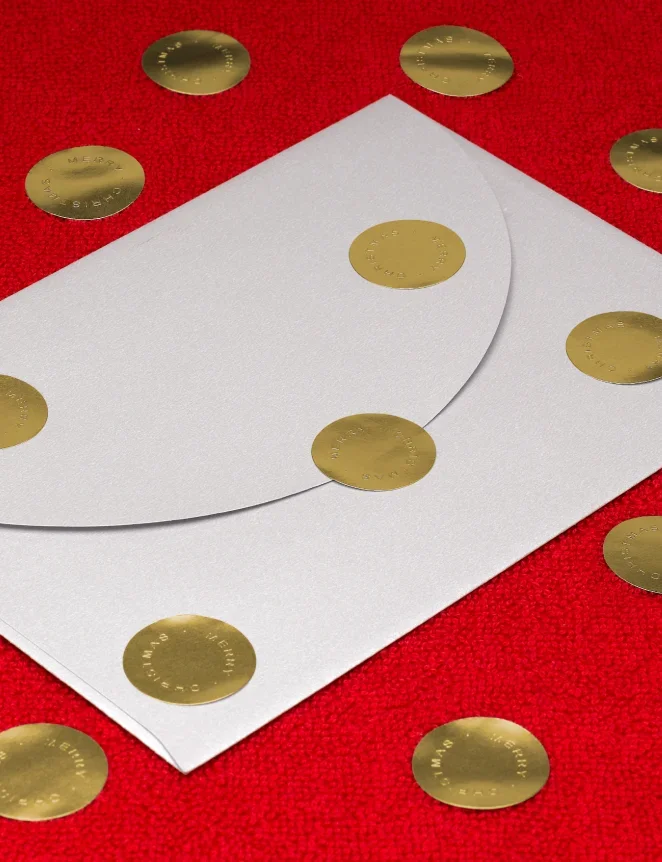
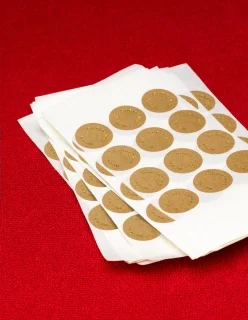
signed
SEALED
delivered
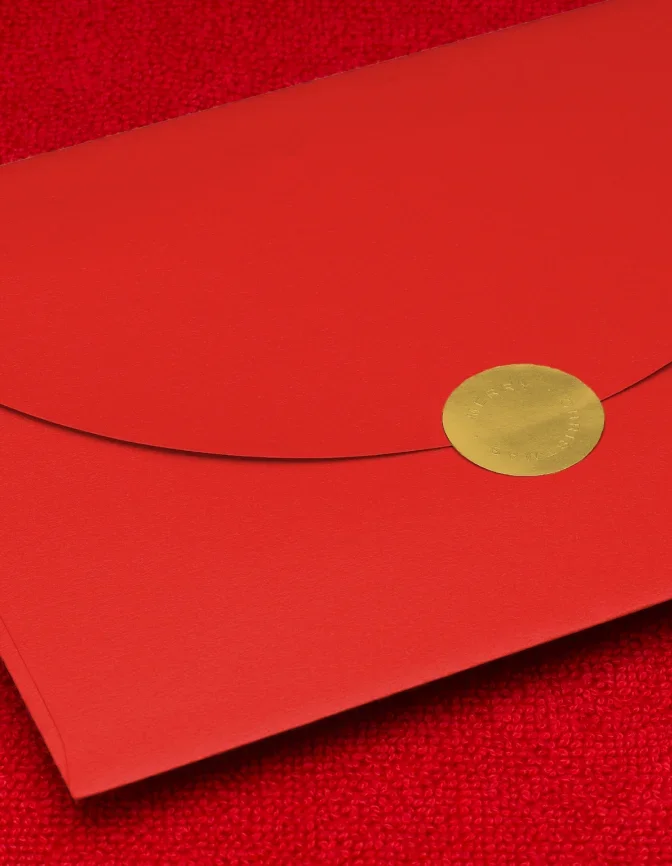
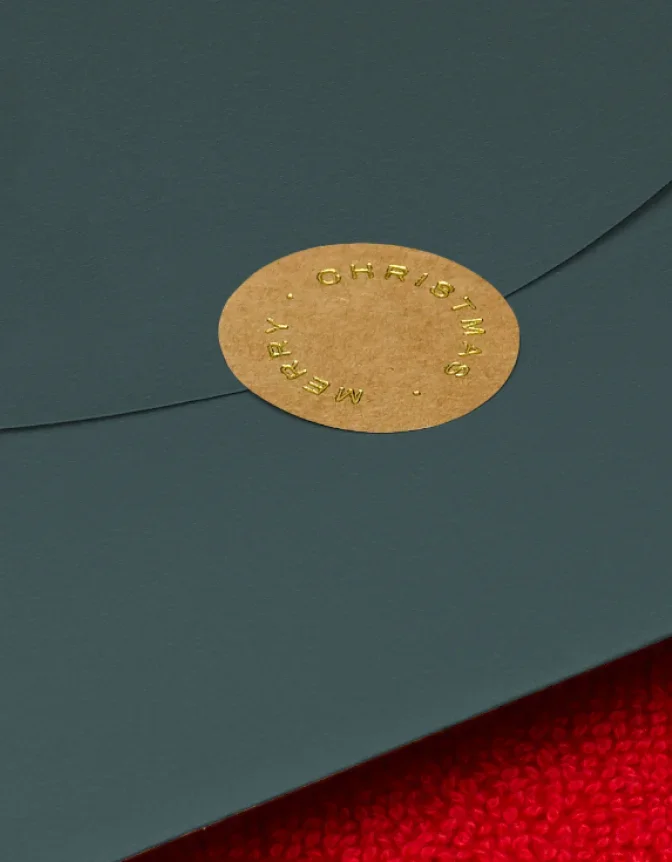
Choose from three new envelope seal
designs for the perfect finishing touch.
Explore Envelope Seals
designs for the perfect finishing touch.
signed
SEALED
delivered
Choose from three new envelope seal
designs for the perfect finishing touch.
Explore Envelope Seals
designs for the perfect finishing touch.
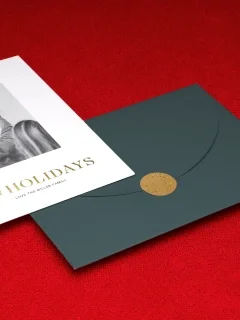


mail the meaningful
the 2024 CARD
collection
2024 Holiday Card
Collection
Create a custom card to share with your nearest & dearest
— because there are some things only photos can say.
Explore New Designs
— because there are some things only photos can say.
Holiday Photo Cards That Stand Out
Spread joy this holiday season by sharing a Christmas card with your friends and
family. Our beautifully designed holiday card collection offers a range of happy
greetings, paper types, single- and multi-photo layouts, shapes, and foil elements
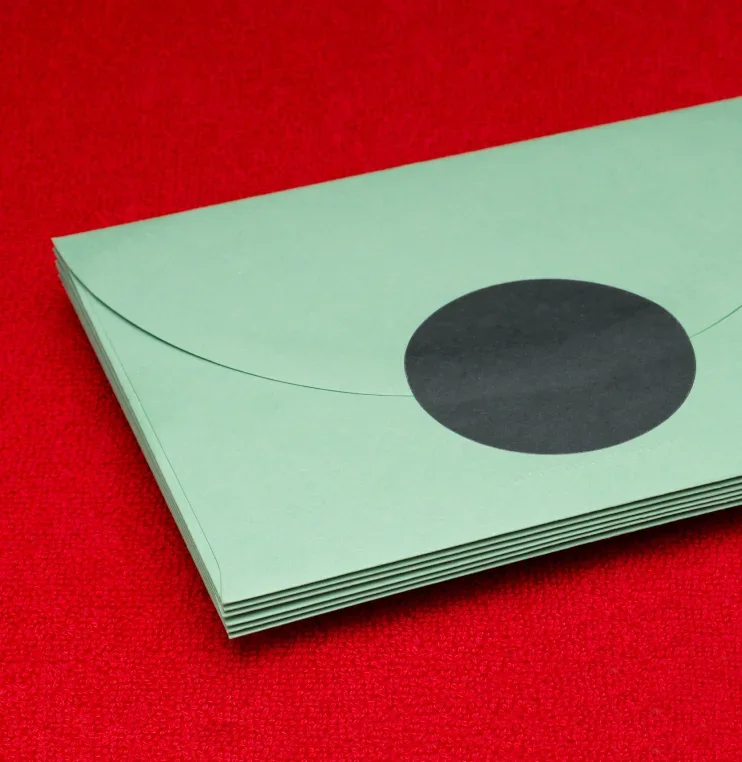
to help you personalize a unique photo card. Custom holiday cards include a variety
of colored envelopes to complement your design and the option to add envelope seals
for a polished look. Our seamless envelope addressing experience makes mailing easy
for you and memorable for them, giving your card that elevated final touch.
To make the process even simpler, we’ve created a timeline and guide for creating the perfect card. Tell the story of your year by customizing your holiday card from front to back — because there are some things only photos can say.
To make the process even simpler, we’ve created a timeline and guide for creating the perfect card. Tell the story of your year by customizing your holiday card from front to back — because there are some things only photos can say.