Gallery Wall Layouts
Layout 01
The Triptych
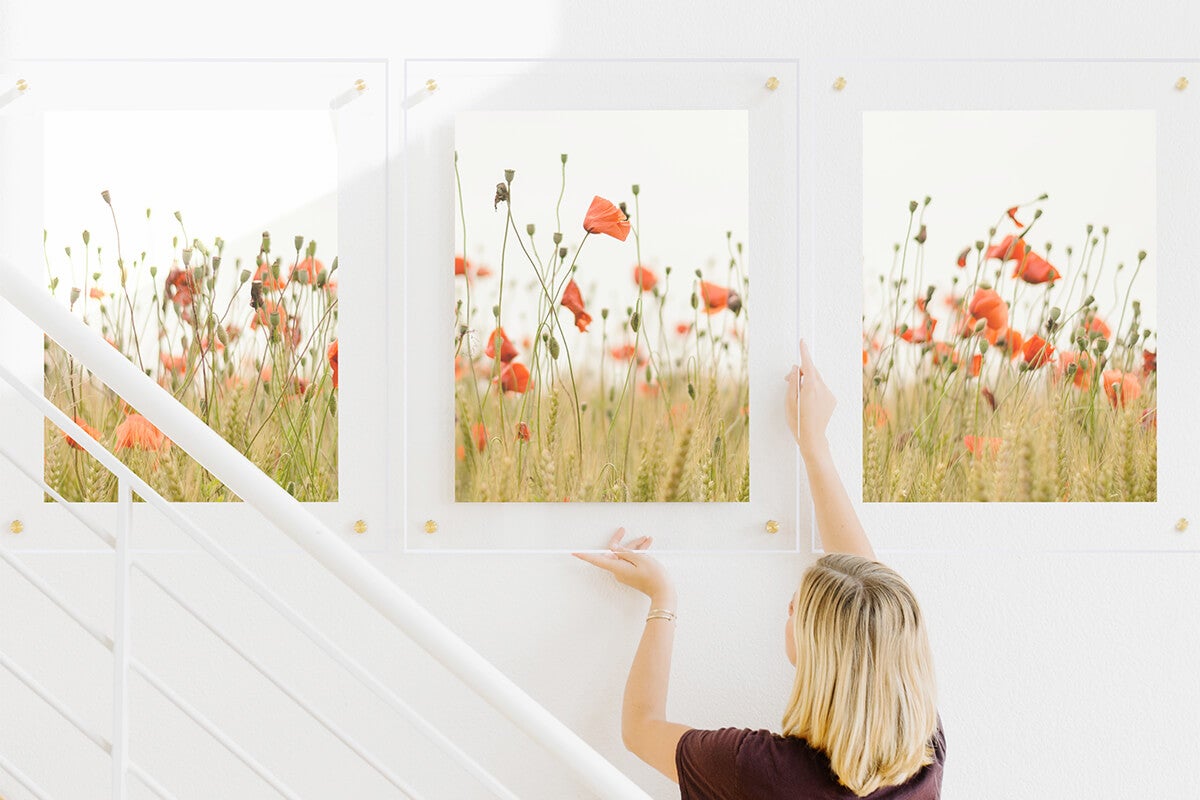
This creative photo wall layout is achieved by splitting a photo into tiles or separate panels, so that two or more images compose the whole, together. This eye-catching look is great for panoramic scenes and tells the story of your photo in a unique way. It might sound elaborate, but we've broken down the process of splitting a photo into multiple frames to make it easy for you. The tips and steps you learn for a triptych gallery wall can easily be applied to a photo split into two, four, or more, once you know the basics!
In This Gallery Wall
Floating Frames with brass bolts, size 24 x 30"
Layout 02
The Mismatched Set
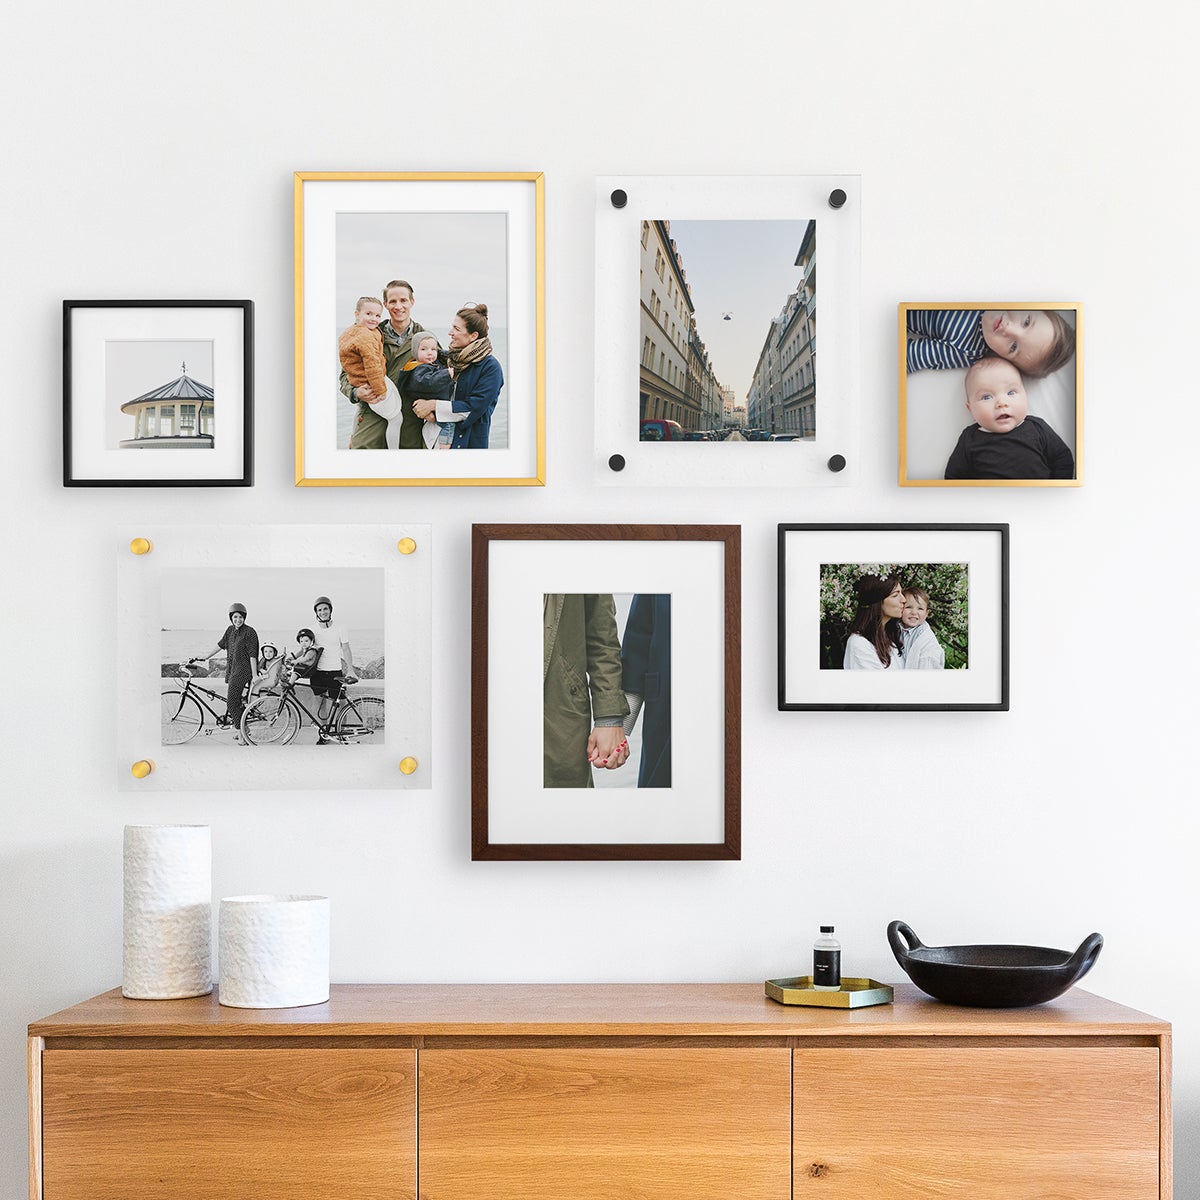
Play around with different sizes and types of frames to create a mismatched gallery wall. Don't be afraid to have a golden brass material next to your walnut wood — this kind of layout can really bring an entire room together, making the seemingly different complement each other. We also love to "mismatch" the kind of photos in the set. Select photos that feature a variety of both people and places. You could even honor some childhood family memories by scanning old photos to include in the collection.
In This Gallery Wall
Gallery Frame in walnut, size 11 x 14"
Modern Metal Frame in black, size 9 x 9"
Modern Metal Frame in brass, size 11 x 14"
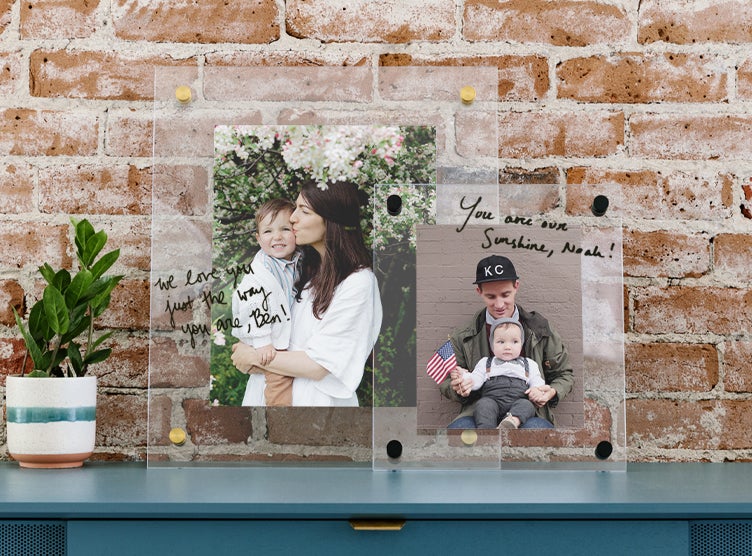
Metal Tabletop Frame in brass, size 8 x 8"
Metal Tabletop Frame in black, size 10 x 8"
Floating Frame with brass bolts, size 14 x 12"
Floating Frame with black bolts, size 12 x 14"
Layout 03
The Grid
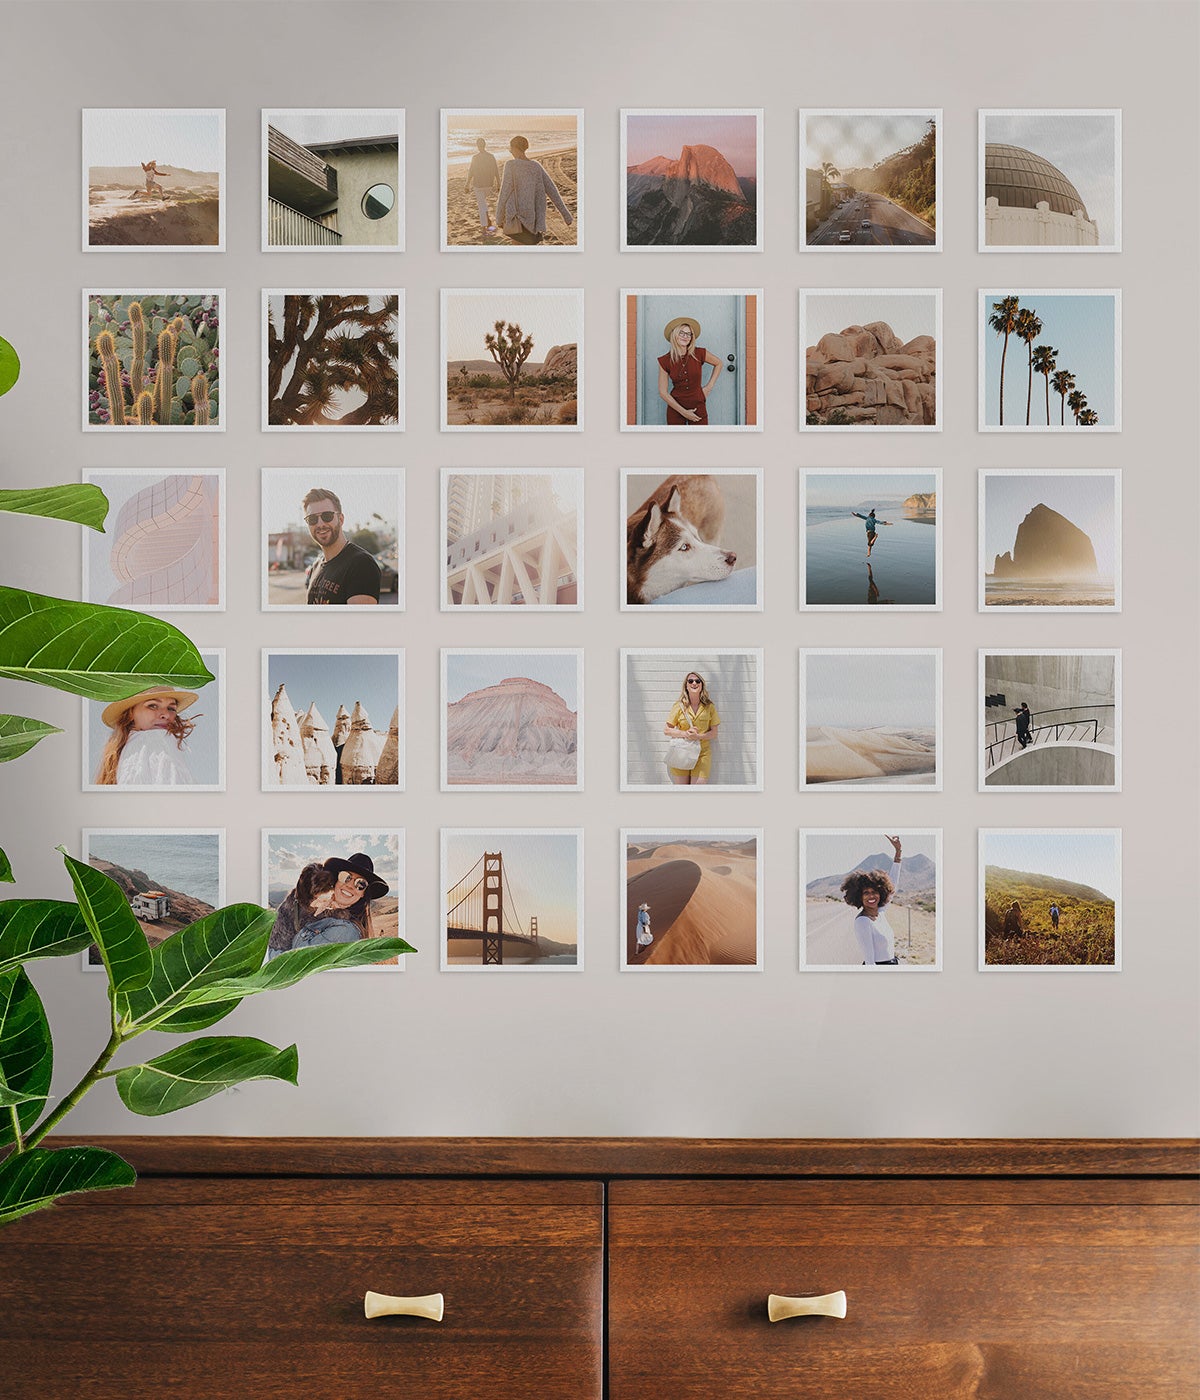
One of our favorite photo collage ideas for a wall is to create a grid of smaller prints or frames. With this layout, the clean, crisp lines make what could feel chaotic, appear purposeful. You'll want to have your measuring tape handy for this one to keep your grid accurate and consistent. Best part? If you are making your grid with our Everyday Prints, all you need is washi tape to safely adhere the prints to your wall. Keep in mind, you'll want all your prints or frames to be the same size to truly make this a grid.
In This Gallery Wall
Everyday Prints, sizes 4 x 4"
Layout 04
The Closed Set
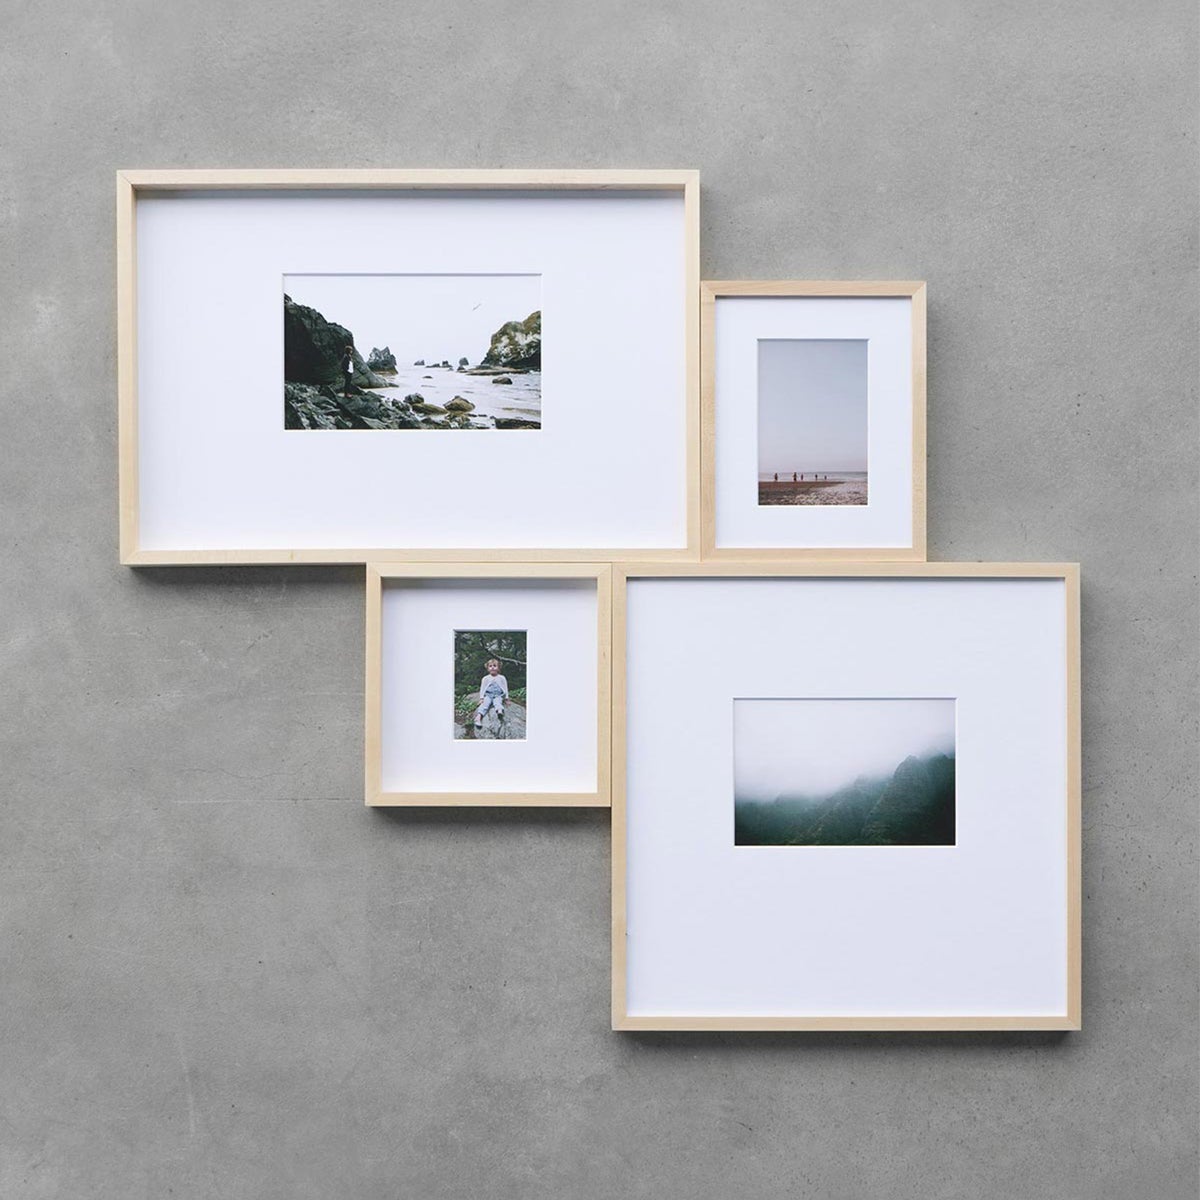
Tighten things up with this gallery wall idea. Align your frames to touch in areas and create a unique, closed layout. By including frames with a good amount of mat, the white space from the mat becomes the space between your photos. We love this look for smaller spaces or for a modern twist. Use a variety of large and small frames (we'd recommend all in the same finish), and play around with different layouts on your floor before taking it to the wall.
In This Gallery Wall
Gallery Frames in maple, sizes 20 x 16", 11 x 14", 9 x 9", and 20 x 20"
Layout 05
The Asymmetrical
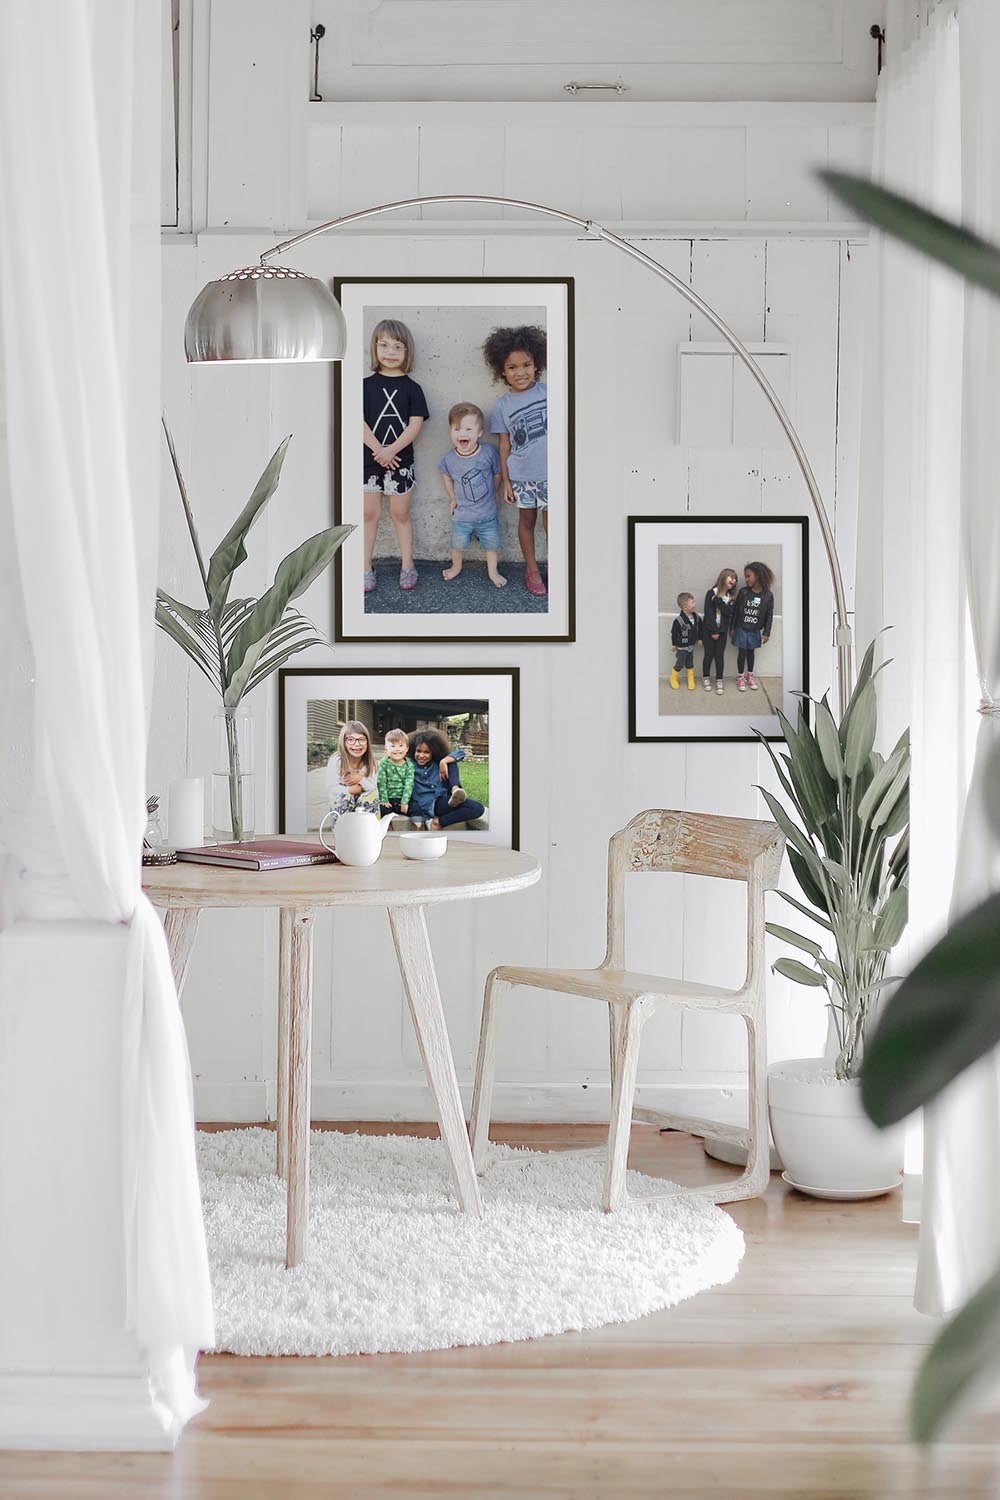
Don't be afraid to go asymmetrical with your photo gallery wall. Asymmetrical layouts allow for the most freedom and creativity. They also require the least amount of planning ahead of time. With no set pattern or grid, feel free to mix and match different frames styles and sizes. The only method to this madness is to anchor the collection with a center piece and place the other frames around it or to the side.
In This Gallery Wall
Modern Metal Frames in black, sizes 20 x 30", 16 x 20", and 20 x 16"
Layout 06
Aligned on a Shelf
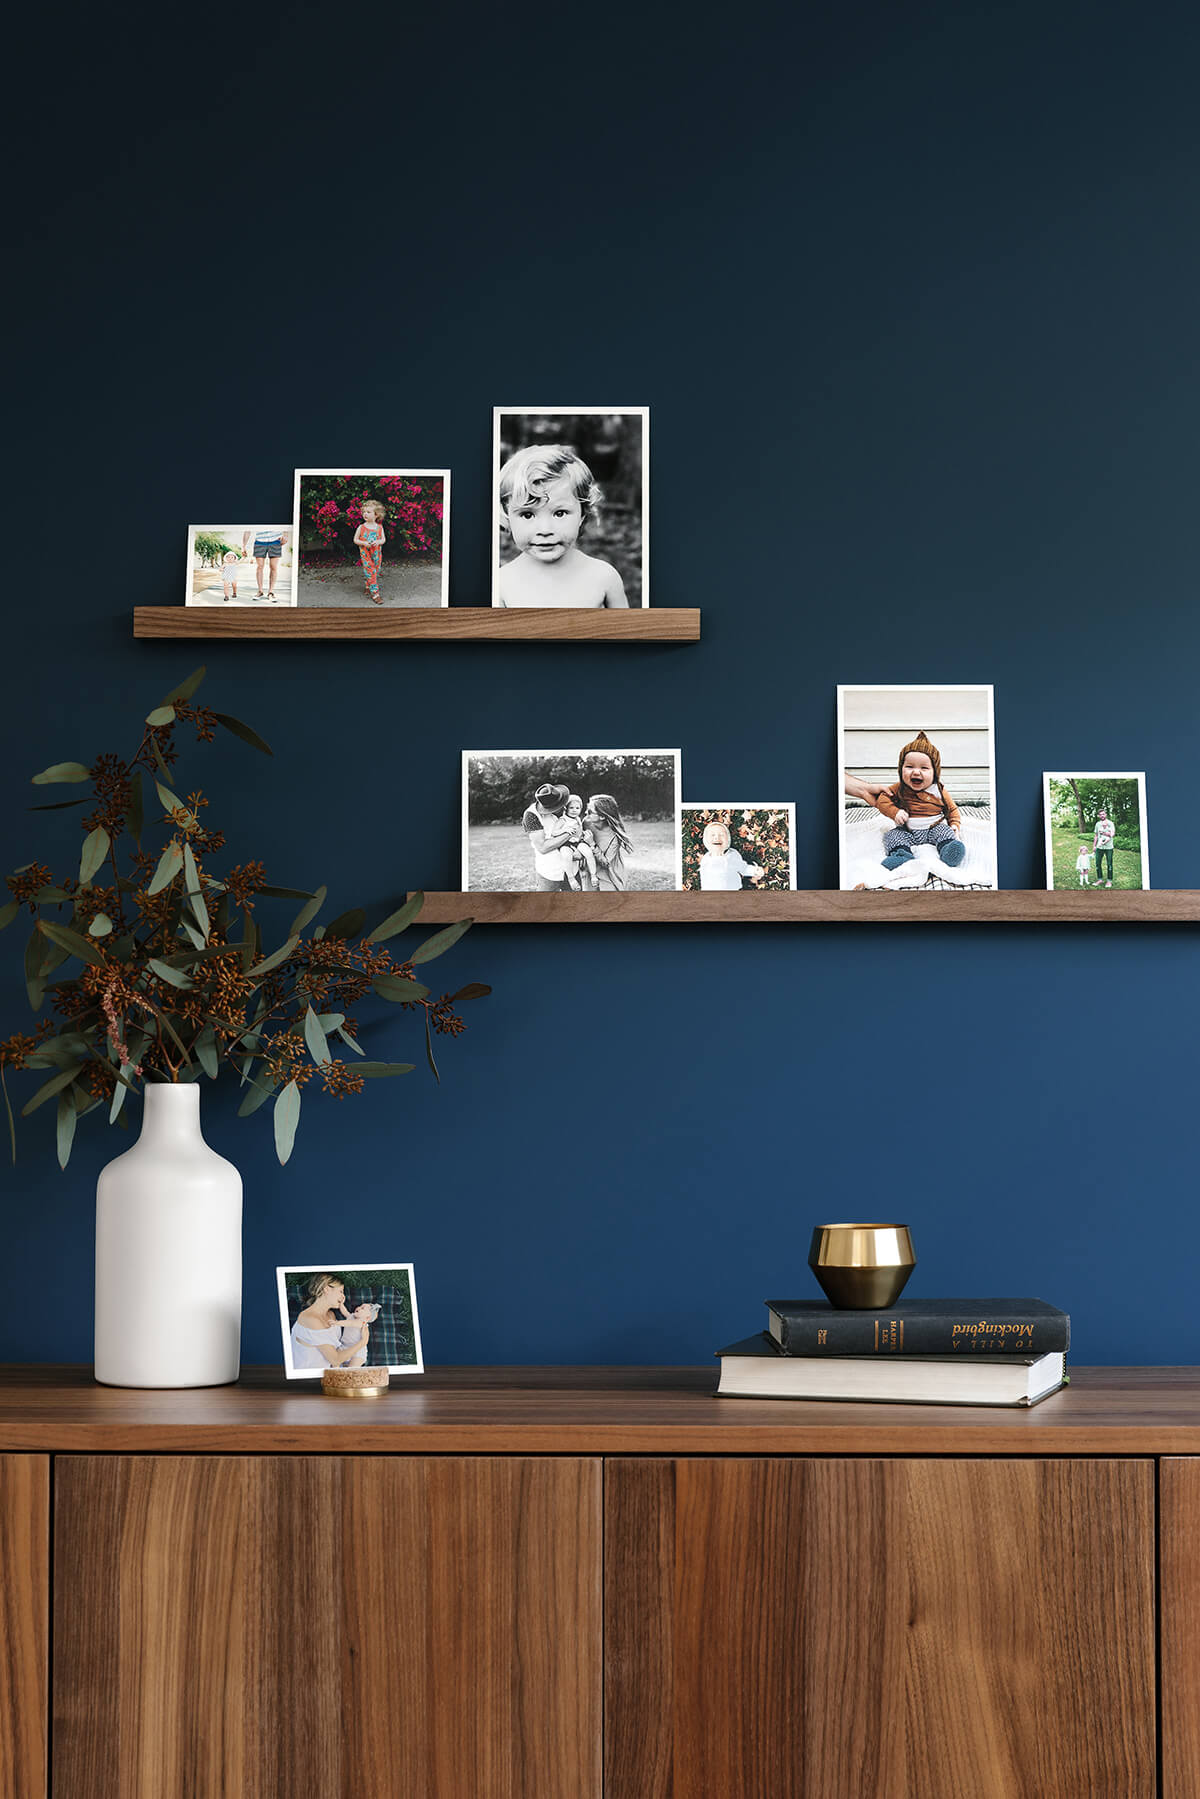
To switch things up throughout your space, we love lining photos or frames up on a ledge. Align prints on a Wooden Photo Ledge or place frames on a built-in shelf in your space. With this layout, use varying levels and lines to make your walls come alive.
In This Gallery Wall
Everyday Prints, sizes 3.25 x 3.25", 5 x 5", 5 x 7", 7 x 5", 3.25 x 4.25"
Wooden Photo Ledges, size 18" and 27"
Layout 07
The Suspended Look
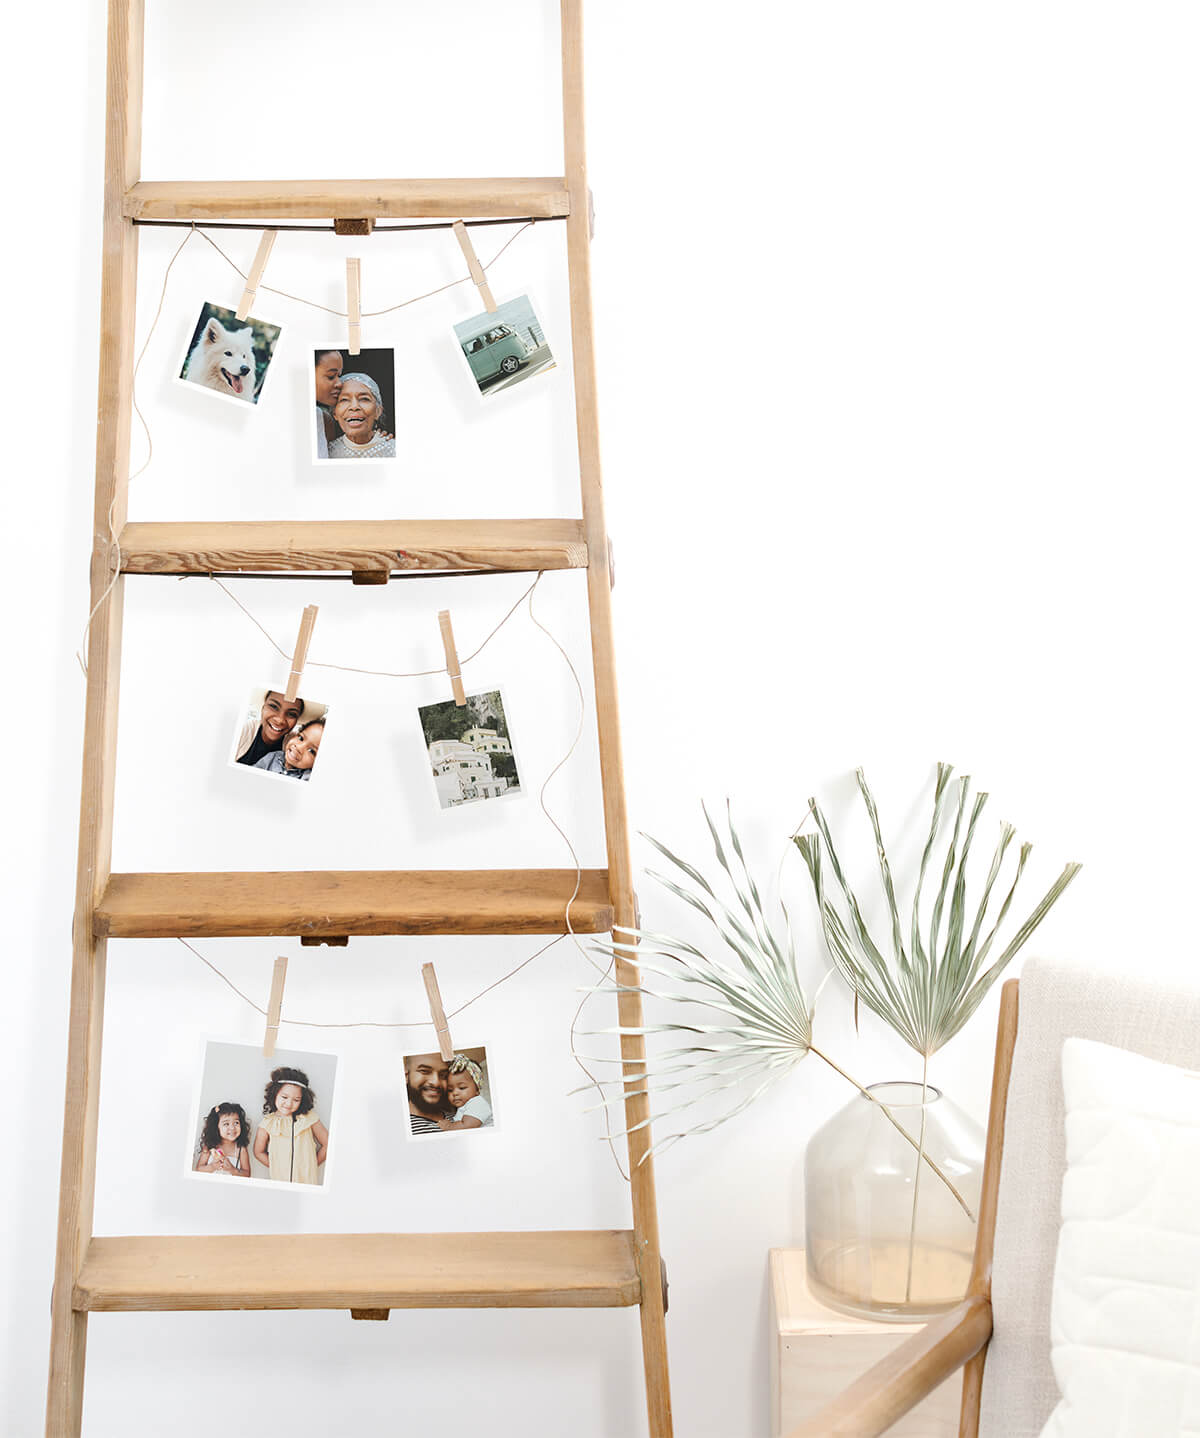
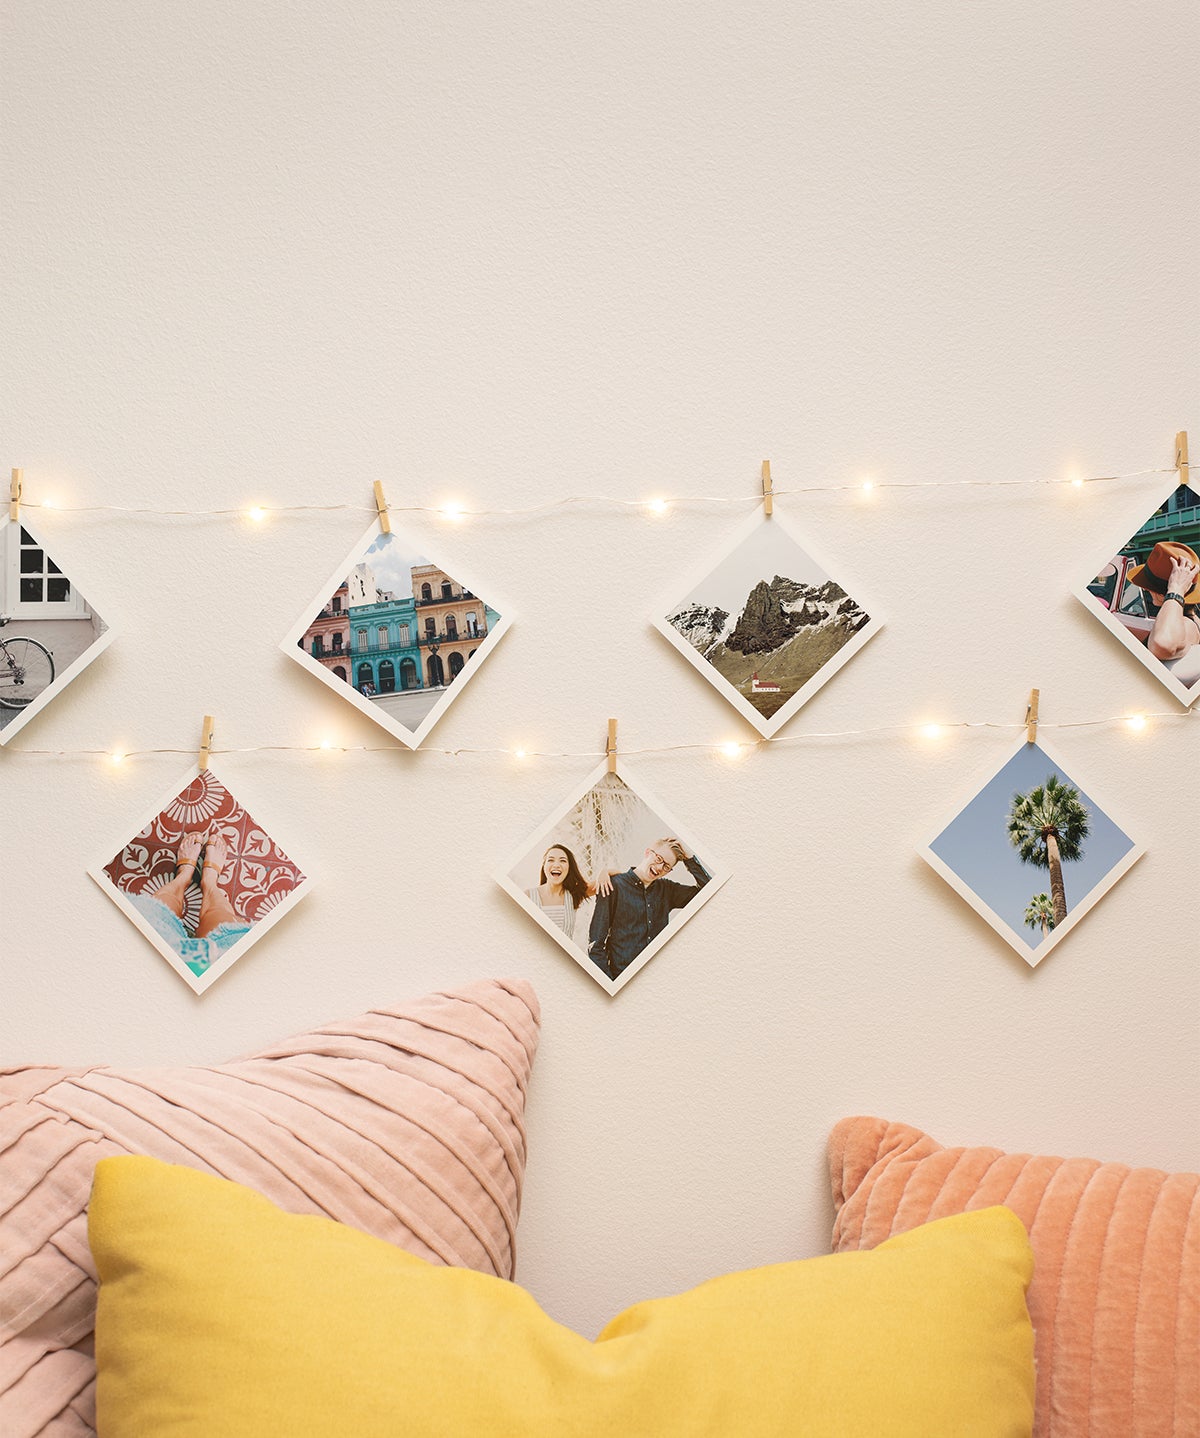
Pair your Everyday Prints with just a few household items (string and clothespins) to recreate this suspended look in your space. Loop the string through the rungs of a ladder for a rustic look or hang the string from a branch to bring the outside in. Or better yet, make your prints glow by replacing the string with a string of lights. Get creative and make this way to display photos without frames your own.
In This Gallery Wall
Everyday Prints, sizes 3.25 x 3.25", 3.25 x 4.25", 5 x 5", 4 x 4"
Layout 08
On a Mantel
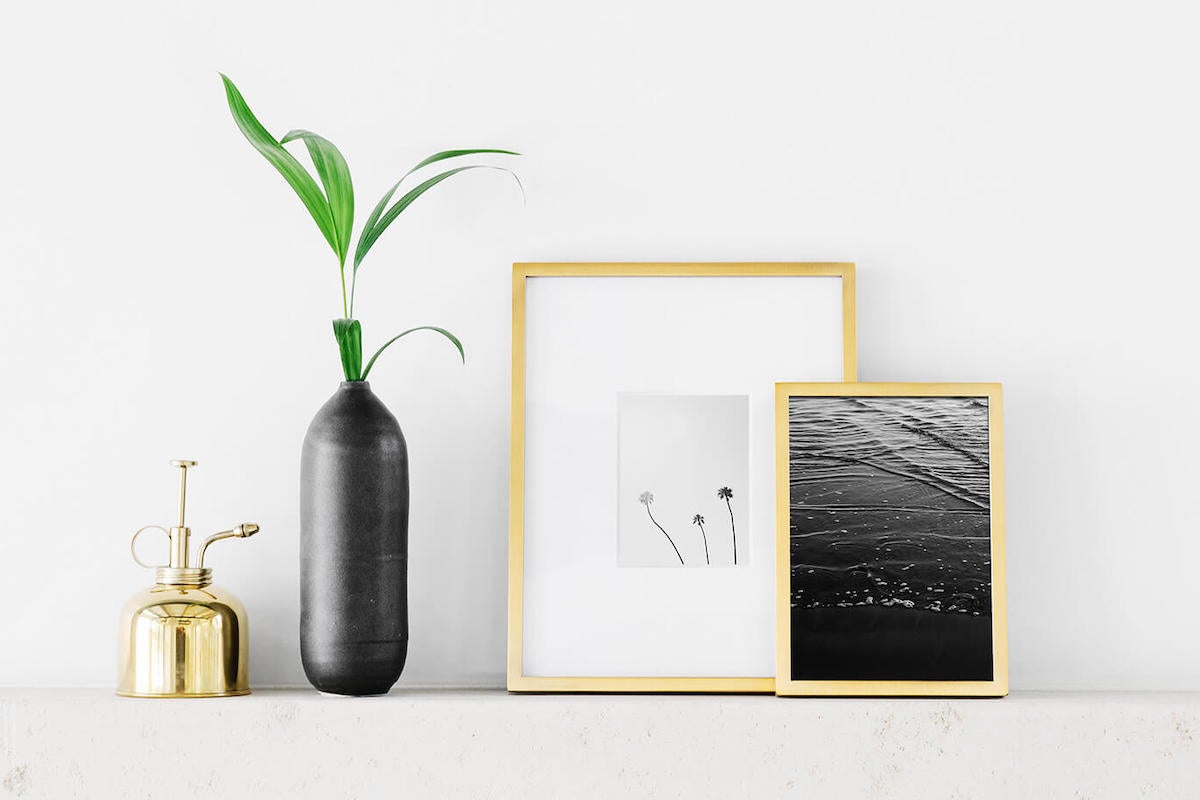
Have a mantel in your home? Here's a way to make it merry (even outside of the holiday season!). Gather your favorite frames, plants, and knick-knacks and layer them on the ledge. This is a simple way of decorating that simultaneously allows you to change your art as often as you’d like!
In This Gallery Wall
Metal Tabletop Frames in brass, sizes 8 x 10" and 5 x 7"
Layout 09
The Floating Set
.jpg)
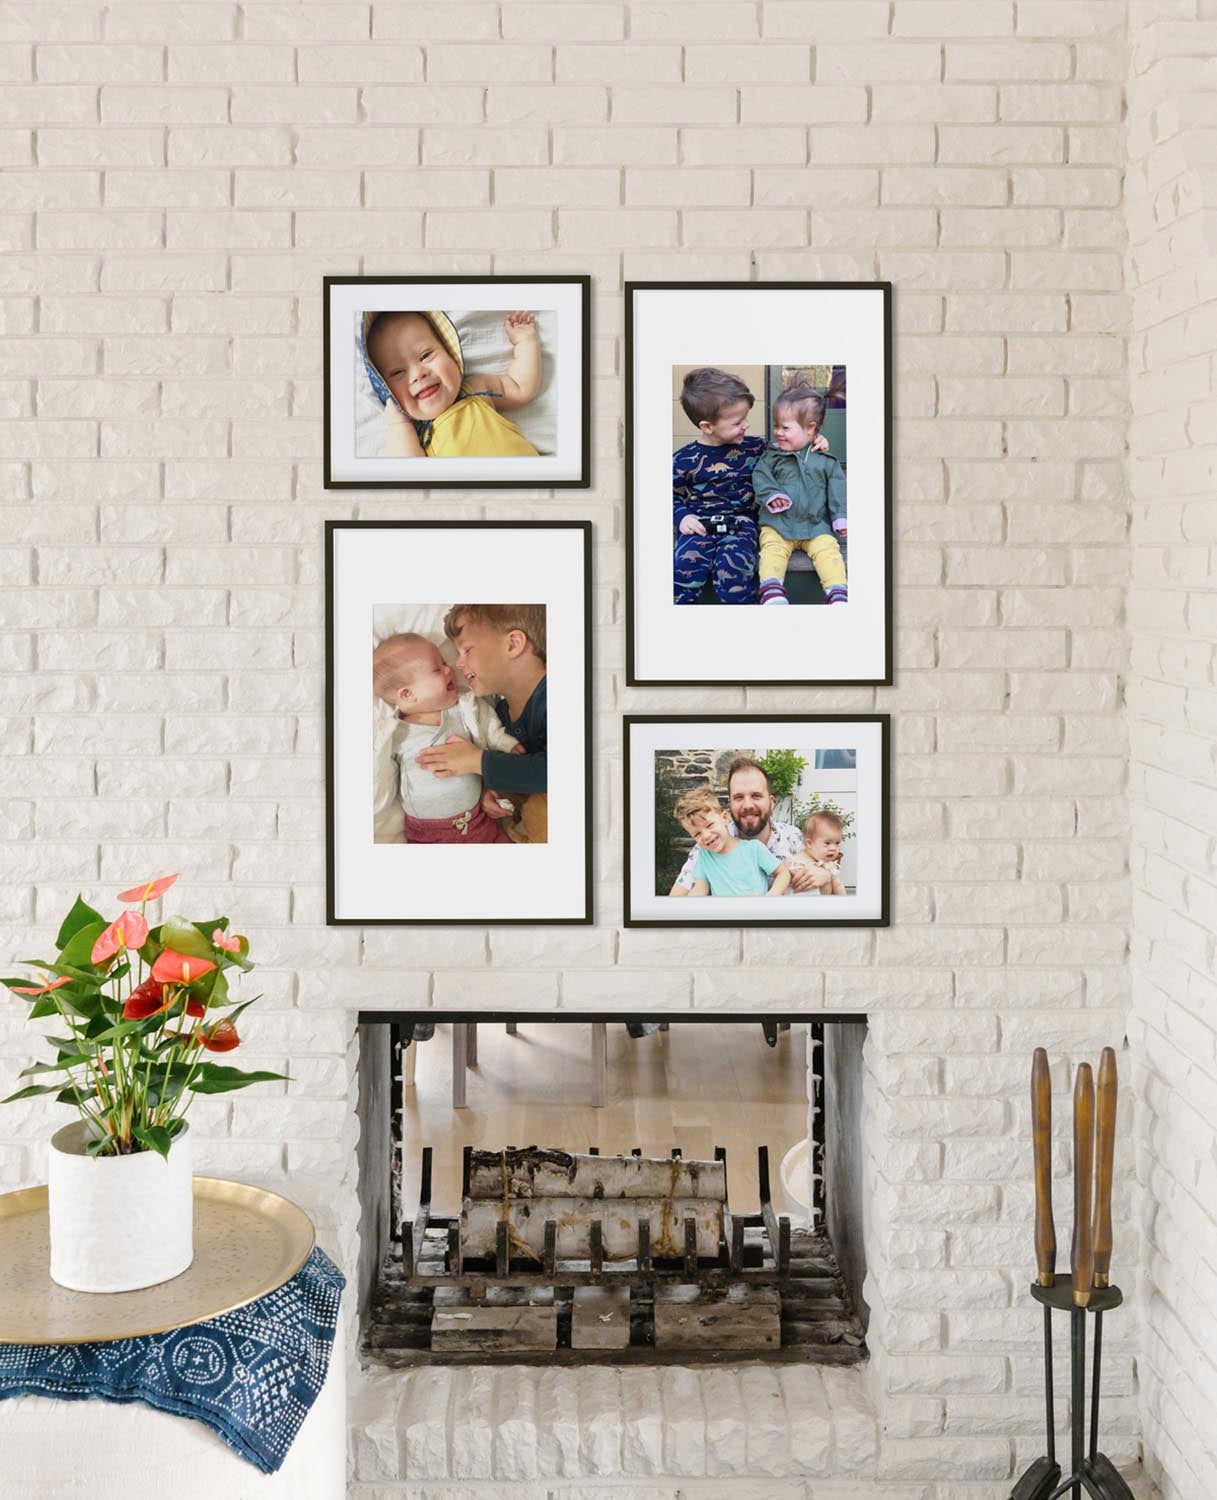
Your photos deserve all the attention. For an elevated and modern photo wall layout, arrange a set of our Floating Frames on your wall to give the appearance of floating photos. These frames tout effortless style and allow your images to truly stand out. Whether you go with matching sizes of this frame or switch it up for a more eclectic look, these statement pieces come fully finished and ready to hang with instructions, making it even easier for you.
In This Gallery Wall
Floating Frames with brass bolts, sizes 14 x 12" and 17 x 20"
Layout 10
The Alternating Symmetrical
Symmetrical but with a touch of playfulness, this gallery wall layout is the best of both worlds. To recreate this look, alternate between two different frame sizes (one horizontally oriented, one vertically oriented) in two or more columns. Align the top and bottom of the columns, and keep the space between each frame consistent. You'll nail this gallery wall DIY in no time.
In This Gallery Wall
Modern Metal Frames in black, sizes 20 x 30", 16 x 20"
Gallery Wall Styles
No matter which gallery wall layout you choose, there are a few styles to consider as well. From the classic to the artistic, here are a few style thought-starters to determine which one fits you and your family best.
Style 01
Minimalist
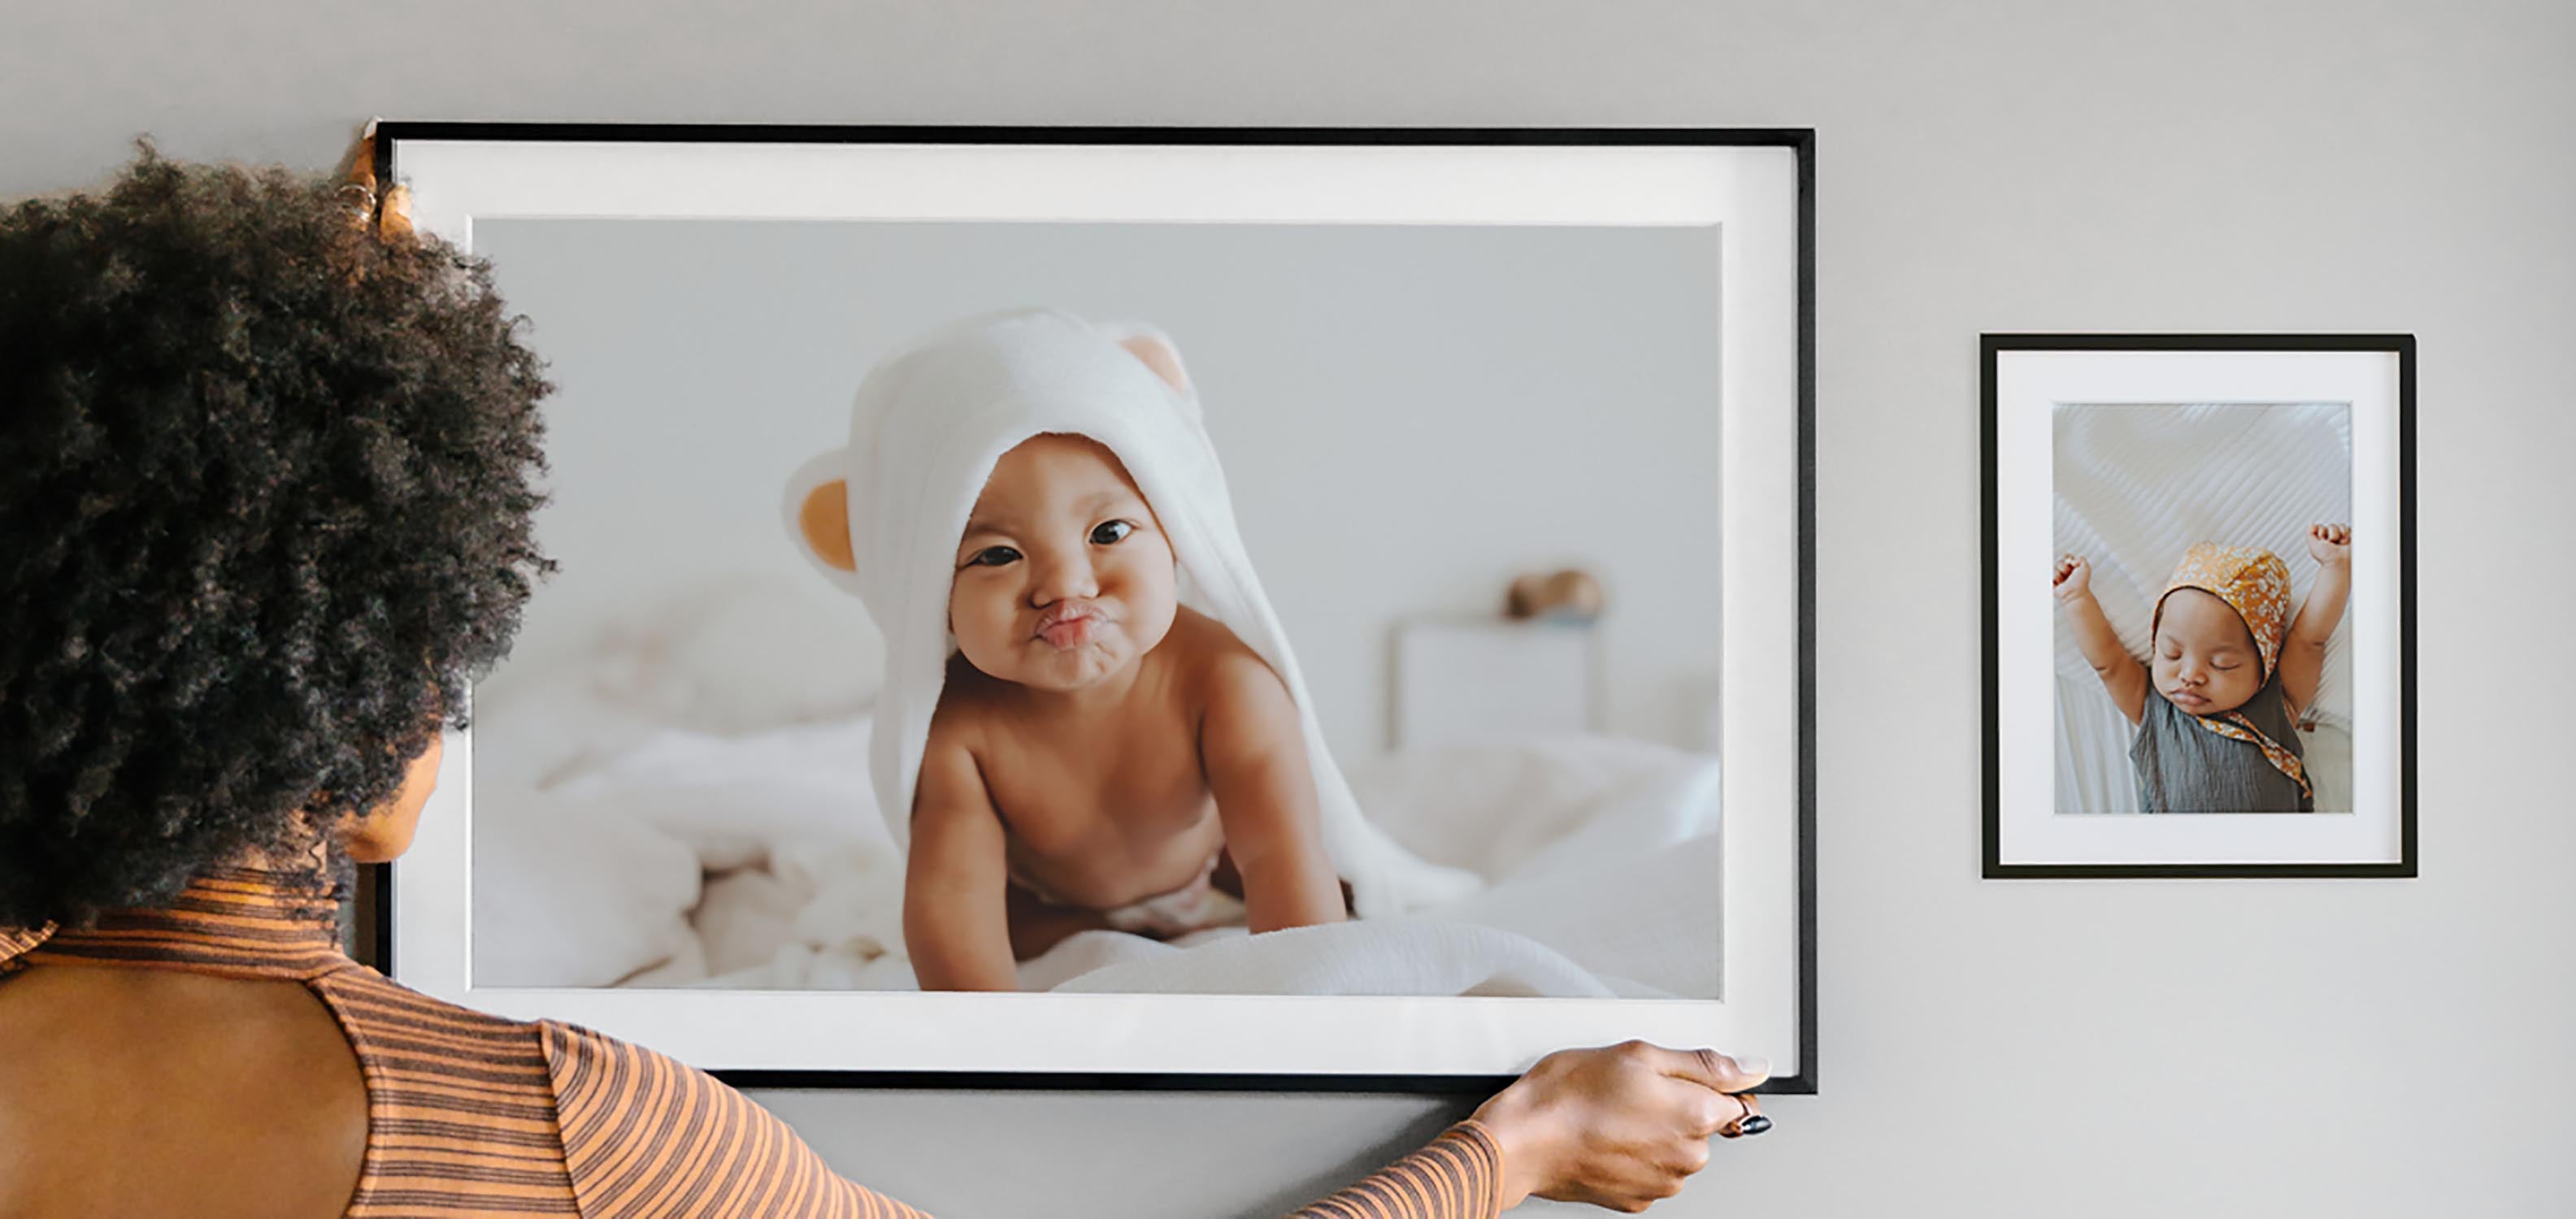
It's no secret that we are fans of the tastefully minimal. As we noted in our Minimalist Design Tips post, various elements can compete for attention in a room, drawing the eye in many directions and creating a sense of disorder. One way to combat this effect is to create a couple of focal points that bring decorative pieces together into a single, cohesive element. So rather than feeling like every wall needs to have a frame, choose one wall to be your focal point and let those pieces take the lead.
In This Gallery Wall
Modern Metal Frames in black, sizes 20 x 30", 8 x 10"
Style 02
Black & White
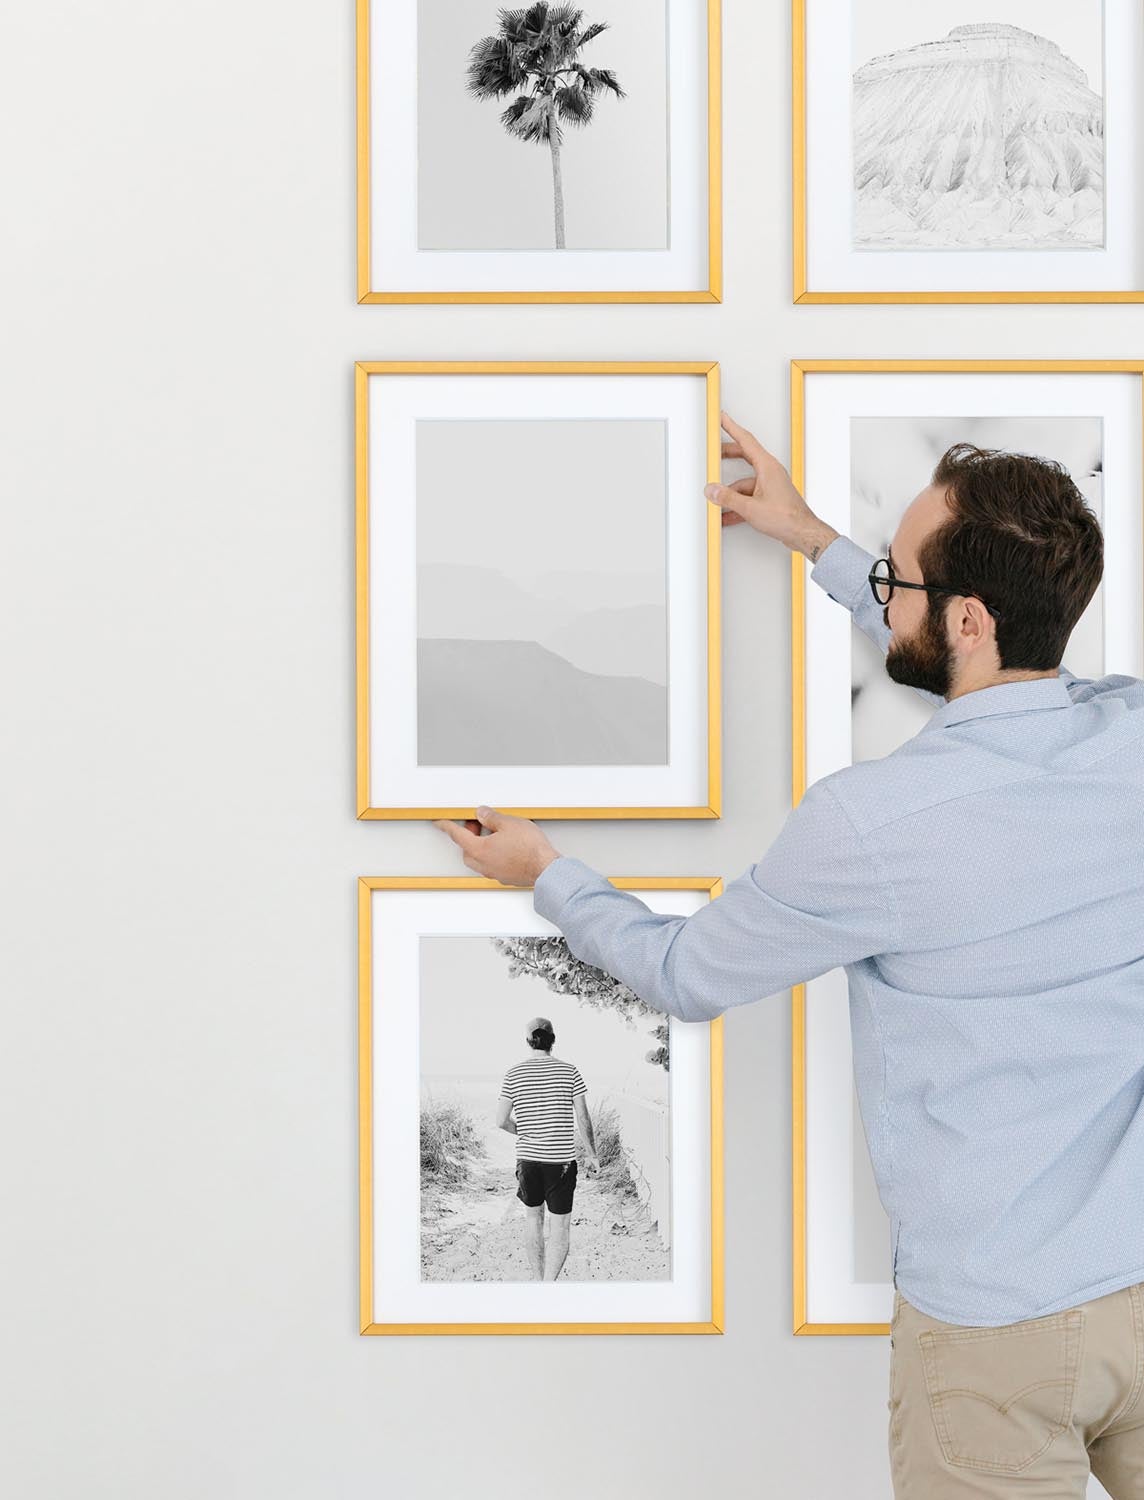
For a nod to the vintage, feature black and white photos and frames in your gallery wall. This style is ideal in a room that already has quite a bit of color from other design elements. Plus, black and white is timeless, and who doesn't love a look that will never go out of style?
In This Gallery Wall
Modern Metal Frames in brass, sizes 11 x 14"
Style 03
Classic
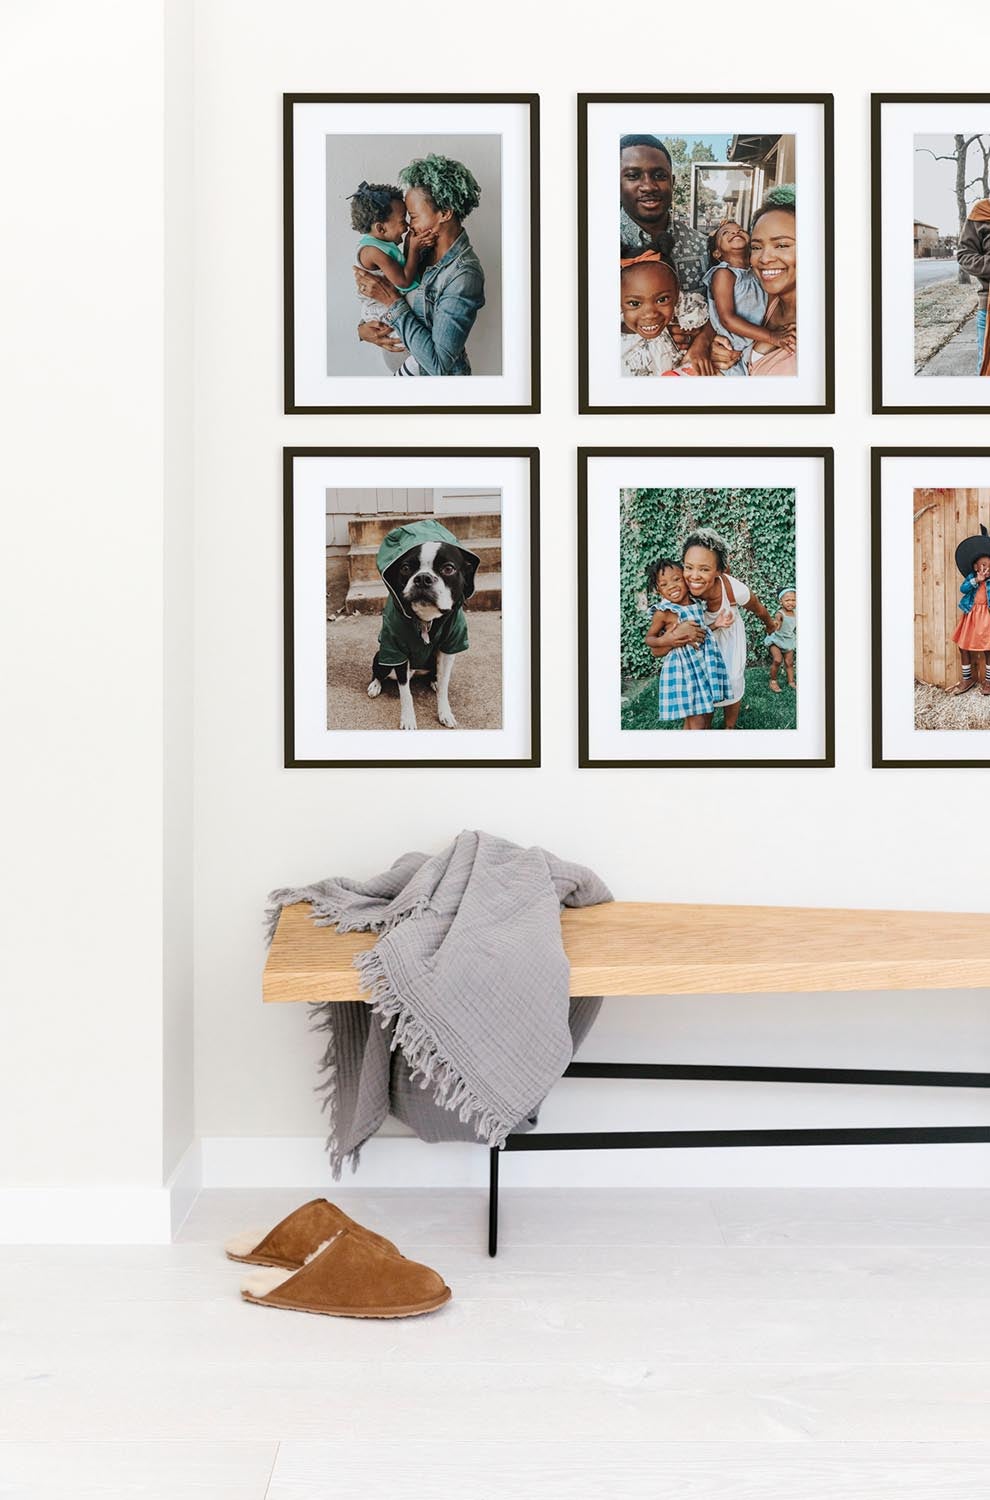
Are you a fan of all things tried and true? The classic gallery wall style is for you. Stick to the same size, finish, and orientation for your frames and lay them out in a symmetrical grid on your wall. With this style, let the frames take up the majority of the wall you are working with. Be prepared to receive a ton of compliments when friends come over with this crowd-pleaser.
In This Gallery Wall
Modern Metal Frames in black, sizes 11 x 14"
Style 04
Playful

Go with a personalized, modern take on a gallery wall by mix-and-matching both framed and unframed prints. You could even feature various art pieces or decorative plates to add depth and detail. This photo collage idea is easily open to interpretation and free to evolve as you and your favorite photos do.
In This Gallery Wall
Assortment of Everyday Prints and Gallery Frames (see @myfriendkelley’s page for details)
Style 05
Artistic
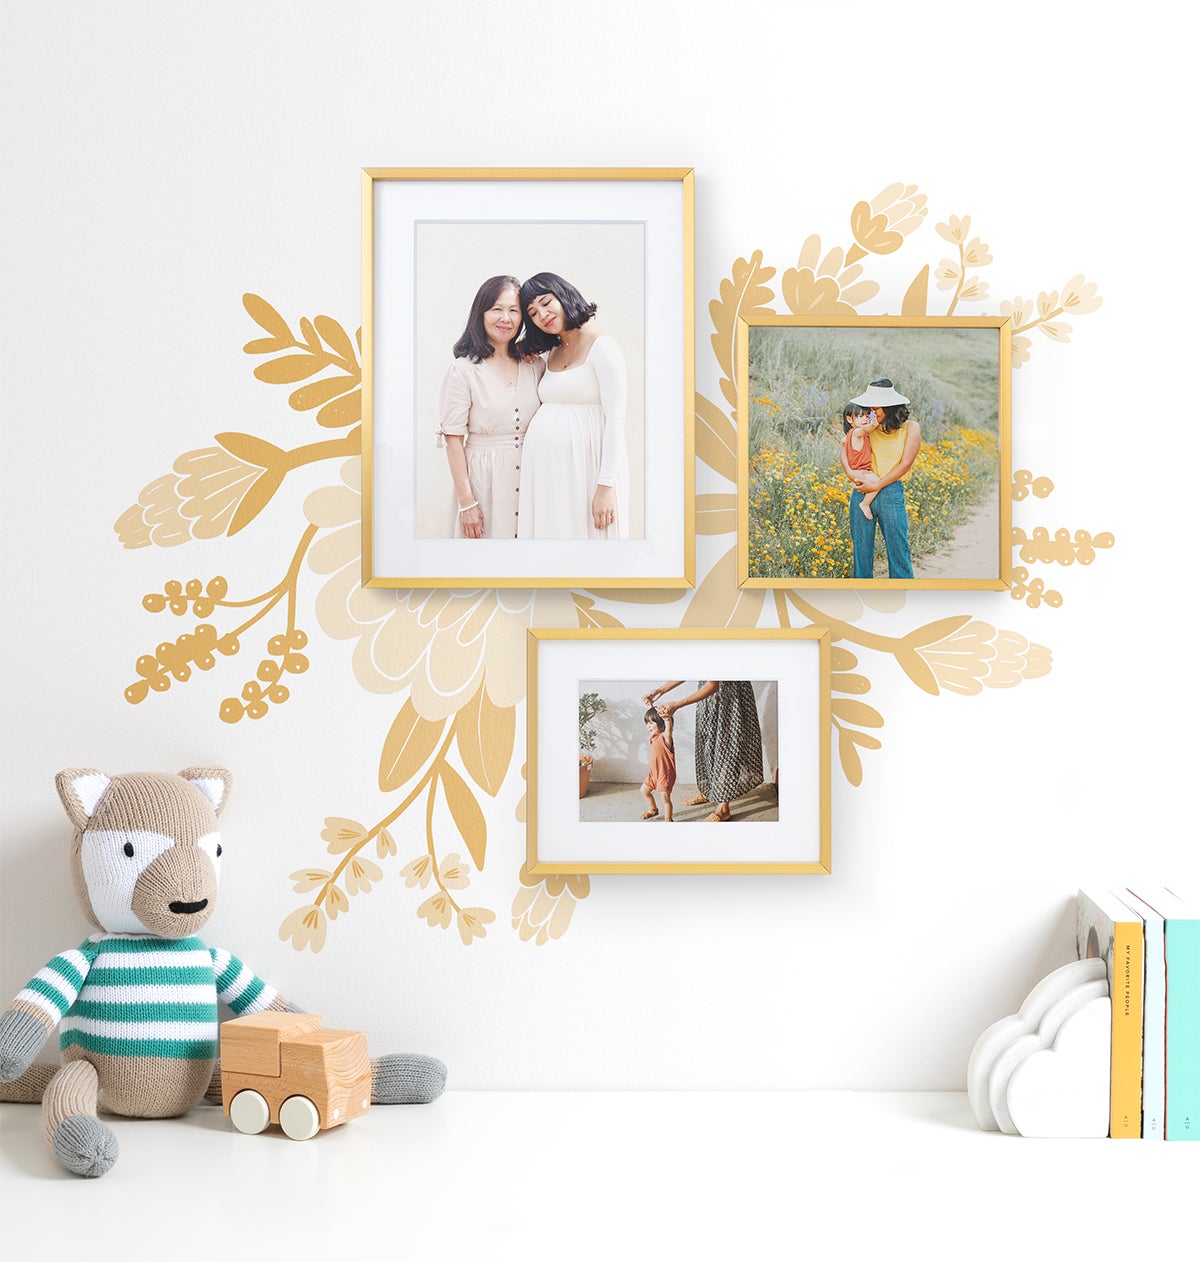
Feel free to get crafty with this idea. With a more artistic style, you can incorporate mural backdrops behind your frames. Freehand a mural all your own or use a stencil to create wall art that livens up your entire space. We really love this style for nursery decor in particular. With slightly older kiddos, this can be a fun craft project to create together.
In This Gallery Wall
Modern Metal Frames in brass, sizes 11 x 14", 9 x 9", 10 x 8"
How to Create a Gallery Wall
Where should I put my gallery wall?
Where could the sight of some of your favorite places, faces, and experiences create the stop-you-in-your-tracks kind of joy? Those are just the kind of spots we recommend setting up your gallery wall. Think of rooms in your apartment or home with a good amount of blank space on the wall. Also, consider where you spend a lot of your time either in passing or in rest.
What style fits my space best?
Think through your layout and choose your style. We'll walk you through our 10 favorite gallery wall layouts and 5 design styles in detail above — so don't worry if you aren't familiar with your options quite yet. After you decide on those, make your selection of frames and get ready to begin.
To measure or not to measure?
Feel free to forgo the tape measurer entirely, but for all you type A's out there, here we go... Measure your wall and mark the same amount of space out on the floor with painter's tape. There you can arrange your frames within the outline on the floor, moving the pieces around until you find the look you love. Most recommend starting with the largest piece first and working out from there. Take note of the amount of space between frames with your tape measurer.
You can then label a few pieces of tape for each frame, and recreate the look with the tape pieces as markers on your wall.
Now you're ready to put your hammer and nails to work and hang the frames! Say hello to your new favorite wall in your home.
